
Introduction
If you’ve ever felt intimidated by sourdough baking because of fancy equipment or complicated techniques, you’re not alone. But here’s some good news—you don’t need a Dutch oven to make beautiful sourdough bread at home. This method uses a simple loaf pan you probably already have in your kitchen. It’s easier than you think, and the result is a soft, flavorful loaf with a lovely golden crust and perfect slices for toast, sandwiches, or just a pat of butter. Whether you’re new to sourdough or have been baking for years, this method is a wonderful way to simplify your baking routine without compromising quality.

Ingredients

To make this sourdough loaf, you’ll only need a handful of basic ingredients—no special flour or additives required. Here’s what goes into it:
- 100 grams active sourdough starter (fed and bubbly)
- 375 grams warm water (around 80–85°F is best)
- 11 grams Himalayan pink salt or fine sea salt
- 550 grams all-purpose or bread flour
These simple ingredients come together to create a dough that’s easy to work with and full of that wonderful sourdough tang.
Step-by-Step Instructions
1. Mix the Dough
Start by dissolving your sourdough starter into the warm water in a large mixing bowl. Once the starter is mostly broken up and the mixture looks milky, add the salt and flour. Use your hands or a spoon to mix until no dry flour remains. The dough will be slightly sticky and rough. Cover the bowl with a damp towel or plastic wrap and let it rest for 30 to 60 minutes. This rest, known as the autolyse phase, helps the flour absorb the water and gives your dough a head start on gluten development.
2. Bulk Fermentation & Folding
Over the next 4 to 5 hours, keep the dough at room temperature and perform 3 to 4 sets of stretch-and-folds every 30 to 45 minutes. To do this, wet your hand, gently pull one side of the dough upward, and fold it over the center. Rotate the bowl and repeat 3 more times. These folds strengthen the dough and build structure for a good rise. As fermentation progresses, your dough will become smoother and puffier.
By the end of bulk fermentation, your dough should feel airy and have visible bubbles on the surface. It should jiggle slightly when you move the bowl.
3. Shaping & Cold Proofing
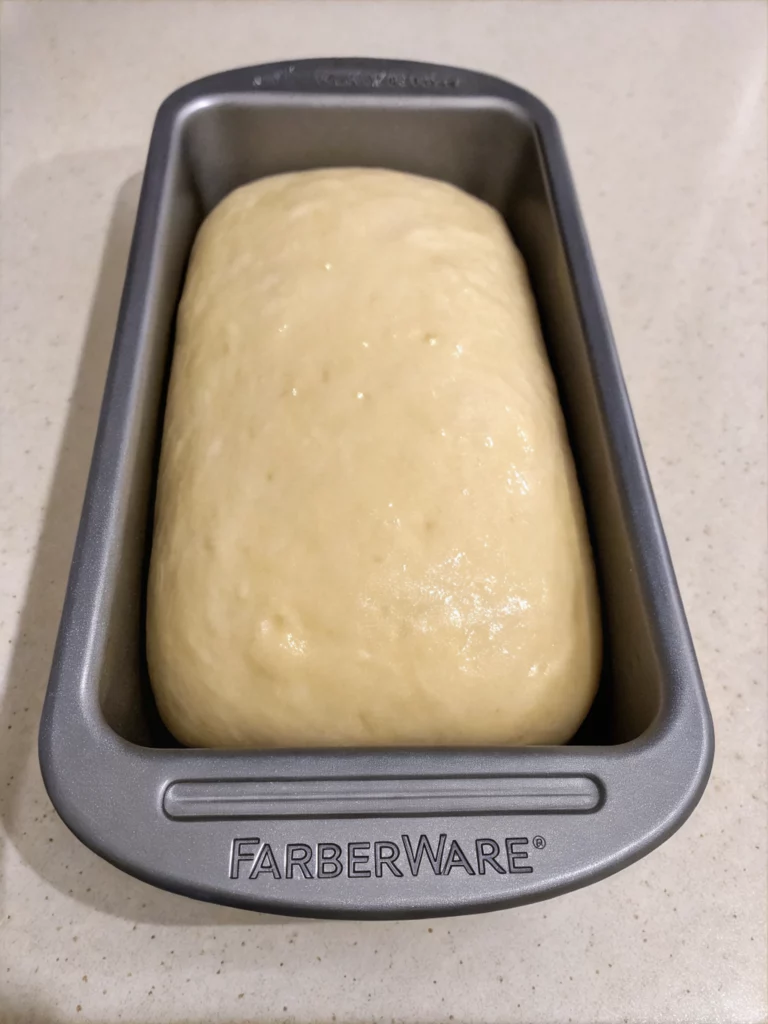
Lightly flour your countertop and turn the dough out. Shape it gently into a log by folding it over itself, then rolling or tucking the edges in. Place it seam-side down into a lightly greased loaf pan. Cover with plastic wrap or a clean towel and refrigerate overnight. This slow fermentation (cold proof) enhances the flavor and makes the dough easier to handle in the morning.
In the fridge, the dough will continue to rise slowly, and develop a slightly domed top. It will also be easier to score when cold.
4. Scoring & Baking
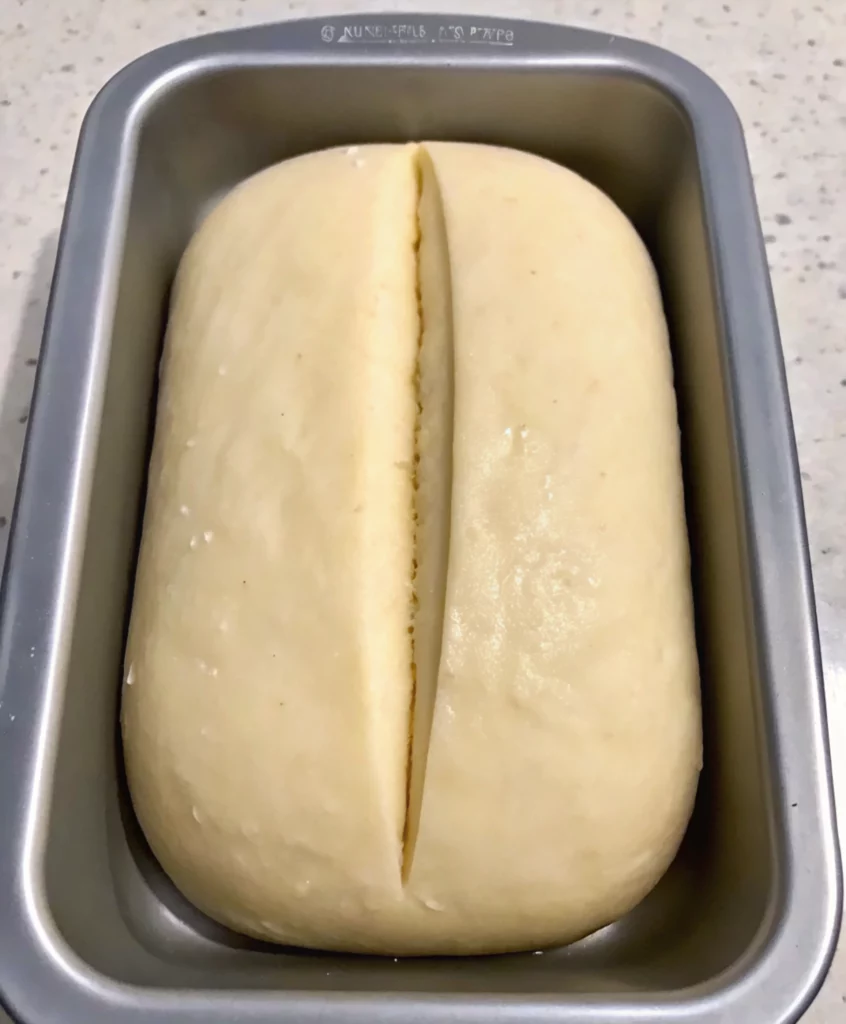
In the morning, take the dough out of the fridge while you preheat the oven to 425°F (220°C). Use a sharp knife or bread lame to make a long slit down the center of the loaf. This allows the bread to expand evenly in the oven.
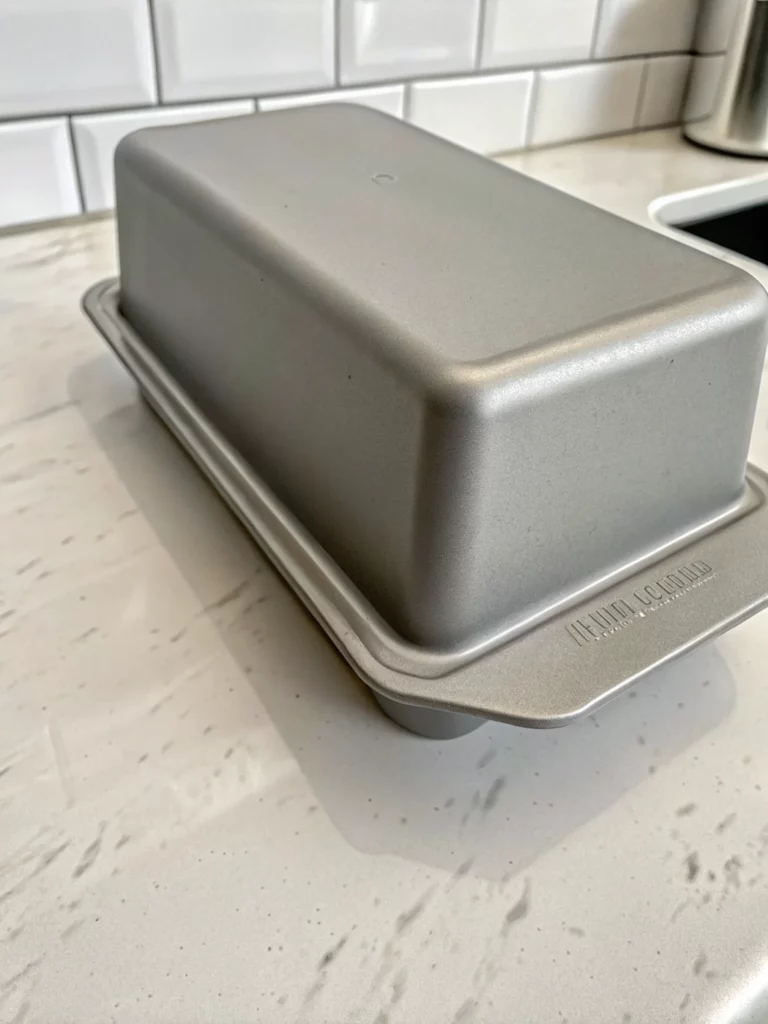
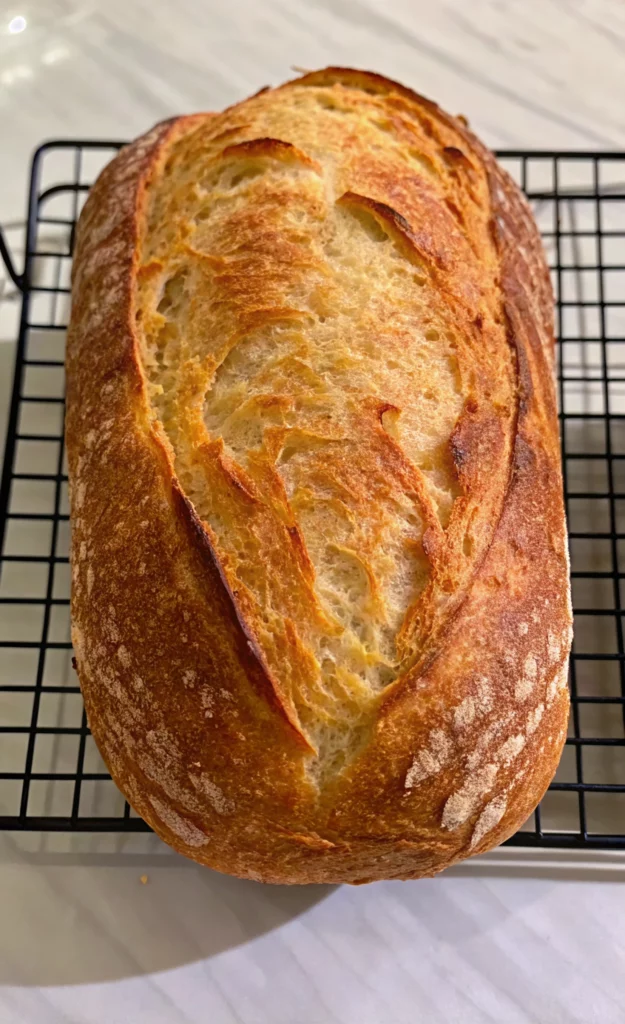
Cover the loaf pan with foil or invert another loaf pan over it to trap steam. Bake for 30 minutes, then remove the lid and continue baking for another 15 to 20 minutes, or until the crust is a deep golden color. Let the loaf cool on a wire rack before slicing.
Why This Method Works
Baking in a loaf pan offers home bakers several benefits. The pan helps support the dough’s structure, allowing for a more even and taller rise. It also eliminates the need for tricky scoring techniques or steam setups. Plus, the familiar shape is ideal for everyday use—perfect slices every time without fuss. This method keeps things practical while still delivering the magic of sourdough.
Common Mistakes to Avoid
- Underproofing: If your dough hasn’t risen much during bulk fermentation, give it more time. Rushing this step can lead to a dense loaf.
- Over-hydrating: Stick closely to the measurements. Too much water will make shaping more difficult and may lead to a gummy texture.
- Skipping the cold proof: Don’t skip this step. It adds flavor, improves texture, and makes your dough easier to score.
- Cutting too soon: Always let your bread cool for at least an hour before slicing to avoid a sticky interior.
How to Store and Enjoy
Once your loaf is fully cooled, wrap it in a clean kitchen towel or store it in a bread bag. Avoid plastic if you want to preserve the crust’s crispness. For longer storage, slice the loaf and freeze it in a zip-top bag. You can toast slices straight from the freezer.
This bread is fantastic toasted with butter, topped with jam, served alongside soups, or made into sandwiches. It has a slightly tangy flavor and a chewy, moist crumb that stays fresh for days.
Equipment You’ll Need
No fancy tools are required, but here are a few essentials that make this process smoother:
- Mixing bowl
- Digital kitchen scale (for accuracy)
- Loaf pan (8.5 x 4.5 inches or similar)
- Plastic wrap or clean kitchen towel
- Sharp knife or bread lame for scoring
- Aluminum foil or second loaf pan to use as a lid
- Wire cooling rack
FAQs
Can I use whole wheat flour?
Yes, you can substitute up to 30% of the flour with whole wheat. Keep in mind it will absorb more water and may create a denser loaf.
Is this bread sour?
It has a subtle sour flavor—not too strong. If you want more tang, let your starter ferment a bit longer before using.
How do I know if my starter is ready?
A ready starter will double in size within 4 to 6 hours after feeding and should be bubbly with a pleasant, slightly tangy smell.
What if I don’t have a loaf pan?
You can use a small casserole dish or any oven-safe container with tall sides. Just keep in mind the shape may vary slightly.
Conclusion
This loaf-pan sourdough method is perfect for busy home bakers who want a reliable, fuss-free way to make artisan bread. With minimal tools and easy steps, you can enjoy a beautifully risen, golden loaf with soft crumb and just the right touch of tang. Whether you’re baking for yourself or your loved ones, this loaf is sure to become a new favorite in your kitchen.
Print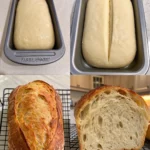
Soft & Golden Sourdough Loaf (Using a Loaf Pan)
- Total Time: 15–17 hours
- Yield: 1 standard loaf (8–10 slices) 1x
- Diet: Vegetarian
Description
If you’ve ever felt intimidated by sourdough baking because of fancy equipment or complicated techniques, you’re not alone. But here’s some good news—you don’t need a Dutch oven to make beautiful sourdough bread at home. This method uses a simple loaf pan you probably already have in your kitchen. It’s easier than you think, and the result is a soft, flavorful loaf with a lovely golden crust and perfect slices for toast, sandwiches, or just a pat of butter. Whether you’re new to sourdough or have been baking for years, this method is a wonderful way to simplify your baking routine without compromising quality.
Ingredients
To make this sourdough loaf, you’ll only need a handful of basic ingredients—no special flour or additives required. Here’s what goes into it:
-
375 grams warm water (around 80–85°F is best)
-
11 grams Himalayan pink salt or fine sea salt
-
550 grams all-purpose or bread flour
100 grams active sourdough starter (fed and bubbly)
These simple ingredients come together to create a dough that’s easy to work with and full of that wonderful sourdough tang.
Instructions
Start by dissolving your sourdough starter into the warm water in a large mixing bowl. Once the starter is mostly broken up and the mixture looks milky, add the salt and flour. Use your hands or a spoon to mix until no dry flour remains. The dough will be slightly sticky and rough. Cover the bowl with a damp towel or plastic wrap and let it rest for 30 to 60 minutes. This rest, known as the autolyse phase, helps the flour absorb the water and gives your dough a head start on gluten development.
Over the next 4 to 5 hours, keep the dough at room temperature and perform 3 to 4 sets of stretch-and-folds every 30 to 45 minutes. To do this, wet your hand, gently pull one side of the dough upward, and fold it over the center. Rotate the bowl and repeat 3 more times. These folds strengthen the dough and build structure for a good rise. As fermentation progresses, your dough will become smoother and puffier.
By the end of bulk fermentation, your dough should feel airy and have visible bubbles on the surface. It should jiggle slightly when you move the bowl.
Lightly flour your countertop and turn the dough out. Shape it gently into a log by folding it over itself, then rolling or tucking the edges in. Place it seam-side down into a lightly greased loaf pan. Cover with plastic wrap or a clean towel and refrigerate overnight. This slow fermentation (cold proof) enhances the flavor and makes the dough easier to handle in the morning.
In the fridge, the dough will continue to rise slowly, and develop a slightly domed top. It will also be easier to score when cold.
In the morning, take the dough out of the fridge while you preheat the oven to 425°F (220°C). Use a sharp knife or bread lame to make a long slit down the center of the loaf. This allows the bread to expand evenly in the oven. Cover the loaf pan with foil or invert another loaf pan over it to trap steam. Bake for 30 minutes, then remove the lid and continue baking for another 15 to 20 minutes, or until the crust is a deep golden color. Let the loaf cool on a wire rack before slicing.
Notes
This sourdough loaf is baked in a standard loaf pan, making it perfect for easy slicing and everyday use. It’s soft, chewy, and develops a crisp crust without needing a Dutch oven. Cold-proofing overnight adds depth of flavor and improves texture.
- Prep Time: 30 minutes (active prep)
- + Time (Bulk Fermentation & Cold Proof):: 14–16 hours (4–5 hours bulk ferment + 8–12 hours cold proof)
- Cook Time: 45 minutes
- Category: Bread
- Method: Baking
- Cuisine: American, European (sourdough)
Nutrition
- Serving Size: 1 slice (based on 10 slices per loaf)
- Calories: 160
- Sugar: 0.2 g
- Sodium: 260 mg
- Fat: 0.8 g
- Saturated Fat: 0.1 g
- Unsaturated Fat: 0.6 g
- Trans Fat: 0 g
- Carbohydrates: 32 g
- Fiber: 1.2 g
- Protein: 5 g
- Cholesterol: 0mg


