
Introduction to Mini Biscoff Cheesecakes
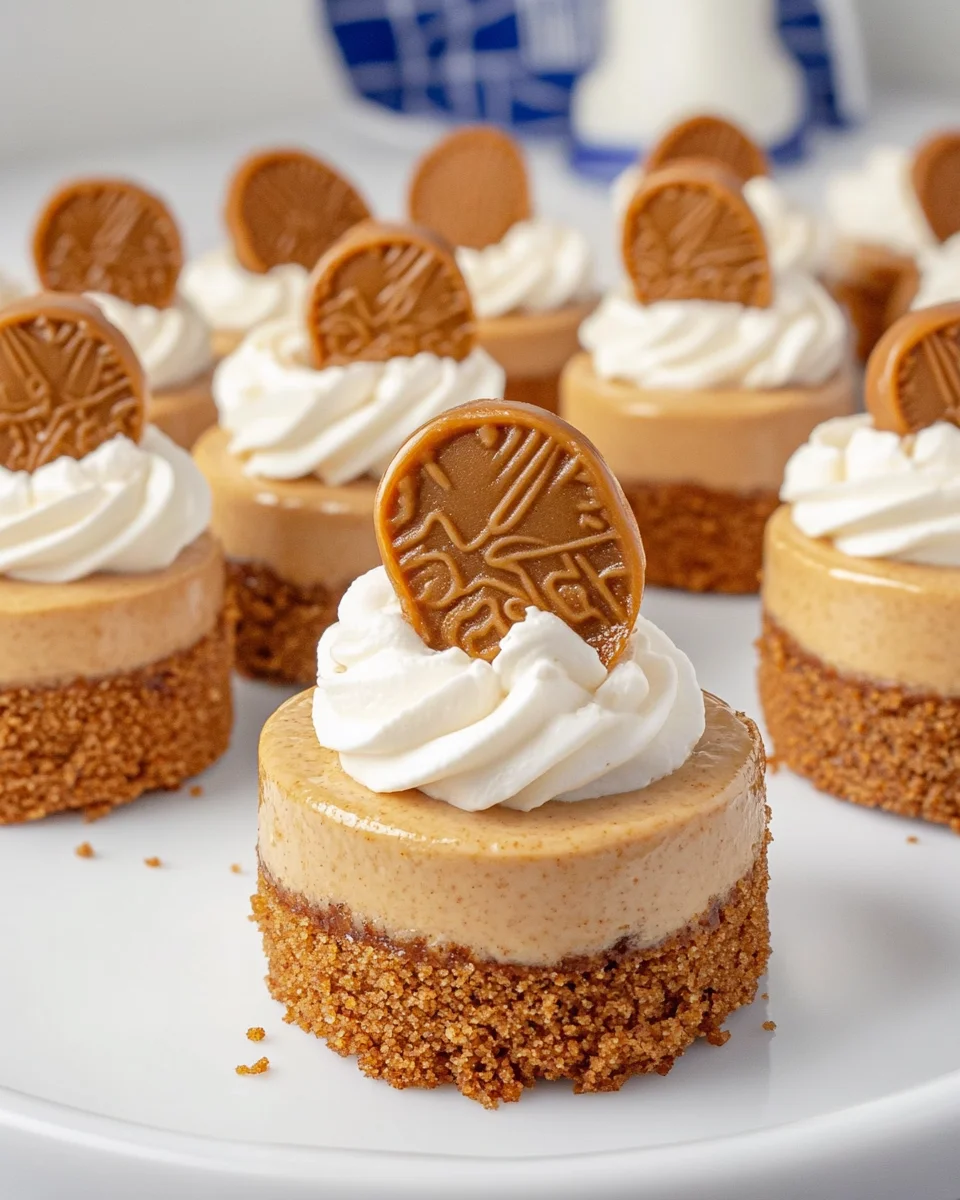
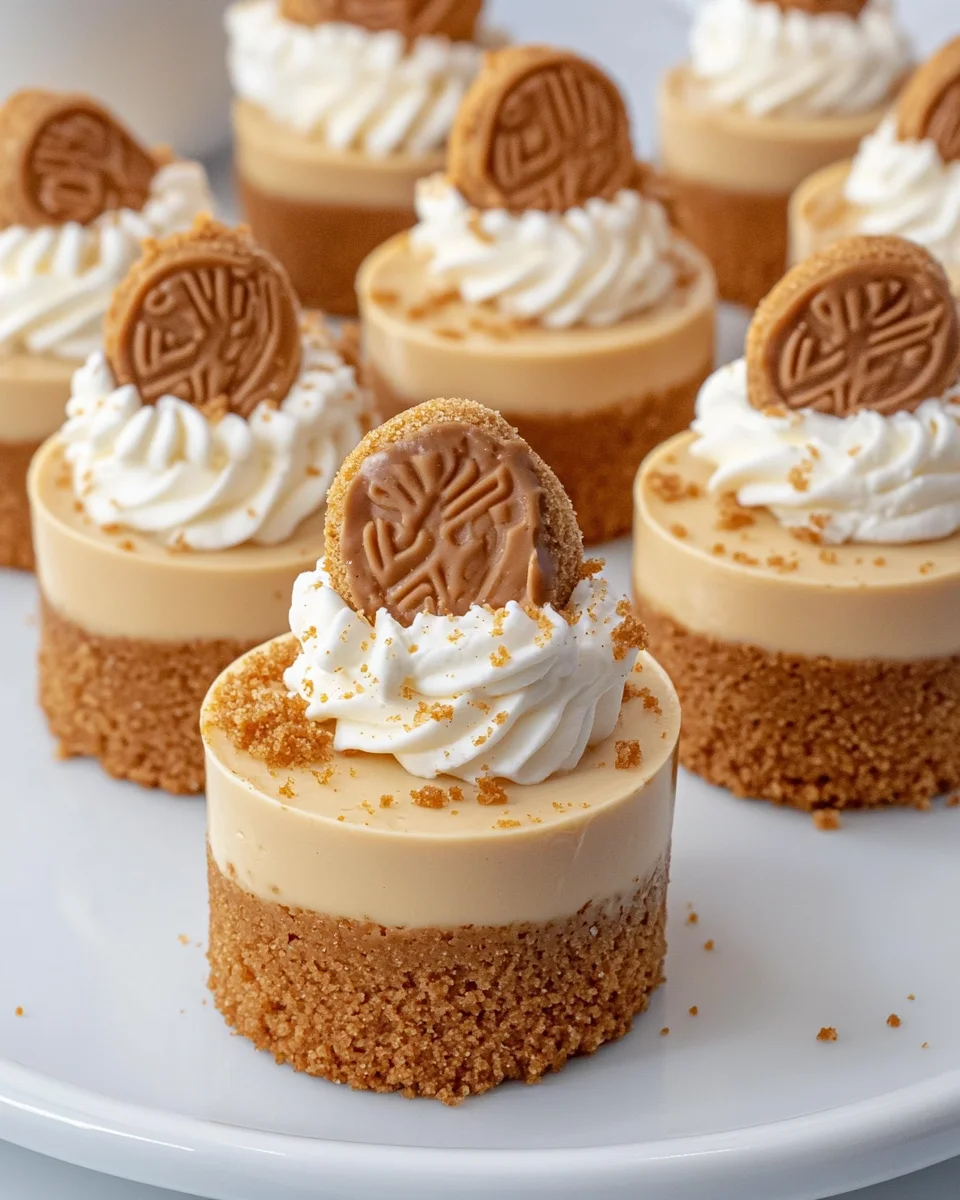
As a busy mom, I know how precious time can be, especially when it comes to whipping up something sweet. That’s why I’m excited to share my recipe for Mini Biscoff Cheesecakes. These little delights are not only a quick solution for a hectic day, but they also pack a punch of flavor that will impress your loved ones. With a buttery Biscoff cookie crust and a creamy filling, these mini cheesecakes are the perfect treat for any occasion. Trust me, once you try them, you’ll be hooked!
Why You’ll Love This Mini Biscoff Cheesecakes
These Mini Biscoff Cheesecakes are a dream come true for busy lives. They’re incredibly easy to make, requiring no baking at all! In just 30 minutes of prep, you can create a dessert that tastes like it came from a fancy bakery. Plus, the rich, creamy Biscoff filling paired with the crunchy cookie crust is a flavor combination that will have everyone asking for seconds. Trust me, they’re irresistible!
Ingredients for Mini Biscoff Cheesecakes
Gathering the right ingredients is key to making these delightful Mini Biscoff Cheesecakes. Here’s what you’ll need:
- Biscoff cookie crumbs: These form the base of your crust, providing that signature caramelized flavor.
- Granulated sugar: Just a touch to sweeten the crust and balance the flavors.
- Salted butter: Adds richness and helps bind the crust together. You can use unsalted butter if you prefer.
- Cream cheese: The star of the filling! Make sure it’s at room temperature for a smooth texture.
- Powdered sugar: This gives the filling a sweet, velvety finish.
- Biscoff spread: This cookie butter is what makes the filling so creamy and indulgent. You can substitute with other nut butters if needed.
- Vanilla extract: A splash of this adds depth to the flavor profile.
- Heavy cream: Essential for whipping up a luscious filling and topping. You can use light cream for a lighter version.
- Additional powdered sugar: For sweetening the whipped cream to perfection.
- More vanilla extract: For the whipped cream, enhancing its flavor.
- Extra Biscoff spread: This is for drizzling on top, adding an extra layer of deliciousness.
- Biscoff cookie crumbs: For garnishing, these add a delightful crunch.
- Biscoff cookies: Halved for topping, they make each cheesecake look extra special.
For exact measurements, check the bottom of the article where you can find everything listed for easy printing. Happy baking!

How to Make Mini Biscoff Cheesecakes
Now that you have all your ingredients ready, let’s dive into the fun part—making these Mini Biscoff Cheesecakes! Follow these simple steps, and you’ll have a delightful dessert that’s sure to impress.
Step 1: Prepare the Crust
Start by mixing the Biscoff cookie crumbs, granulated sugar, and melted salted butter in a mixing bowl. The mixture should resemble wet sand.
Using a small cookie scoop, portion about one tablespoon of the crumb mixture into each cavity of your mini cheesecake pan. Press the crumbs firmly into the bottom to create a solid crust. This step is crucial for a sturdy base!
Step 2: Make the Cheesecake Filling
In a large bowl, beat the room temperature cream cheese with an electric hand mixer until smooth. Add in the powdered sugar, Biscoff spread, and vanilla extract. Mix until everything is well combined.
Next, pour in the heavy cream. Whip the mixture on medium-high speed until it thickens and becomes light and fluffy. This is where the magic happens, transforming your filling into a creamy dream!
Step 3: Pipe the Cheesecake Mixture
Grab a piping bag and fill it with your luscious Biscoff cheesecake mixture. Pipe it onto the prepared crusts, filling each cavity slightly above the top. Don’t worry about being perfect; a little mess adds character!
Once filled, cover the pan with plastic wrap and chill the cheesecakes in the refrigerator for at least 12 hours. This allows the flavors to meld beautifully.
Step 4: Whip the Cream
While your cheesecakes are chilling, let’s make the whipped cream! In a clean bowl, whip the heavy cream, powdered sugar, and vanilla extract until medium-stiff peaks form. This will give you a light and airy topping.
Transfer the whipped cream into another piping bag fitted with a Wilton 1M piping tip for a beautiful swirl on top of your cheesecakes.
Step 5: Assemble the Mini Biscoff Cheesecakes
After the cheesecakes have chilled, it’s time to assemble! Start by gently removing them from the pan. Place each cheesecake on a serving plate.
Heat the additional Biscoff spread in the microwave for about 30 seconds until it’s slightly melted. Drizzle this over the top of each cheesecake.
Next, pipe a swirl of whipped cream on top, sprinkle with Biscoff cookie crumbs, and finish with half of a Biscoff cookie. Voilà! Your Mini Biscoff Cheesecakes are ready to be devoured!
Tips for Success
- Always use room temperature cream cheese for a smooth filling.
- Chill the cheesecakes overnight for the best flavor and texture.
- Don’t skip the whipped cream; it adds a lightness that balances the richness.
- Feel free to adjust the sweetness of the whipped cream to your taste.
- Use a piping bag for a professional-looking finish on your cheesecakes.
Equipment Needed
- Mini cheesecake pan: Essential for shaping your cheesecakes. A muffin tin can work in a pinch.
- Mixing bowls: Use a large bowl for the filling and a smaller one for the whipped cream.
- Electric hand mixer: This makes whipping the cream cheese and heavy cream a breeze.
- Piping bags: Perfect for decorating. Ziplock bags can be a handy substitute.
Variations
- Chocolate Biscoff Cheesecakes: Add cocoa powder to the cheesecake filling for a chocolatey twist.
- Nut-Free Option: Substitute Biscoff spread with sunflower seed butter for a nut-free version.
- Fruit Topping: Top with fresh berries or sliced bananas for a fruity contrast to the rich filling.
- Vegan Version: Use vegan cream cheese and coconut cream for the filling, and a vegan cookie for the crust.
- Spiced Variation: Add a pinch of cinnamon or nutmeg to the filling for a warm, spiced flavor.
Serving Suggestions
- Pair your Mini Biscoff Cheesecakes with a hot cup of coffee or a chilled glass of milk for a delightful treat.
- Serve them on a decorative platter, garnished with fresh mint leaves for a pop of color.
- Consider adding a side of fresh berries to balance the sweetness.
FAQs about Mini Biscoff Cheesecakes
Can I make Mini Biscoff Cheesecakes ahead of time?
Absolutely! These cheesecakes are perfect for making ahead. In fact, chilling them overnight enhances their flavor and texture. Just keep them covered in the fridge until you’re ready to serve.
What can I use instead of Biscoff spread?
If you can’t find Biscoff spread, you can substitute it with other cookie butters or even nut butters like almond or peanut butter. Just keep in mind that the flavor will change slightly.
How do I store leftover Mini Biscoff Cheesecakes?
Store any leftovers in an airtight container in the refrigerator. They should stay fresh for up to 3 days. Just be sure to enjoy them before they disappear!
Can I freeze Mini Biscoff Cheesecakes?
Yes, you can freeze these cheesecakes! Just make sure they are well-wrapped in plastic wrap and then placed in an airtight container. They can be frozen for up to a month. Thaw them in the fridge before serving.
Are Mini Biscoff Cheesecakes gluten-free?
Unfortunately, traditional Biscoff cookies contain gluten. However, you can use gluten-free cookies to make the crust. Just check the labels to ensure they meet your dietary needs.
Final Thoughts
Making Mini Biscoff Cheesecakes is more than just a recipe; it’s an experience filled with joy and creativity. Each bite transports you to a world of creamy bliss, where the rich flavors dance on your palate. Whether you’re celebrating a special occasion or simply treating yourself after a long day, these little delights are sure to bring smiles all around. Plus, they’re a fantastic way to bond with your loved ones in the kitchen. So, roll up your sleeves, gather your ingredients, and let the magic of these cheesecakes brighten your day!
Print
Mini Biscoff Cheesecakes
- Total Time: 12 hours 30 minutes
- Yield: 12 mini cheesecakes 1x
- Diet: Vegetarian
Description
As a busy mom, I know how precious time can be, especially when it comes to whipping up something sweet. That’s why I’m excited to share my recipe for Mini Biscoff Cheesecakes. These little delights are not only a quick solution for a hectic day, but they also pack a punch of flavor that will impress your loved ones. With a buttery Biscoff cookie crust and a creamy filling, these mini cheesecakes are the perfect treat for any occasion. Trust me, once you try them, you’ll be hooked!
Ingredients
- 2 cups Biscoff cookie crumbs
- 2 tbsp granulated sugar
- 6 tbsp salted butter, melted
- 16 oz cream cheese, room temperature
- 1 ¾ cup powdered sugar
- 1 cup Biscoff spread (cookie butter)
- 2 tsp vanilla extract
- 1 cup heavy cream
- ¾ cup heavy cream (for whipped cream)
- 2 tbsp powdered sugar (for whipped cream)
- ½ tsp vanilla extract (for whipped cream)
- ¾ cup Biscoff spread (for topping)
- 2 tbsp Biscoff cookie crumbs (for topping)
- 12 Biscoff cookies, halved (for topping)
Instructions
- In a mixing bowl, stir together the Biscoff cookie crumbs, granulated sugar, and melted salted butter. Portion the crumbs into the mini cheesecake pan using a small cookie scoop (about 1 tablespoon). Firmly press the crumbs into the bottom of the pan to form the crust. Set aside.
- In a large bowl, use an electric hand mixer to cream the cream cheese, powdered sugar, Biscoff spread, and vanilla extract until smooth. Pour in the heavy cream and whip the cheesecake mixture on medium-high speed until the mixture thickens and becomes light and fluffy.
- Fill a piping bag with the Biscoff cheesecake mixture and pipe it onto the Biscoff cookie crusts, slightly above the top of the pan. Chill the cheesecakes in the refrigerator for 12 hours or overnight. After chilling, remove the cheesecakes from the pan.
- To make the whipped cream, in a bowl with an electric mixer, whip the heavy cream, powdered sugar, and vanilla extract until medium-stiff peaks form. Fill a piping bag fitted with a Wilton 1M piping tip with the whipped cream.
- Heat the additional Biscoff spread in the microwave for about 30 seconds to melt slightly. To assemble the cheesecakes, pipe or spoon the melted Biscoff spread on the top of the cheesecakes. Pipe a small swirl of whipped cream on top. Sprinkle the cheesecakes with Biscoff cookie crumbs and top each cheesecake with half of a Biscoff cookie.
Notes
- For best results, chill the cheesecakes overnight.
- Use room temperature cream cheese for a smoother filling.
- Adjust the sweetness of the whipped cream to taste.
- Prep Time: 30 minutes
- Cook Time: 0 minutes
- Category: Dessert
- Method: No-bake
- Cuisine: American
Nutrition
- Serving Size: 1 cheesecake
- Calories: 350
- Sugar: 25g
- Sodium: 200mg
- Fat: 25g
- Saturated Fat: 15g
- Unsaturated Fat: 5g
- Trans Fat: 0g
- Carbohydrates: 30g
- Fiber: 1g
- Protein: 4g
- Cholesterol: 60mg


