
Introduction to Brownie Truffles
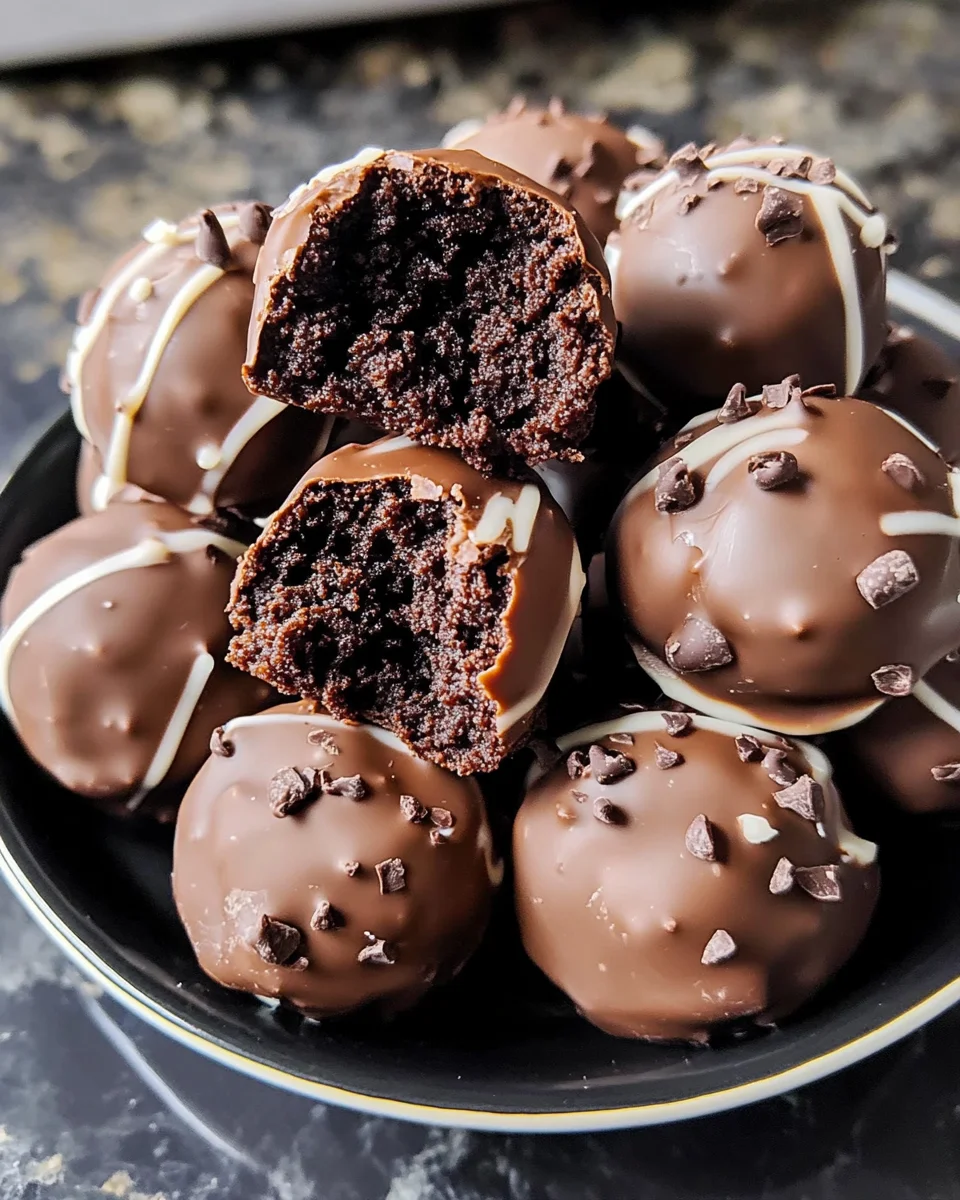
Hey there, fellow chocolate lovers! If you’re anything like me, you know that life can get pretty hectic. Between juggling work, family, and everything in between, finding time to whip up a delightful dessert can feel like a daunting task. That’s where these irresistible brownie truffles come in! They’re not just easy to make; they’re a sweet little treat that can impress your loved ones without taking up your entire afternoon. Trust me, once you try this recipe, you’ll wonder how you ever lived without these decadent bites of joy!
Why You’ll Love This Brownie Truffles
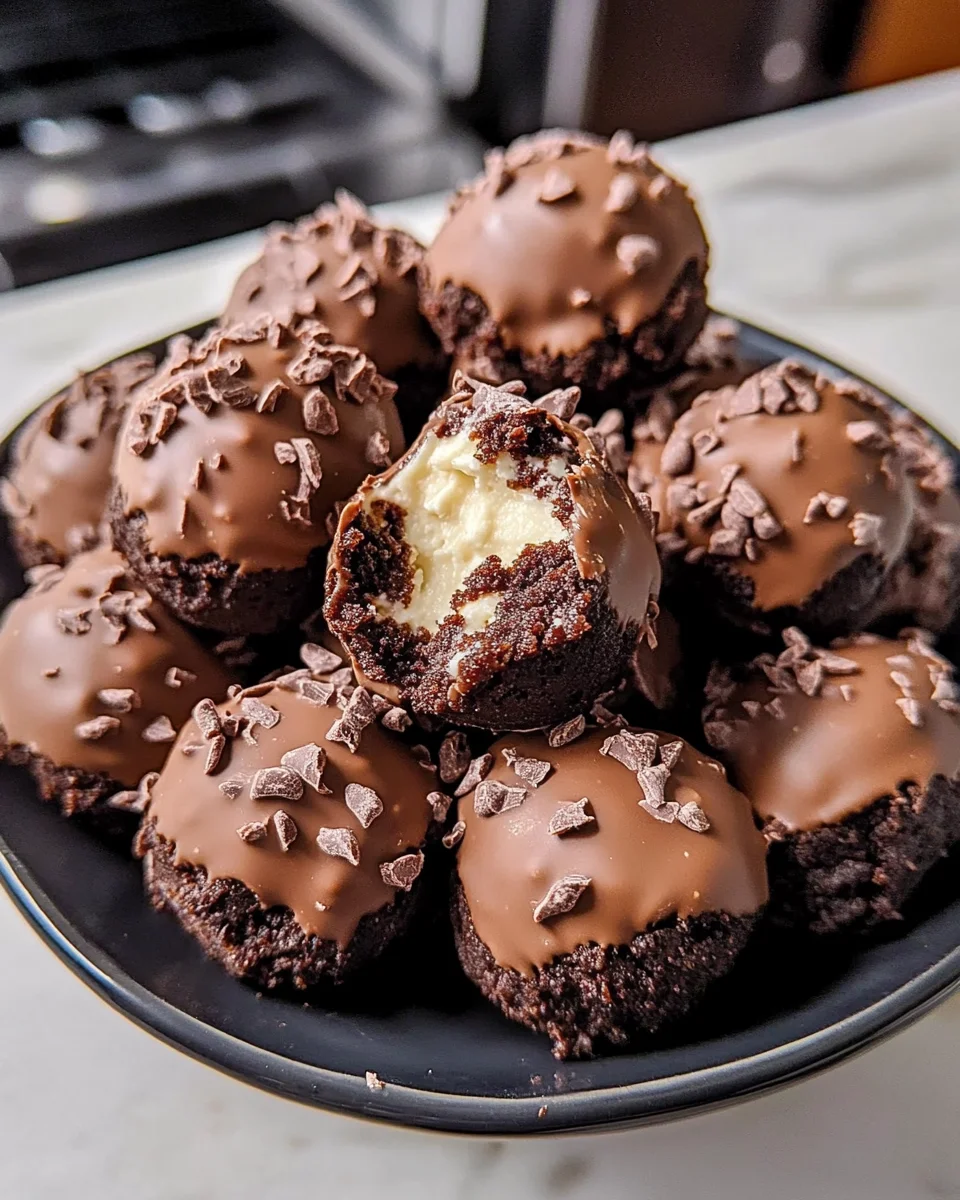
These brownie truffles are a game-changer for busy moms and professionals alike. They come together in just 15 minutes, making them a quick solution for unexpected guests or a sweet treat after dinner. Plus, the rich chocolate flavor combined with creamy cream cheese creates a taste sensation that’s hard to resist. You’ll love how versatile they are, too—perfect for any occasion or just because you deserve a little indulgence!
Ingredients for Brownie Truffles
Let’s gather our ingredients for these delightful brownie truffles! Each one plays a crucial role in creating that perfect bite of chocolatey goodness.
- Brownie mix: This is the star of the show! Choose your favorite brand or even make your own from scratch if you’re feeling adventurous.
- Cream cheese: Softened cream cheese adds a rich, creamy texture that balances the sweetness of the brownies. It’s the secret ingredient that makes these truffles so indulgent!
- Chocolate coating or melted chocolate: This is what gives our truffles that luscious outer layer. You can use chocolate chips, bars, or even candy melts for a colorful twist.
- Optional toppings: Get creative! Sprinkles, cocoa powder, or chopped nuts can add a fun crunch or a pop of color. Feel free to experiment with whatever you have on hand!
For exact measurements, check the bottom of the article where you can find everything you need for printing. Now, let’s get ready to make some magic in the kitchen!

How to Make Brownie Truffles
Now that we have our ingredients ready, let’s dive into the fun part—making these delightful brownie truffles! Follow these simple steps, and you’ll have a batch of sweet treats in no time.
Step 1: Crumble the Brownies
Start by taking your cooled brownies and crumbling them into a large bowl. I like to use my hands for this part; it’s a bit messy but oh-so-satisfying! Make sure there are no large chunks left. The finer the crumble, the better the truffles will hold together.
Step 2: Mix in Cream Cheese
Next, add the softened cream cheese to the crumbled brownies. Using a spatula or your hands, mix until everything is fully combined. You want a smooth, cohesive mixture that holds together well. This step is crucial for that creamy texture we all love!
Step 3: Roll into Balls
Now comes the fun part—rolling the mixture into small balls! Aim for about one inch in diameter. If you find the mixture sticking to your hands, a little dusting of cocoa powder can help. Place each ball on a baking sheet lined with parchment paper. This will make it easier to transfer them later.
Step 4: Freeze the Balls
Pop the baking sheet into the freezer for about 20 minutes. This step is essential! Freezing helps the truffles firm up, making them easier to dip in chocolate later. Plus, it builds anticipation for that first bite!
Step 5: Dip in Chocolate
Once the truffles are firm, it’s time to dip them in melted chocolate. You can use a fork or a dipping tool for this. Just make sure each ball is fully coated. Let the excess chocolate drip off before placing them back on the parchment paper. The chocolate coating is what makes these brownie truffles truly irresistible!
Step 6: Add Toppings and Set
Before the chocolate sets, sprinkle on your desired toppings. Whether it’s colorful sprinkles, a dusting of cocoa powder, or chopped nuts, this is where you can get creative! Once you’ve added your toppings, let the truffles sit until the chocolate hardens. Then, they’re ready to be enjoyed!
Tips for Success
- Make sure your brownies are completely cooled before crumbling; this helps with texture.
- Use room temperature cream cheese for easier mixing and a smoother consistency.
- Experiment with different chocolate coatings—dark, milk, or white chocolate all work beautifully!
- Don’t skip the freezing step; it’s key for easy dipping and shaping.
- Store leftover truffles in an airtight container in the fridge for up to a week.
Equipment Needed
- Large bowl: A mixing bowl is essential. You can use any size, but a larger one makes mixing easier.
- Spatula or hands: For mixing the brownie and cream cheese mixture. Your hands can be the best tool here!
- Baking sheet: A standard baking sheet lined with parchment paper is perfect for setting the truffles.
- Freezer: Essential for firming up the truffles before dipping.
- Dipping tool or fork: Use a fork or a specialized dipping tool for coating the truffles in chocolate.
Variations
- Nutty Delight: Add chopped nuts like walnuts or pecans to the brownie mixture for a crunchy texture.
- Minty Fresh: Mix in a few drops of peppermint extract for a refreshing twist that pairs beautifully with chocolate.
- Gluten-Free Option: Use a gluten-free brownie mix to make these truffles suitable for those with gluten sensitivities.
- Vegan Version: Substitute cream cheese with a vegan cream cheese alternative and use dairy-free chocolate for a plant-based treat.
- Flavor Infusions: Experiment with flavored chocolate coatings, like orange or raspberry, to elevate the taste experience.
Serving Suggestions
- Pair your brownie truffles with a scoop of vanilla ice cream for a delightful contrast.
- Serve them on a decorative platter, garnished with fresh berries for a pop of color.
- Enjoy with a cup of coffee or a glass of milk to enhance the chocolate flavor.
- For a festive touch, arrange them in a mason jar tied with a ribbon as a sweet gift.
FAQs about Brownie Truffles
As I’ve shared my love for brownie truffles, I know you might have a few questions swirling in your mind. Let’s tackle some of the most common ones together!
Can I use store-bought brownies for this recipe?
Absolutely! Store-bought brownies can save you time and still taste delicious. Just make sure they’re cooled before crumbling.
How long do brownie truffles last?
These delightful treats can be stored in the refrigerator for up to a week. Just keep them in an airtight container to maintain freshness.
Can I freeze brownie truffles?
Yes, you can freeze them! Just place them in a single layer in a freezer-safe container. They’ll last for about a month, making them perfect for future cravings.
What can I use instead of cream cheese?
If you’re looking for alternatives, try mascarpone cheese or a vegan cream cheese substitute. Both will give you a creamy texture without compromising flavor.
Can I make these brownie truffles ahead of time?
Definitely! You can prepare them a day or two in advance. Just store them in the fridge until you’re ready to serve. They’ll be just as delicious!
Final Thoughts
Making brownie truffles is more than just a recipe; it’s a delightful experience that brings joy to both the cook and the lucky recipients. The simplicity of this no-bake treat means you can whip them up in no time, even on the busiest days. Each bite is a little piece of happiness, combining rich chocolate with creamy goodness. Whether you’re sharing them at a gathering or enjoying them solo, these brownie truffles are sure to bring smiles. So, roll up your sleeves, get creative, and indulge in the sweet satisfaction of homemade treats!
Print
Brownie Truffles
- Total Time: 35 minutes
- Yield: 24 truffles
- Diet: Vegetarian
Description
Hey there, fellow chocolate lovers! If you’re anything like me, you know that life can get pretty hectic. Between juggling work, family, and everything in between, finding time to whip up a delightful dessert can feel like a daunting task. That’s where these irresistible brownie truffles come in! They’re not just easy to make; they’re a sweet little treat that can impress your loved ones without taking up your entire afternoon. Trust me, once you try this recipe, you’ll wonder how you ever lived without these decadent bites of joy!
Ingredients
- Brownie mix, baked and cooled
- Cream cheese, softened
- Chocolate coating or melted chocolate for dipping
- Optional toppings: sprinkles, cocoa powder, or chopped nuts
Instructions
- Crumble the cooled brownies in a large bowl.
- Add softened cream cheese to the bowl and mix until fully combined.
- Roll the mixture into small balls and place them on a baking sheet.
- Freeze the balls for 20 minutes until firm.
- Dip each ball in melted chocolate, then set on parchment paper.
- Add toppings if desired. Let the truffles set before serving.
Notes
- Ensure brownies are completely cooled before crumbling.
- Experiment with different toppings for variety.
- Store truffles in the refrigerator for up to a week.
- Prep Time: 15 minutes
- Cook Time: 0 minutes
- Category: Dessert
- Method: No-bake
- Cuisine: American
Nutrition
- Serving Size: 1 truffle
- Calories: 120
- Sugar: 10g
- Sodium: 50mg
- Fat: 7g
- Saturated Fat: 4g
- Unsaturated Fat: 2g
- Trans Fat: 0g
- Carbohydrates: 14g
- Fiber: 1g
- Protein: 2g
- Cholesterol: 10mg


