
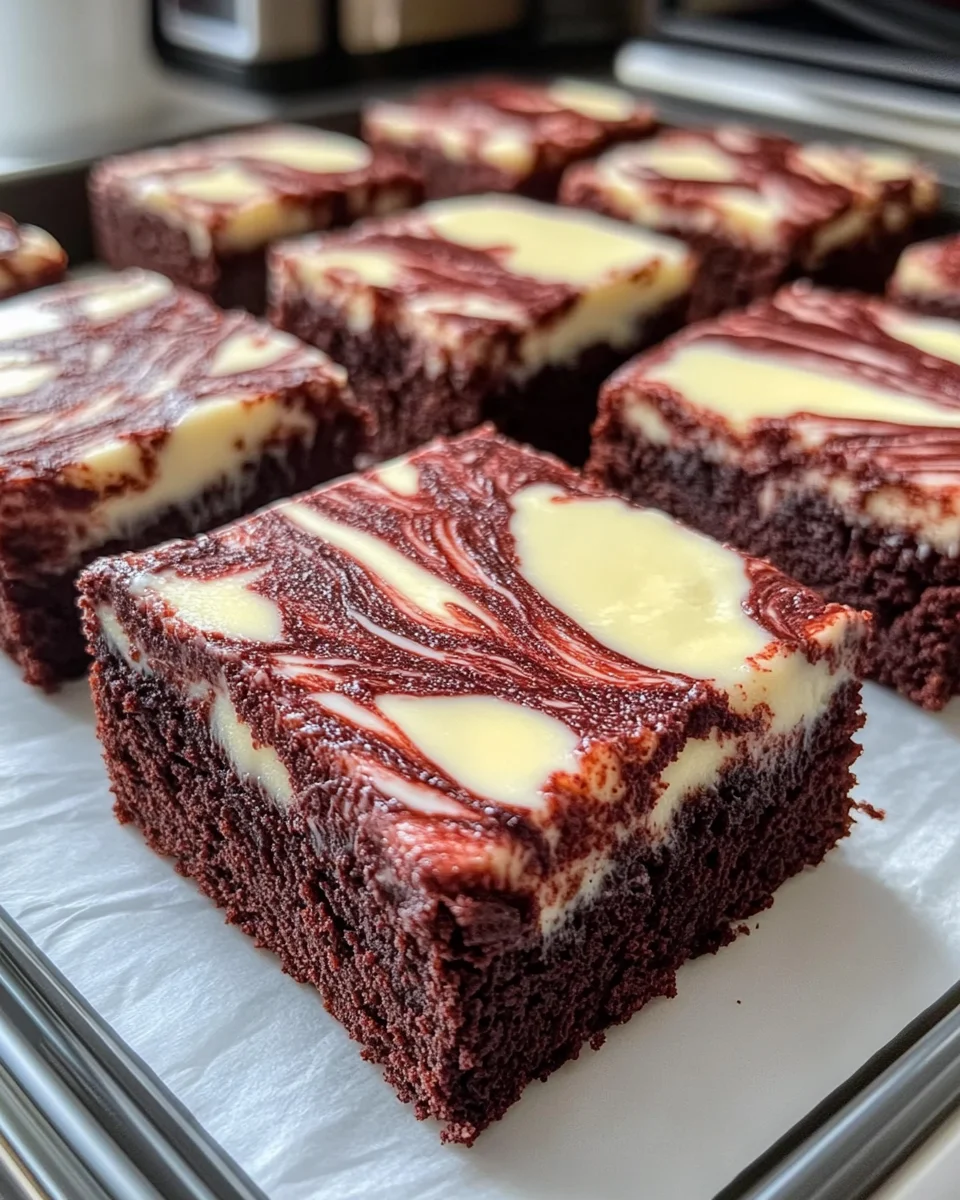
Introduction to Red Velvet Cheesecake Brownies
As a busy mom, I know how precious time can be, especially when it comes to whipping up something special in the kitchen. That’s why I absolutely adore these Red Velvet Cheesecake Brownies! They’re not just a treat; they’re a delightful way to impress your loved ones without spending hours in the kitchen. Imagine rich, velvety brownies topped with a creamy cheesecake layer, all in one bite! Whether it’s a family gathering or a cozy night in, these brownies are the perfect solution for any occasion. Trust me, they’ll have everyone asking for seconds!
Why You’ll Love This Red Velvet Cheesecake Brownies
These Red Velvet Cheesecake Brownies are a dream come true for anyone who loves dessert but is short on time. They’re incredibly easy to make, requiring just a handful of ingredients and minimal effort. The combination of rich chocolatey flavor and creamy cheesecake is simply irresistible. Plus, they’re perfect for any occasion, whether you’re hosting a gathering or just treating yourself after a long day. Who wouldn’t love that?
Ingredients for Red Velvet Cheesecake Brownies
Let’s dive into the delicious components that make these Red Velvet Cheesecake Brownies a true delight! Each ingredient plays a vital role in creating that perfect balance of flavors and textures.
- Unsalted butter: This adds richness and moisture to the brownies. Always use unsalted to control the saltiness.
- Granulated sugar: Sweetness is key! It helps create that lovely chewy texture in the brownies.
- Large eggs: Eggs bind everything together and add a lovely fluffiness to the batter.
- Vanilla extract: A splash of vanilla enhances the overall flavor, making it even more delightful.
- Red food coloring: This is what gives our brownies that iconic red velvet hue. Feel free to adjust the amount for a deeper color!
- Cocoa powder: It adds a rich chocolate flavor, balancing the sweetness of the sugar.
- All-purpose flour: This is the backbone of the brownies, providing structure and stability.
- Salt: Just a pinch enhances all the flavors and balances the sweetness.
- Cream cheese: The star of the cheesecake layer! It brings a creamy, tangy flavor that pairs beautifully with the brownies.
- Granulated sugar (for cheesecake): This sweetens the cheesecake layer, making it a perfect contrast to the brownies.
- Large egg (for cheesecake): Just like in the brownie layer, it helps bind the cheesecake together.
- Vanilla extract (for cheesecake): A touch of vanilla in the cheesecake layer adds depth and warmth.
For exact measurements, check the bottom of the article where you can find everything listed for easy printing. Happy baking!

How to Make Red Velvet Cheesecake Brownies
Step 1: Preheat and Prepare
First things first, preheat your oven to 350°F (175°C). This step is crucial for achieving that perfect bake. While the oven warms up, grab an 8×8-inch baking pan and line it with parchment paper. Make sure to leave some overhang on the sides. This little trick will make it super easy to lift the brownies out later. Trust me, it’s a game changer!
Step 2: Make the Brownie Batter
In a large mixing bowl, whisk together the melted unsalted butter and granulated sugar until the mixture is smooth and glossy. Next, add in the large eggs, vanilla extract, and red food coloring. Stir until everything is well combined. Now, sift in the cocoa powder, all-purpose flour, and salt. Gently fold these dry ingredients into the wet mixture. Be careful not to overmix; we want those brownies to stay fudgy and rich. The batter should be thick and luscious, just waiting to be baked!
Step 3: Prepare the Cheesecake Layer
In a separate bowl, beat the softened cream cheese and granulated sugar together until it’s creamy and smooth. This is where the magic happens! Add in the large egg and a splash of vanilla extract, mixing until everything is well blended. You want this cheesecake layer to be free of lumps, so take your time. The creamy texture will contrast beautifully with the rich brownie layer.
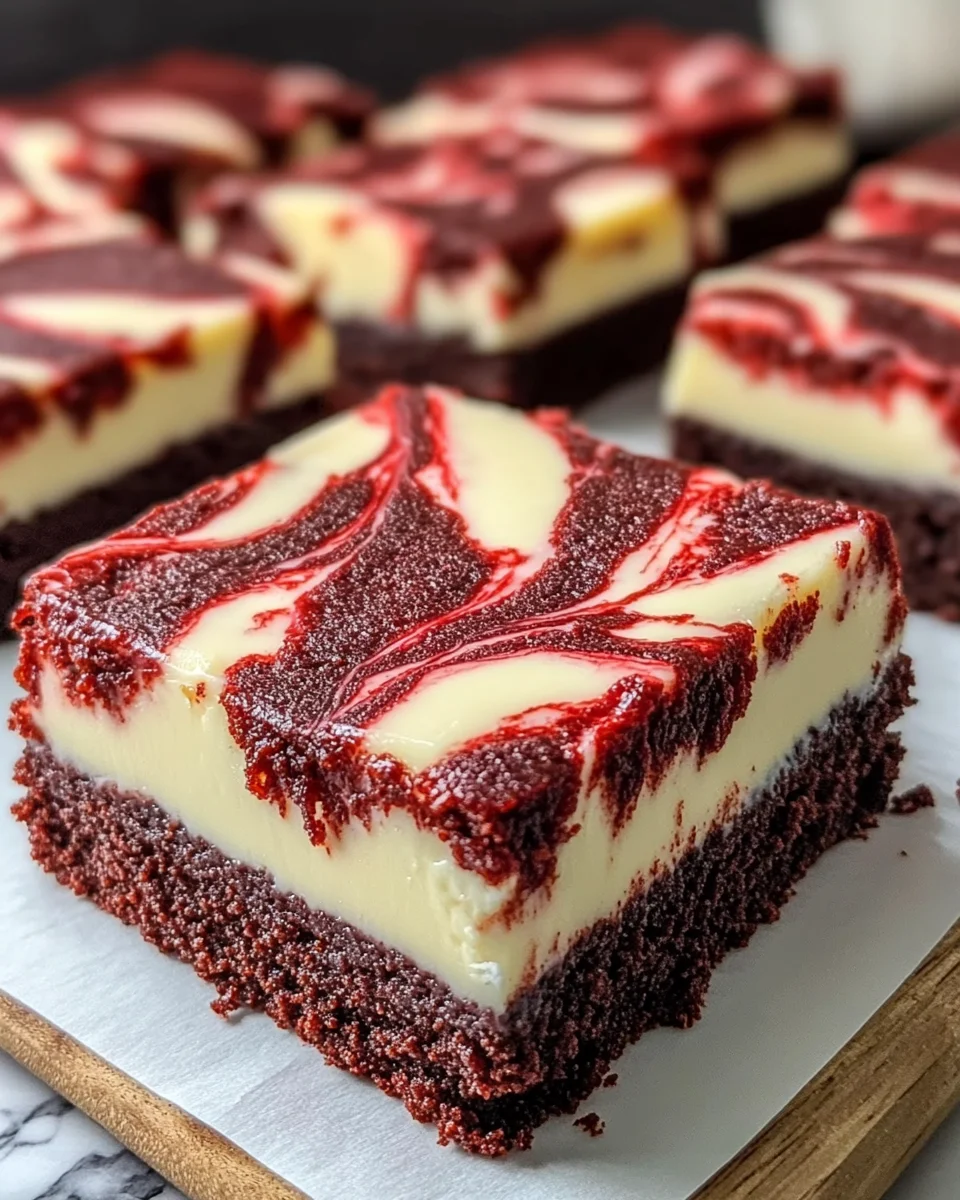
Step 4: Layer the Brownies and Cheesecake
Now it’s time to bring it all together! Pour about three-quarters of the red velvet brownie batter into your prepared baking pan, spreading it evenly. Next, carefully pour the cheesecake mixture over the brownie layer, making sure to cover it completely. Then, drop spoonfuls of the remaining brownie batter on top of the cheesecake layer. Use a knife or toothpick to swirl the red velvet batter through the cheesecake, creating a beautiful marbled effect. This step is where your creativity shines!
Step 5: Bake to Perfection
Pop your layered masterpiece into the preheated oven and bake for 30-35 minutes. Keep an eye on it! You’ll know it’s done when the center is set, and a toothpick inserted comes out mostly clean. A few moist crumbs are perfectly fine. This is the moment when your kitchen will be filled with the most heavenly aroma, making it hard to wait!
Step 6: Cool and Slice
Once baked, let the brownies cool completely in the pan on a wire rack. This cooling step is essential for achieving those clean cuts later. For even better results, chill the brownies in the refrigerator for at least 30 minutes before slicing. When you’re ready, lift them out using the parchment overhang and slice them into squares. Enjoy the delightful layers of red velvet and creamy cheesecake!
Tips for Success
- Always measure your ingredients accurately for the best results.
- Don’t overmix the brownie batter; it keeps them fudgy and moist.
- Use room temperature cream cheese for a smoother cheesecake layer.
- For a fun twist, add chocolate chips to the brownie batter.
- Let the brownies cool completely before slicing for cleaner edges.
Equipment Needed
- 8×8-inch baking pan: A square pan is ideal, but you can use a similar-sized round pan if needed.
- Parchment paper: This helps with easy removal; aluminum foil can be a substitute.
- Mixing bowls: Use any size you have on hand; just ensure they’re sturdy.
- Whisk and spatula: Essential for mixing; a fork can work in a pinch!
- Toothpick or knife: Perfect for swirling and checking doneness.
Variations
- Gluten-Free: Substitute all-purpose flour with a gluten-free blend for a delicious gluten-free option.
- Red Velvet Cheesecake Swirl: Add a layer of raspberry or strawberry puree between the brownie and cheesecake layers for a fruity twist.
- Nutty Delight: Fold in chopped walnuts or pecans into the brownie batter for added crunch and flavor.
- Vegan Option: Use a plant-based butter, flax eggs, and dairy-free cream cheese for a vegan-friendly version.
- Chocolate Lovers: Mix in chocolate chips or chunks into the brownie batter for an extra chocolatey experience.
Serving Suggestions
- Serve warm with a dollop of whipped cream for an extra indulgent treat.
- Pair with a scoop of vanilla ice cream for a delightful contrast in temperature and texture.
- Drizzle with chocolate sauce or caramel for a beautiful presentation.
- Garnish with fresh berries or mint leaves for a pop of color.
- Enjoy with a cup of coffee or a glass of milk for the perfect afternoon snack.
FAQs about Red Velvet Cheesecake Brownies
As I’ve shared my love for these Red Velvet Cheesecake Brownies, I often get questions from fellow dessert enthusiasts. Here are some of the most common queries I’ve encountered, along with my answers to help you on your baking journey!
Can I make these brownies ahead of time?
Absolutely! These brownies can be made a day in advance. Just store them in an airtight container in the refrigerator. They’ll taste even better the next day as the flavors meld together!
What can I substitute for cream cheese?
If you’re looking for a lighter option, you can use Greek yogurt or mascarpone cheese. Both will give you a creamy texture, but the flavor will vary slightly.
How do I know when the brownies are done baking?
Check for doneness by inserting a toothpick into the center. If it comes out with a few moist crumbs, they’re perfect! Remember, a little gooeyness is okay for that fudgy texture.
Can I freeze these brownies?
Yes! These Red Velvet Cheesecake Brownies freeze beautifully. Just wrap them tightly in plastic wrap and then in aluminum foil. They’ll stay fresh for up to three months!
What’s the best way to store leftovers?
Store any leftover brownies in an airtight container in the refrigerator. They’ll stay fresh for about a week, but I doubt they’ll last that long!
Final Thoughts
Making these Red Velvet Cheesecake Brownies is more than just baking; it’s about creating sweet memories in the kitchen. The joy of watching my family’s faces light up as they take that first bite is priceless. Each layer offers a delightful contrast of flavors and textures, making every square a little piece of heaven. Whether you’re celebrating a special occasion or simply treating yourself after a long day, these brownies are sure to bring smiles all around. So, roll up your sleeves, embrace the mess, and enjoy the delicious journey of baking these irresistible treats!
Print
Red Velvet Cheesecake Brownies
- Total Time: 55 minutes
- Yield: 16 brownies 1x
- Diet: Vegetarian
Description
As a busy mom, I know how precious time can be, especially when it comes to whipping up something special in the kitchen. That’s why I absolutely adore these Red Velvet Cheesecake Brownies! They’re not just a treat; they’re a delightful way to impress your loved ones without spending hours in the kitchen. Imagine rich, velvety brownies topped with a creamy cheesecake layer, all in one bite! Whether it’s a family gathering or a cozy night in, these brownies are the perfect solution for any occasion. Trust me, they’ll have everyone asking for seconds!
Ingredients
- 1/2 cup unsalted butter, melted
- 1 cup granulated sugar
- 2 large eggs
- 1 teaspoon vanilla extract
- 1 tablespoon red food coloring
- 1 tablespoon cocoa powder
- 3/4 cup all-purpose flour
- 1/4 teaspoon salt
- 8 oz cream cheese, softened
- 1/4 cup granulated sugar
- 1 large egg
- 1/2 teaspoon vanilla extract
Instructions
- Preheat your oven to 350°F (175°C) and line an 8×8-inch baking pan with parchment paper, leaving some overhang for easy removal.
- In a large mixing bowl, whisk together the melted butter and sugar until smooth. Add the eggs, vanilla extract, and red food coloring. Stir until well combined. Sift in the cocoa powder, flour, and salt. Gently fold the dry ingredients into the wet ingredients until just combined. Be careful not to overmix.
- In a separate bowl, beat the softened cream cheese and sugar together until smooth. Add the egg and vanilla extract, beating until the mixture is creamy and free of lumps.
- Pour about 3/4 of the red velvet brownie batter into the prepared baking pan, spreading it evenly. Carefully pour the cheesecake layer over the brownie layer, spreading it gently to the edges. Drop spoonfuls of the remaining red velvet batter on top of the cheesecake layer. Use a knife or toothpick to swirl the red velvet batter through the cheesecake to create a marbled effect.
- Bake for 30-35 minutes, or until the center is set and a toothpick inserted into the center comes out mostly clean (a few moist crumbs are okay).
- Let the brownies cool completely in the pan on a wire rack before removing them. For cleaner cuts, chill the brownies in the refrigerator for at least 30 minutes before slicing.
- Slice the brownies into squares and serve them as is, or with a dollop of whipped cream or a drizzle of chocolate sauce for extra indulgence.
Notes
- For a more intense red color, you can add more red food coloring.
- These brownies can be stored in an airtight container in the refrigerator for up to a week.
- Feel free to add chocolate chips to the brownie batter for extra richness.
- Prep Time: 20 minutes
- Cook Time: 35 minutes
- Category: Dessert
- Method: Baking
- Cuisine: American
Nutrition
- Serving Size: 1 brownie
- Calories: 250
- Sugar: 20g
- Sodium: 150mg
- Fat: 12g
- Saturated Fat: 7g
- Unsaturated Fat: 3g
- Trans Fat: 0g
- Carbohydrates: 32g
- Fiber: 1g
- Protein: 3g
- Cholesterol: 50mg


