
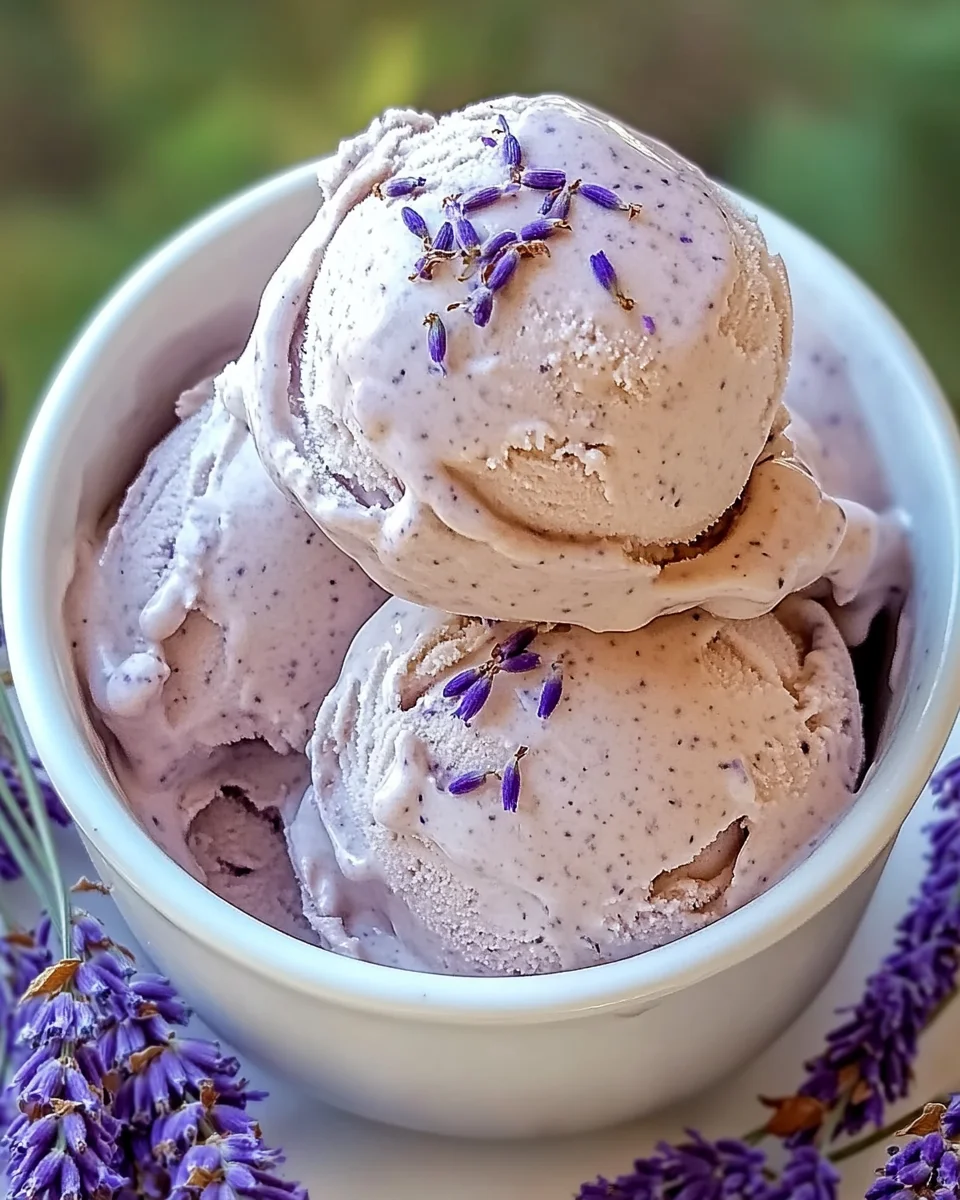
Introduction to Honey Lavender Dream Cream
As a busy mom, I know how precious those little moments of indulgence can be. That’s why I’m excited to share my recipe for Honey Lavender Dream Cream. This luxurious ice cream is not just a treat; it’s a delightful escape from the everyday hustle. Imagine scooping into a creamy, floral-infused dessert that transports you to a serene garden. Whether you’re looking to impress guests or simply treat yourself after a long day, this recipe is your go-to solution. With just a few simple ingredients, you can create a dreamy dessert that feels like a warm hug in a bowl.
Why You’ll Love This Honey Lavender Dream Cream
This Honey Lavender Dream Cream is a delightful blend of ease and elegance. It comes together quickly, making it perfect for busy days when you crave something special. The taste? Oh, it’s a heavenly mix of sweet honey and fragrant lavender that dances on your palate. Plus, it’s a fantastic way to impress family and friends without spending hours in the kitchen. Trust me, this ice cream will become your new favorite treat!
Ingredients for Honey Lavender Dream Cream
Creating your own Honey Lavender Dream Cream is a delightful adventure, and it all starts with the right ingredients. Here’s what you’ll need:
- Heavy cream: This rich base gives the ice cream its luxurious texture. Look for high-quality cream for the best results.
- Whole milk: Adds creaminess and balances the richness of the heavy cream. You can substitute with a plant-based milk if desired.
- Honey: A key player in this recipe, honey brings sweetness and a floral note. Opt for a mild, floral variety for the best flavor.
- Dried culinary lavender: This fragrant herb infuses the ice cream with a lovely aroma. Make sure it’s food-grade lavender for safety.
- Egg yolks: They create a custard base, adding richness and a smooth texture. Fresh eggs work best for flavor.
- Vanilla extract: A classic flavor enhancer that complements the honey and lavender beautifully.
- Pinch of salt: Just a touch enhances the sweetness and balances the flavors.
- Optional coloring: A few drops of natural purple coloring or a tiny pinch of butterfly pea powder can add a whimsical touch to your ice cream.
- Extra lavender buds: These make a lovely garnish, adding a pop of color and a hint of elegance when serving.
For exact measurements, check the bottom of the article where you can find everything listed for easy printing. Happy cooking!

How to Make Honey Lavender Dream Cream
Now that you have your ingredients ready, let’s dive into the delightful process of making Honey Lavender Dream Cream. Each step is simple, and I promise it’s worth every minute. Let’s get started!
Step 1: Infuse the Milk
Begin by combining the heavy cream, whole milk, and dried culinary lavender in a medium saucepan. Heat this mixture over medium-low until it starts to steam, but don’t let it boil. The gentle heat allows the lavender to release its lovely aroma and flavor. Once it’s steaming, remove it from the heat, cover it, and let it steep for 15 to 20 minutes. This step is crucial for that dreamy lavender essence!
Step 2: Strain & Reheat
After steeping, it’s time to strain out the lavender. Use a fine mesh sieve to catch those little buds, leaving you with a beautifully infused milk mixture. Return this fragrant liquid to the saucepan and warm it gently again. This step ensures that your base is just the right temperature for the next phase.
Step 3: Make the Custard
In a separate bowl, whisk together the egg yolks and honey until the mixture is pale and smooth. This is where the magic happens! Slowly pour in some of the warm milk mixture while whisking constantly. This process, called tempering, prevents the eggs from scrambling. It’s like giving your eggs a warm hug before they join the party!
Step 4: Cook Until Thick
Now, pour the egg mixture back into the saucepan. Cook it over medium-low heat, stirring constantly. You want to keep an eye on it until the custard thickens and coats the back of a spoon. This usually happens around 170 to 175°F. Remember, no boiling! We want a smooth, creamy texture, not scrambled eggs.
Step 5: Finish the Base
Once thickened, remove the saucepan from the heat. Stir in the vanilla extract and a pinch of salt. If you feel like it, strain the mixture again to ensure it’s silky smooth. Let it cool to room temperature, then pop it in the fridge for at least 4 hours or overnight. This chilling time is essential for the best texture when churning!
Step 6: Churn the Ice Cream
When you’re ready to churn, pour the chilled base into your ice cream maker. Follow the manufacturer’s instructions, usually churning for about 20 to 25 minutes. You’ll see it transform into a luscious, creamy delight. This is the moment when your kitchen starts to smell like a dreamy lavender field!
Step 7: Freeze to Set
After churning, transfer your Honey Lavender Dream Cream to a freezer-safe container. Spread it out evenly and freeze for 2 to 4 hours until it’s scoopable. This step is like letting your creation take a little nap before it’s time to shine!
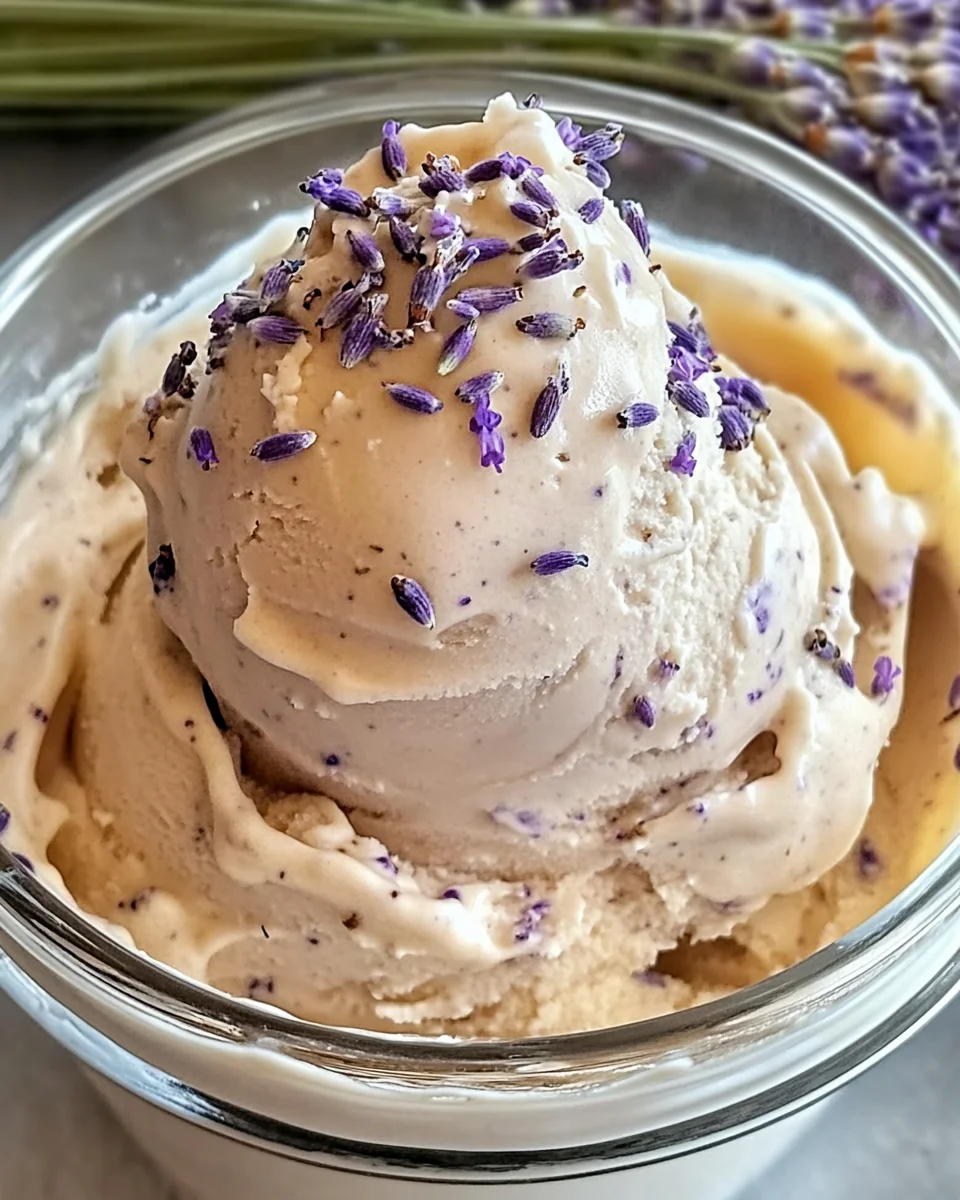
Step 8: Serve and Swoon
Finally, it’s time to serve! Scoop out your Honey Lavender Dream Cream into bowls or cones. For an elegant touch, garnish with a sprinkle of extra lavender buds or a drizzle of honey. Trust me, your taste buds will thank you, and your loved ones will be swooning over this delightful treat!
Tips for Success
- Always use fresh, high-quality ingredients for the best flavor.
- Be patient while infusing the milk; it’s key to capturing that lovely lavender essence.
- Keep an eye on the custard as it cooks; stirring constantly prevents it from curdling.
- Let the ice cream sit at room temperature for a few minutes before scooping for easier serving.
- Experiment with different honey varieties for unique flavor profiles!
Equipment Needed
- Medium saucepan: A sturdy pot for heating and infusing the milk.
- Fine mesh sieve: Essential for straining out the lavender buds. A cheesecloth works too!
- Mixing bowls: For whisking the egg yolks and honey.
- Ice cream maker: This is key for churning. If you don’t have one, a sturdy blender can work in a pinch!
- Freezer-safe container: To store your dreamy ice cream once it’s churned.
Variations of Honey Lavender Dream Cream
- Vegan Option: Substitute heavy cream and whole milk with full-fat coconut milk and almond milk. Use maple syrup instead of honey for a plant-based sweetener.
- Lavender Honey Swirl: Add a swirl of lavender-infused honey into the churned ice cream for an extra burst of flavor and a beautiful presentation.
- Fruit-Infused: Blend in pureed fruits like blueberries or peaches during the churning process for a fruity twist on the classic flavor.
- Chocolate Lovers: Fold in mini chocolate chips or chunks after churning for a delightful contrast to the floral notes.
- Herbal Infusion: Experiment with other herbs like mint or basil alongside lavender for a unique flavor profile that surprises the palate.
Serving Suggestions for Honey Lavender Dream Cream
- Pair with shortbread cookies for a delightful crunch that complements the creaminess.
- Serve alongside fresh berries for a burst of color and flavor.
- Drizzle with extra honey for added sweetness and a beautiful presentation.
- Enjoy with a cup of herbal tea to enhance the floral notes.
- Garnish with mint leaves for a refreshing touch and a pop of color.
FAQs about Honey Lavender Dream Cream
Can I use fresh lavender instead of dried?
While fresh lavender can be used, it’s important to use it sparingly. Fresh herbs are more potent, so start with a small amount and adjust to taste. Dried culinary lavender is often preferred for its concentrated flavor.
How long does Honey Lavender Dream Cream last in the freezer?
This dreamy ice cream can last up to two weeks in the freezer. Just make sure to store it in an airtight container to maintain its creamy texture and flavor.
Can I make this recipe without an ice cream maker?
Absolutely! If you don’t have an ice cream maker, pour the chilled mixture into a shallow dish. Stir it every 30 minutes for about 2-3 hours until it reaches a creamy consistency. It’s a bit more work, but totally worth it!
What can I substitute for honey?
If you’re looking for a vegan option, maple syrup or agave nectar can be great substitutes. Just keep in mind that they will slightly alter the flavor profile of your Honey Lavender Dream Cream.
Is this ice cream suitable for kids?
Yes! This Honey Lavender Dream Cream is a delightful treat for kids. Just be mindful of the lavender flavor, as some children may prefer more traditional ice cream flavors. A little taste test can help gauge their interest!
Final Thoughts
Making Honey Lavender Dream Cream is more than just a recipe; it’s an experience that brings joy to your kitchen. The soothing aroma of lavender and the sweetness of honey create a delightful symphony of flavors that can brighten even the busiest of days. Each scoop is a reminder to slow down and savor life’s little pleasures. Whether you’re sharing it with loved ones or enjoying a quiet moment to yourself, this ice cream is sure to bring smiles and satisfaction. So, grab your ingredients and let the magic unfold—your taste buds will thank you!
Print
Honey Lavender Dream Cream
- Total Time: 4 hours 50 minutes
- Yield: About 1 quart 1x
- Diet: Vegetarian
Description
As a busy mom, I know how precious those little moments of indulgence can be. That’s why I’m excited to share my recipe for Honey Lavender Dream Cream. This luxurious ice cream is not just a treat; it’s a delightful escape from the everyday hustle. Imagine scooping into a creamy, floral-infused dessert that transports you to a serene garden.
Ingredients
- 2 cups heavy cream
- 1 cup whole milk
- 1/2 cup honey (preferably mild and floral)
- 2 tablespoons dried culinary lavender
- 4 large egg yolks
- 1 teaspoon vanilla extract
- Pinch of salt
- Optional: A few drops of natural purple coloring or a tiny pinch of butterfly pea powder (for color)
- Extra lavender buds for garnish
Instructions
- Infuse the Milk: In a medium saucepan, combine milk, cream, and lavender. Heat over medium-low until it just starts to steam (do not boil). Remove from heat, cover, and let steep for 15–20 minutes.
- Strain & Reheat: Strain out the lavender using a fine mesh sieve. Return the infused mixture to the pan and warm it gently.
- Make the Custard: In a separate bowl, whisk egg yolks and honey until pale and smooth. Slowly pour in some of the warm milk mixture, whisking constantly to temper the eggs.
- Cook Until Thick: Pour the egg mixture back into the saucepan. Cook over medium-low heat, stirring constantly, until the custard thickens and coats the back of a spoon (170–175°F). Do not let it boil.
- Finish the Base: Remove from heat, stir in vanilla and a pinch of salt. Strain again if needed. Let cool to room temperature, then refrigerate for at least 4 hours or overnight.
- Churn the Ice Cream: Pour the chilled base into your ice cream maker and churn according to manufacturer instructions (usually 20–25 minutes).
- Freeze to Set: Transfer to a freezer-safe container and freeze for 2–4 hours until scoopable.
- Serve and Swoon: Garnish with a sprinkle of lavender buds or a drizzle of extra honey for that elegant finish.
Notes
- Ensure the milk mixture does not boil during infusion to preserve the flavor.
- For a more vibrant color, consider using natural coloring options.
- Allow the ice cream to sit at room temperature for a few minutes before scooping for easier serving.
- Prep Time: 20 minutes
- Cook Time: 30 minutes
- Category: Dessert
- Method: Churning
- Cuisine: American
Nutrition
- Serving Size: 1/2 cup
- Calories: 300
- Sugar: 25g
- Sodium: 50mg
- Fat: 20g
- Saturated Fat: 12g
- Unsaturated Fat: 8g
- Trans Fat: 0g
- Carbohydrates: 30g
- Fiber: 0g
- Protein: 4g
- Cholesterol: 150mg


