
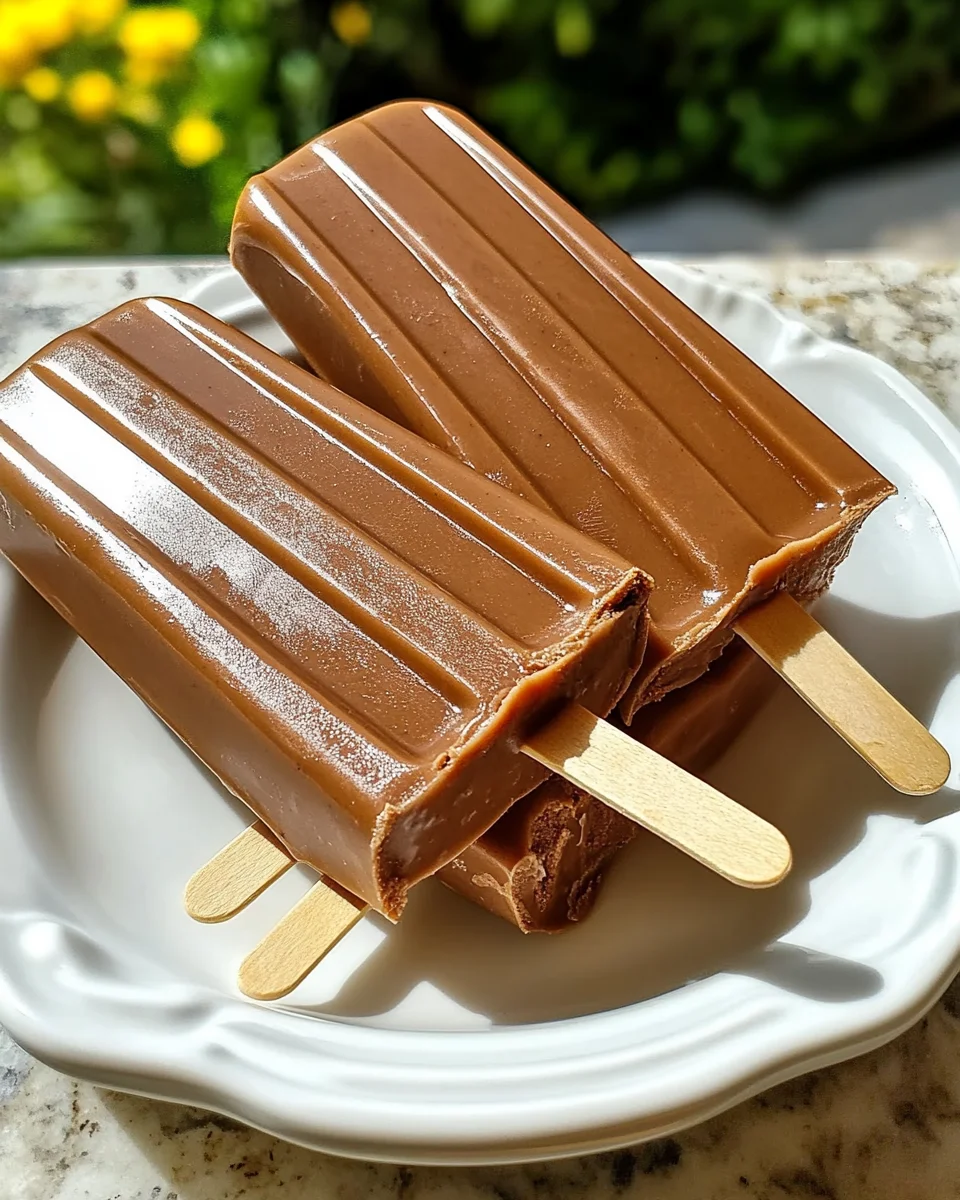
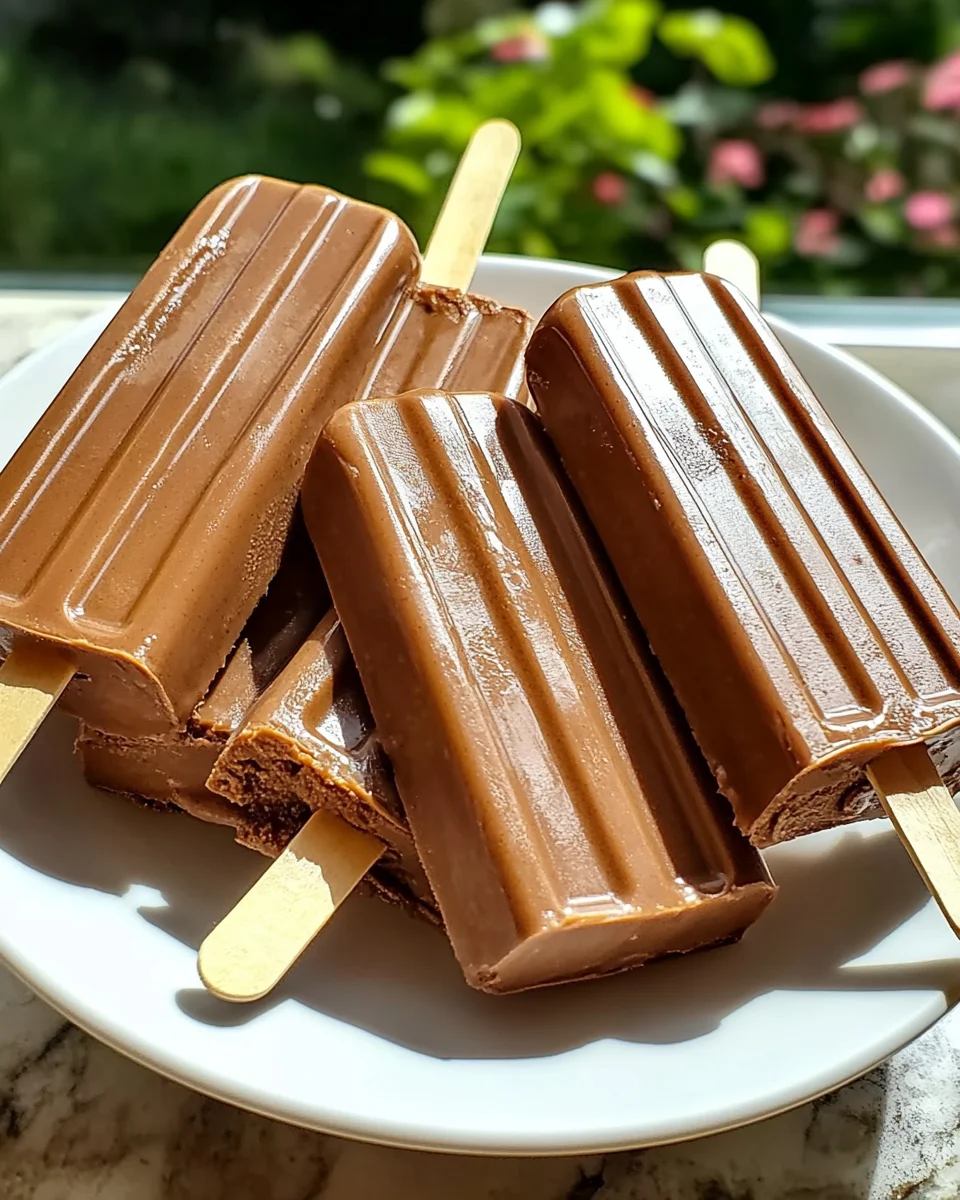
Introduction to Homemade Fudgesicles
As a busy mom, I know how challenging it can be to find time for a sweet treat that everyone will love. That’s where these Homemade Fudgesicles come in! They’re not just a quick solution for a hot summer day; they’re a delightful way to bring smiles to your family’s faces. With just a few simple ingredients, you can whip up these chocolatey delights in no time. Plus, they’re a fun project to do with the kids! Trust me, once you try this easy recipe, you’ll be making them again and again.
Why You’ll Love This Homemade Fudgesicles
These Homemade Fudgesicles are a dream come true for busy families! They’re incredibly easy to make, taking just 10 minutes of your time. The best part? You can customize them to suit your family’s taste buds. Whether you’re craving a rich chocolate flavor or want to sneak in some healthy ingredients, these fudgesicles are a deliciously versatile treat that everyone will adore!
Ingredients for Homemade Fudgesicles
Gathering the right ingredients is the first step to creating these delightful Homemade Fudgesicles. Here’s what you’ll need:
- Instant Jello chocolate pudding: This is the star of the show! It provides that rich, chocolatey flavor and creamy texture.
- Cold milk: The base for your fudgesicles. You can use whole milk for a creamier texture or low-fat milk if you prefer a lighter option.
Feel free to get creative! You can add a splash of vanilla extract for extra flavor or a pinch of salt to enhance the chocolate taste. If you’re feeling adventurous, try mixing in some peanut butter or coconut milk for a unique twist.
For exact measurements, check the bottom of the article where you can find everything listed for easy printing!

How to Make Homemade Fudgesicles
Making Homemade Fudgesicles is a breeze! Follow these simple steps, and you’ll have a delicious treat ready to enjoy. Let’s dive in!
Prepare Your Molds
First things first, you need to prepare your molds. Make sure they are clean and dry. This is crucial because any leftover moisture can affect the texture of your fudgesicles. If you have a lid for your mold, keep it handy. It’ll help keep the fudgesicles from forming ice crystals while freezing. Trust me, a little prep goes a long way!
Whisk the Pudding and Milk
Next, grab a mixing bowl and combine the instant chocolate pudding mix with cold milk. Whisk vigorously for about a minute or two. You want the mixture to be smooth and slightly thickened. This step is key to achieving that creamy texture we all love in chocolate fudgesicles. Don’t be shy—get that whisk moving!
Fill the Molds
Now it’s time to fill those molds! Carefully pour the pudding mixture into each cavity, filling them about three-quarters full. Leave about a quarter-inch at the top to prevent overflow as the mixture expands while freezing. It’s like giving your fudgesicles a little room to grow!
Add Sticks and Lids
If your mold has a lid, snap it on before inserting the sticks. If not, gently place a stick in each mold slot, pushing it about an inch deep. This will help keep the sticks centered while your fudgesicles freeze. It’s a small step, but it makes a big difference in presentation!
Freeze Until Solid
Finally, place your molds in the freezer. Let them freeze for at least six hours, or until completely solid. For the best results, I recommend freezing them overnight. The longer they freeze, the more deliciously firm they’ll be. Just imagine the joy of pulling out a perfectly frozen fudgesicle on a hot day!
Tips for Success
- Use whole milk for a creamier texture that kids will love.
- Don’t rush the whisking; a smooth mixture is key to great fudgesicles.
- Experiment with flavors like almond extract or a dash of cinnamon for a twist.
- Make a double batch and store extras for those unexpected sweet cravings!
- Run warm water over the outside of the molds for easier removal.
Equipment Needed
- Popsicle molds: Any shape will do! If you don’t have molds, use small paper cups.
- Popsicle sticks: You can use wooden sticks or even plastic spoons in a pinch.
- Mixing bowl: A medium-sized bowl works best for whisking.
- Whisk: A hand whisk is perfect, but a fork can work too!
Variations of Homemade Fudgesicles
- Nutty Delight: Stir in some chopped nuts like almonds or walnuts for a crunchy texture.
- Fruit Fusion: Blend in pureed bananas or strawberries for a fruity twist that kids will love.
- Mint Chocolate: Add a few drops of peppermint extract for a refreshing minty flavor.
- Vegan Option: Substitute regular milk with almond or coconut milk for a dairy-free treat.
- Protein Boost: Mix in a scoop of chocolate protein powder for a healthier version that packs a punch.
Serving Suggestions for Homemade Fudgesicles
- Pair your fudgesicles with fresh fruit like strawberries or raspberries for a colorful plate.
- Serve with a dollop of whipped cream for an extra indulgent treat.
- Enjoy alongside a glass of cold milk or a refreshing iced coffee.
- For a fun presentation, place them in a decorative cup with sprinkles on top!
FAQs about Homemade Fudgesicles
As you embark on your journey to make Homemade Fudgesicles, you might have a few questions. Here are some common queries I’ve encountered, along with helpful answers!
Can I use different flavors of pudding?
Absolutely! While chocolate is a classic choice, you can experiment with vanilla or even butterscotch pudding for a fun twist. Just remember, the process remains the same!
How long do these fudgesicles last in the freezer?
These chocolate fudgesicles can last up to two months in the freezer. Just make sure they’re stored in an airtight container to prevent freezer burn.
Can I make these fudgesicles without molds?
Yes! If you don’t have molds, small paper cups work perfectly. Just pour the mixture in, insert a stick, and freeze. It’s a great way to get creative!
What can I add to make them healthier?
For a healthier version, consider adding a scoop of protein powder or using almond milk instead of regular milk. You can also sneak in some pureed fruits for added nutrition!
Are these fudgesicles suitable for kids?
Definitely! These Homemade Fudgesicles are a hit with kids. They’re easy to make, delicious, and you can customize them to suit your little ones’ tastes!
Final Thoughts
Making Homemade Fudgesicles is more than just a recipe; it’s a delightful experience that brings joy to both the cook and the family. The smiles on my kids’ faces as they enjoy these chocolatey treats are priceless. Plus, the simplicity of this recipe means I can whip them up even on the busiest days. Whether it’s a hot summer afternoon or a sweet surprise after dinner, these fudgesicles are sure to become a cherished family favorite. So grab your molds, and let’s create some delicious memories together!
Print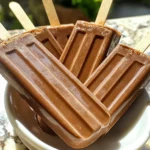
Homemade Fudgesicles
- Total Time: 6 hours 10 minutes
- Yield: 10 fudgesicles 1x
- Diet: Vegetarian
Description
As a busy mom, I know how challenging it can be to find time for a sweet treat that everyone will love. That’s where these Homemade Fudgesicles come in! They’re not just a quick solution for a hot summer day; they’re a delightful way to bring smiles to your family’s faces.
Ingredients
- 1 package Instant Jello chocolate pudding (113g or 3.9 oz)
- 2 2/3 cups cold milk
Instructions
- Prepare your molds: Make sure your popsicle mold and sticks are clean, dry, and ready to go. If your mold has a lid, have that nearby too.
- Whisk the pudding and milk: In a mixing bowl, combine the instant chocolate pudding mix with the cold milk. Whisk vigorously for a minute or two until the mixture is smooth and thickened slightly.
- Fill the molds: Carefully pour the pudding mixture into your popsicle molds, filling each cavity about 3/4 full or leaving around 1/4 inch at the top. This helps avoid overflow once the mixture expands during freezing.
- Add sticks and lids: If your mold includes a lid, snap it on before inserting the sticks. Otherwise, gently place a stick in each mold slot about 1 inch deep.
- Freeze until solid: Place the molds in the freezer and let the fudgesicles freeze for at least six hours, or until completely solid. Overnight freezing is even better.
Notes
- For a creamier texture, consider using whole milk instead of low-fat milk.
- Experiment with adding flavors like vanilla extract or a pinch of salt for enhanced taste.
- Prep Time: 10 minutes
- Cook Time: 0 minutes
- Category: Dessert
- Method: Freezing
- Cuisine: American
Nutrition
- Serving Size: 1 fudgesicle
- Calories: 100
- Sugar: 10g
- Sodium: 150mg
- Fat: 2g
- Saturated Fat: 1g
- Unsaturated Fat: 0g
- Trans Fat: 0g
- Carbohydrates: 18g
- Fiber: 0g
- Protein: 2g
- Cholesterol: 5mg


