
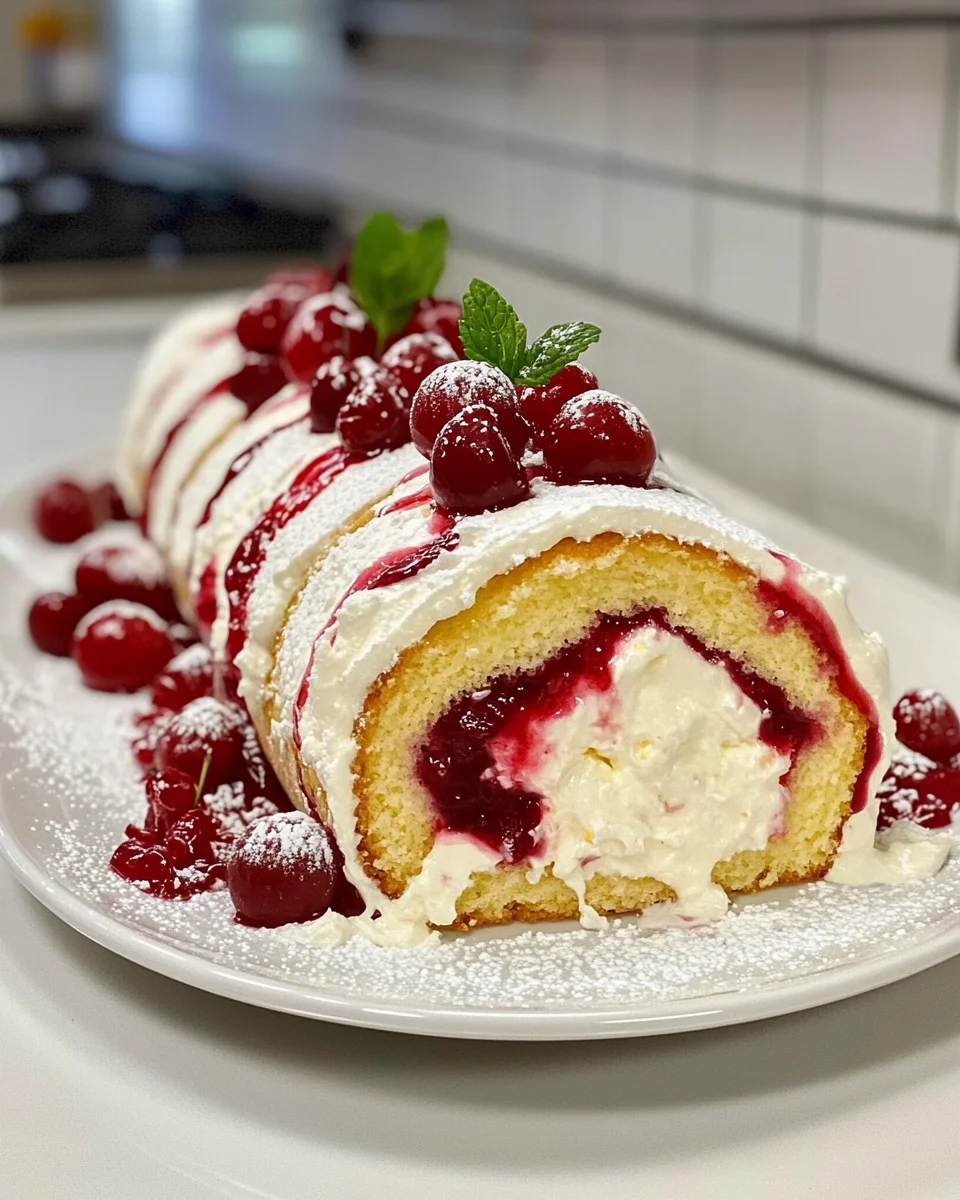
Introduction to Cherry Cheesecake Cake Roll
As a busy mom, I know how precious time can be, especially when it comes to whipping up something special in the kitchen. That’s why I’m excited to share my Cherry Cheesecake Cake Roll with you! This delightful dessert combines the creamy goodness of cheesecake with the sweet burst of cherries, all wrapped in a light sponge cake. It’s perfect for impressing guests or simply treating yourself after a long day. Plus, it’s surprisingly easy to make, making it a fantastic solution for those hectic weeknights when you still want to indulge in something delicious.
Why You’ll Love This Cherry Cheesecake Cake Roll
This Cherry Cheesecake Cake Roll is a true crowd-pleaser! It’s not only quick to prepare, but it also delivers a stunning presentation that will wow your family and friends. The combination of creamy cheesecake and tart cherries creates a flavor explosion that dances on your taste buds. Plus, it’s a versatile dessert that can be enjoyed for any occasion, from casual family dinners to festive gatherings. You’ll find yourself making it again and again!
Ingredients for Cherry Cheesecake Cake Roll
Gathering the right ingredients is key to creating a delicious Cherry Cheesecake Cake Roll. Here’s what you’ll need:
- Large eggs: These provide structure and moisture to the cake. Make sure they’re at room temperature for the best results.
- Granulated sugar: This sweetens the cake and helps it rise, giving it that lovely light texture.
- Vanilla extract: A splash of this adds warmth and depth to the flavor profile.
- All-purpose flour: The backbone of the cake, it gives it body and helps it hold its shape.
- Baking powder: This leavening agent ensures your cake rolls up light and fluffy.
- Salt: Just a pinch enhances the sweetness and balances the flavors.
- Milk: Adds moisture to the batter, making it tender and delicious.
- Melted butter: This enriches the cake, giving it a lovely buttery flavor.
- Cream cheese: The star of the filling! It brings that classic cheesecake flavor and creamy texture.
- Powdered sugar: This sweetens the cream cheese filling and gives it a smooth consistency.
- Heavy whipping cream: Whipped to soft peaks, it lightens the filling and adds a luscious mouthfeel.
- Lemon juice: Optional, but a little tang can elevate the flavor of the filling.
- Cherry pie filling: This is the crowning glory of your cake roll, providing that sweet and tart cherry flavor.
- Cornstarch: Optional for thickening the cherry filling, ensuring it doesn’t make the cake soggy.
- Water: Used to mix with cornstarch if you choose to thicken the cherry filling.
- Powdered sugar: For dusting the roll before serving, adding a touch of sweetness and elegance.
- Fresh cherries or mint leaves: These make for beautiful garnishes, adding a pop of color and freshness.
For exact measurements, check the bottom of the article where you can find everything listed for easy printing!

How to Make Cherry Cheesecake Cake Roll
Now that you have all your ingredients ready, let’s dive into the fun part—making the Cherry Cheesecake Cake Roll! Follow these simple steps, and you’ll be on your way to a delightful dessert that will impress everyone.
Step 1: Preheat and Prepare
First things first, preheat your oven to 350°F (175°C). This ensures your cake bakes evenly. While the oven warms up, grab a jelly roll pan and line it with parchment paper. This step is crucial! It prevents the cake from sticking and makes rolling it up a breeze later on.
Step 2: Mix the Batter
In a large mixing bowl, beat the eggs and granulated sugar together until the mixture is light and fluffy. This usually takes about 3-5 minutes. The goal is to incorporate air, which helps the cake rise beautifully. Next, gently fold in the all-purpose flour and vanilla extract. Be careful not to overmix; you want a smooth batter with a slightly thick consistency.
Step 3: Bake the Cake
Pour the batter into your prepared jelly roll pan, spreading it evenly. Bake for about 15 minutes, or until the cake springs back when lightly touched. Once it’s done, remove it from the oven and let it cool for about 5 minutes. This cooling period is essential! It makes the cake easier to roll without cracking.
Step 4: Prepare the Cream Cheese Filling
While the cake cools, it’s time to whip up the cream cheese filling. In a separate bowl, mix the softened cream cheese, powdered sugar, and heavy whipping cream until smooth and creamy. If you want a little zing, add a splash of lemon juice. This optional ingredient can elevate the flavor, giving it a delightful tang!
Step 5: Assemble the Cake Roll
Once the cake has cooled slightly, place a clean kitchen towel on your counter. Carefully invert the cake onto the towel, peeling off the parchment paper. Spread the cream cheese filling evenly over the cake, leaving a small border around the edges. Now, it’s time to roll! Starting from one end, gently roll the cake up with the towel, creating a tight spiral. Don’t worry if it’s not perfect; practice makes perfect!
Step 6: Top and Chill
After rolling, place the cake seam-side down on a serving platter. Top it with the cherry pie filling, spreading it evenly. Now, here’s the secret: chill the cake roll in the refrigerator for at least an hour. This helps the flavors meld together and makes slicing easier. Trust me, the wait will be worth it!
Tips for Success
- Always use room temperature ingredients for a smoother batter.
- Don’t skip the cooling step; it prevents cracks when rolling.
- Use a clean kitchen towel to help with rolling; it makes the process easier.
- Chill the cake roll for at least an hour to enhance flavors.
- Dust with powdered sugar just before serving for a beautiful finish.
Equipment Needed
- Jelly roll pan: A standard baking sheet works too, but a jelly roll pan is ideal for the right thickness.
- Parchment paper: If you don’t have this, greasing the pan well can work as an alternative.
- Mixing bowls: Use any size, but a large bowl is best for mixing the batter.
- Hand mixer or whisk: A hand mixer makes it easier, but a whisk can do the job with a bit more effort.
- Kitchen towel: A clean dish towel is perfect for rolling the cake; a silicone mat can also work.
Variations
- Chocolate Cherry Cheesecake Cake Roll: Add cocoa powder to the batter for a chocolate twist. Pair it with chocolate whipped cream for the filling!
- Gluten-Free Option: Substitute all-purpose flour with a gluten-free flour blend. Ensure your baking powder is gluten-free as well.
- Fruit Variations: Swap out cherry pie filling for other fruits like blueberry or strawberry for a different flavor profile.
- Vegan Version: Use flax eggs instead of regular eggs, and substitute cream cheese with a vegan alternative. Coconut cream can replace heavy whipping cream.
- Nutty Addition: Fold in some crushed nuts like pecans or walnuts into the cream cheese filling for added texture and flavor.
Serving Suggestions
- Pair with a scoop of vanilla ice cream for a delightful contrast in temperature and texture.
- Serve alongside a fresh fruit salad to add a refreshing touch.
- Drizzle with chocolate sauce for an indulgent twist.
- Garnish with fresh mint leaves for a pop of color.
- Enjoy with a cup of coffee or tea for a cozy afternoon treat.
FAQs about Cherry Cheesecake Cake Roll
Can I make the Cherry Cheesecake Cake Roll ahead of time?
Absolutely! This cake roll can be made a day in advance. Just keep it covered in the refrigerator. The flavors will meld beautifully overnight, making it even more delicious!
What can I use instead of cherry pie filling?
If cherries aren’t your thing, feel free to swap in other fruit fillings like blueberry or strawberry. You can even use fresh fruit mixed with a bit of sugar for a lighter option.
How do I store leftovers?
Store any leftover Cherry Cheesecake Cake Roll in an airtight container in the refrigerator. It should stay fresh for about 3-4 days, but I doubt it will last that long!
Can I freeze the cake roll?
Yes, you can freeze the cake roll! Wrap it tightly in plastic wrap and then in aluminum foil. It can be frozen for up to 2 months. Just thaw it in the fridge before serving.
What’s the best way to slice the cake roll?
To get clean slices, use a sharp knife and wipe it clean between cuts. This will help maintain the beautiful layers of cream cheese and cherries!
Final Thoughts
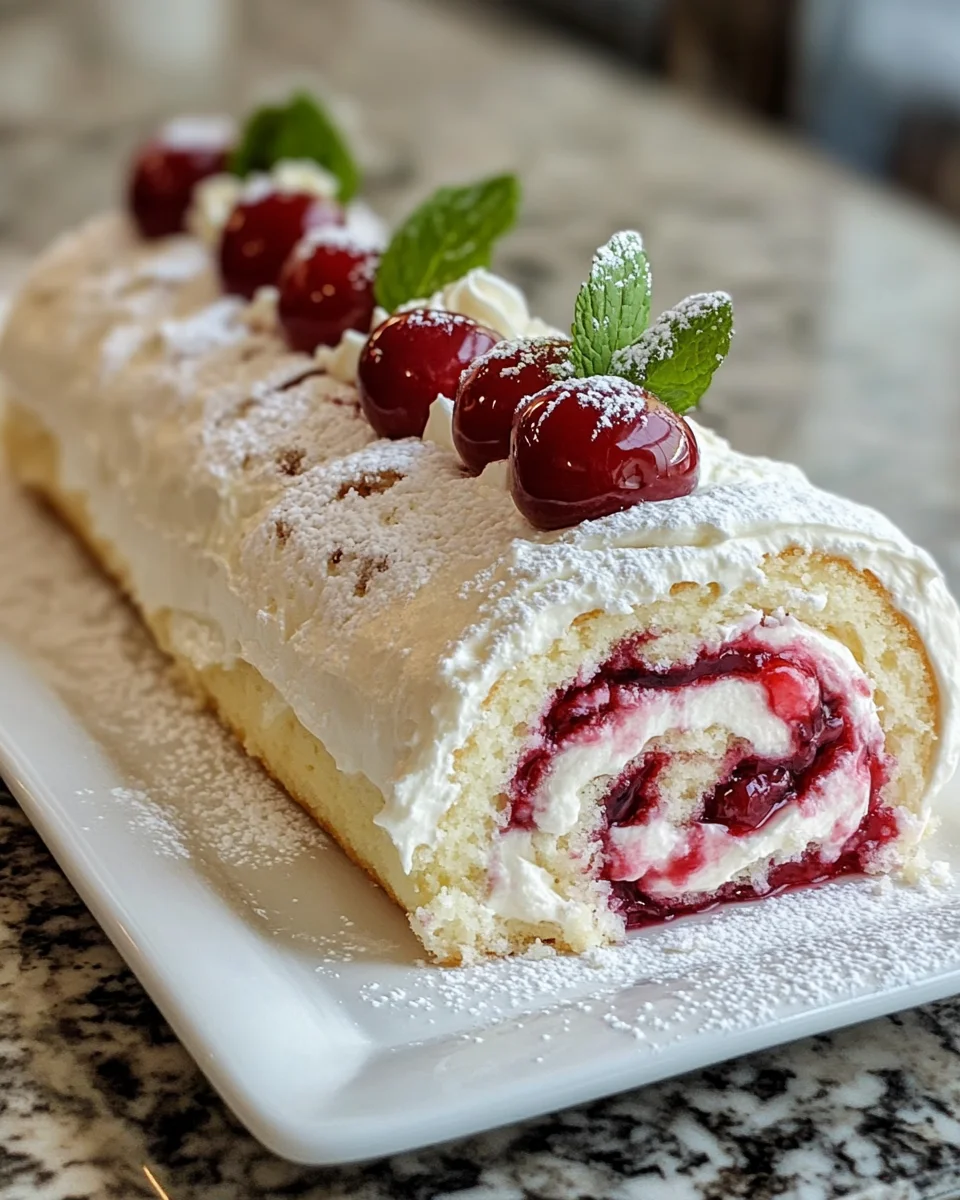
Creating this Cherry Cheesecake Cake Roll is more than just baking; it’s about sharing joy and deliciousness with those you love. The moment you slice into that beautiful roll, revealing the creamy filling and vibrant cherries, you’ll feel a sense of accomplishment. It’s a dessert that brings smiles and sparks conversations around the table. Whether it’s a family gathering or a quiet evening at home, this cake roll is sure to make any occasion feel special. So, roll up your sleeves, embrace the process, and enjoy every delightful bite of this sweet creation!
Print
Cherry Cheesecake Cake Roll
- Total Time: 1 hour
- Yield: 8 servings 1x
- Diet: Vegetarian
Description
As a busy mom, I know how precious time can be, especially when it comes to whipping up something special in the kitchen. That’s why I’m excited to share my Cherry Cheesecake Cake Roll with you! This delightful dessert combines the creamy goodness of cheesecake with the sweet burst of cherries, all wrapped in a light sponge cake.
Ingredients
- 3 large eggs (room temperature)
- ¾ cup granulated sugar
- 1 teaspoon vanilla extract
- 1 cup all-purpose flour
- 1 teaspoon baking powder
- ¼ teaspoon salt
- ¼ cup milk (room temperature)
- 1 tablespoon melted butter (cooled)
- 8 oz cream cheese (softened)
- ½ cup powdered sugar
- 1 teaspoon vanilla extract
- 1 cup heavy whipping cream (cold)
- 1 tablespoon lemon juice (optional for a slight tang)
- 1 can cherry pie filling (about 20 oz)
- 1 tablespoon cornstarch (optional for thickening)
- 1 tablespoon water
- Powdered sugar (for dusting the roll)
- Fresh cherries or mint leaves (for garnish)
Instructions
- Preheat the oven and prepare a jelly roll pan.
- Beat the eggs and sugar, then fold in the cake flour and vanilla.
- Bake the cake and let it cool slightly before rolling in a towel.
- Make the cream cheese filling by mixing cream cheese, powdered sugar, and heavy cream.
- Unroll the cooled cake, spread the filling, and roll back up.
- Top with cherry pie filling and chill before serving.
Notes
- Ensure all ingredients are at room temperature for best results.
- Chilling the cake roll helps the flavors meld together.
- Optional: Add lemon juice to the filling for a tangy flavor.
- Prep Time: 30 minutes
- Cook Time: 15 minutes
- Category: Dessert
- Method: Baking
- Cuisine: American
Nutrition
- Serving Size: 1 slice
- Calories: 250
- Sugar: 20g
- Sodium: 150mg
- Fat: 15g
- Saturated Fat: 8g
- Unsaturated Fat: 5g
- Trans Fat: 0g
- Carbohydrates: 30g
- Fiber: 1g
- Protein: 3g
- Cholesterol: 70mg


