Introduction to Cheesy Garlic Butter Rollups
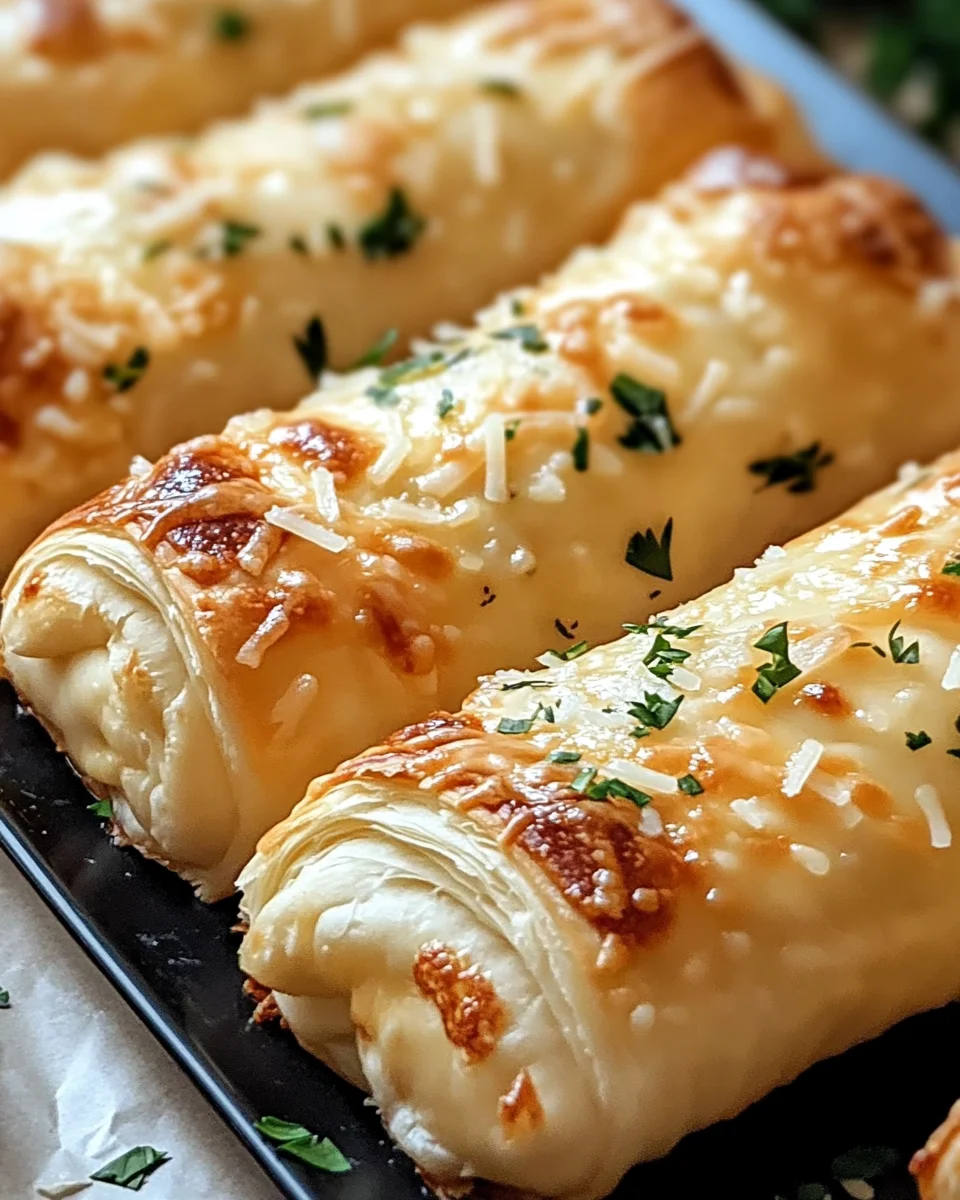
As a busy mom, I know how precious time can be, especially when it comes to meal prep. That’s why I absolutely adore these Cheesy Garlic Butter Rollups! They’re not just a quick solution for a hectic day; they’re also a delightful treat that can impress your loved ones. Imagine buttery crescent rolls bursting with gooey cheese, all brushed with a savory garlic butter mixture. It’s comfort food at its finest! Whether you’re serving them as an appetizer or a side dish, these rollups are sure to bring smiles to the dinner table.
Why You’ll Love This Cheesy Garlic Butter Rollups
These Cheesy Garlic Butter Rollups are a game-changer for busy nights! They come together in just 22 minutes, making them perfect for last-minute gatherings or family dinners. The combination of melty cheese and rich garlic butter creates a flavor explosion that’s hard to resist. Plus, they’re versatile enough to serve as an appetizer or a side dish, ensuring everyone at the table will be asking for seconds!
Ingredients for Cheesy Garlic Butter Rollups
Gathering the right ingredients is the first step to creating these delightful Cheesy Garlic Butter Rollups. Here’s what you’ll need:
- Refrigerated crescent roll dough: This is the base of our rollups, providing a flaky and buttery texture.
- Shredded mozzarella cheese: The star of the show! It melts beautifully and adds that gooey goodness.
- Grated Parmesan cheese: This adds a sharp, nutty flavor that complements the mozzarella perfectly.
- Unsalted butter: Melted butter is essential for brushing on top, giving the rollups a rich flavor.
- Minced garlic: Fresh garlic brings a punch of flavor that elevates the dish to new heights.
- Italian seasoning: A blend of herbs that adds depth and warmth to the garlic butter.
- Salt: Just a pinch enhances all the flavors and balances the richness of the cheese.
- Chopped fresh parsley (optional): A sprinkle of parsley adds a pop of color and freshness.
- Extra Parmesan cheese (optional): For those who can’t get enough cheesy goodness, this is a perfect finishing touch.
For exact measurements, check the bottom of the article where you can find everything listed for easy printing. Feel free to get creative with your cheese choices or add a dash of your favorite spices to make these rollups your own!

How to Make Cheesy Garlic Butter Rollups
Now that you have all your ingredients ready, let’s dive into the fun part—making these Cheesy Garlic Butter Rollups! Follow these simple steps, and you’ll have a delicious treat in no time.
Step 1: Preheat the Oven
First things first, preheat your oven to 375°F (190°C). This step is crucial because it ensures your rollups bake evenly and turn golden brown. While the oven heats up, line a baking sheet with parchment paper or a silicone baking mat. This will prevent sticking and make cleanup a breeze!
Step 2: Prepare the Crescent Roll Dough
Next, grab your can of refrigerated crescent roll dough. Carefully unroll it and separate it into 8 triangles. Be gentle here; you want to keep the dough intact. Each triangle will be the perfect little pocket for all that cheesy goodness!
Step 3: Add the Cheese
Now comes the fun part—adding the cheese! Sprinkle 1-2 tablespoons of shredded mozzarella on each triangle. Then, add a light sprinkle of grated Parmesan. Don’t be shy; this is where the magic happens! The cheese will melt and create that gooey texture we all love.
Step 4: Roll Up the Dough
Time to roll! Starting from the wide end of each triangle, roll it up towards the tip. Make sure to enclose the cheese completely. Place the rollups seam side down on your prepared baking sheet. This helps them hold their shape while baking.
Step 5: Make the Garlic Butter Mixture
In a small bowl, mix together the melted butter, minced garlic, Italian seasoning, and salt. This garlic butter mixture is what takes these rollups to the next level. The aroma alone will have your family flocking to the kitchen!
Step 6: Brush the Rollups
Generously brush the garlic butter over each rollup. This step is essential; it adds flavor and helps achieve that beautiful golden color. If you have any leftover butter, save it for after baking to give them an extra boost of flavor!
Step 7: Bake the Rollups
Pop the rollups into your preheated oven and bake for 10-12 minutes. Keep an eye on them! You want them to be golden brown and the cheese to be melted. A little bubbling is a good sign that they’re ready!
Step 8: Garnish and Serve
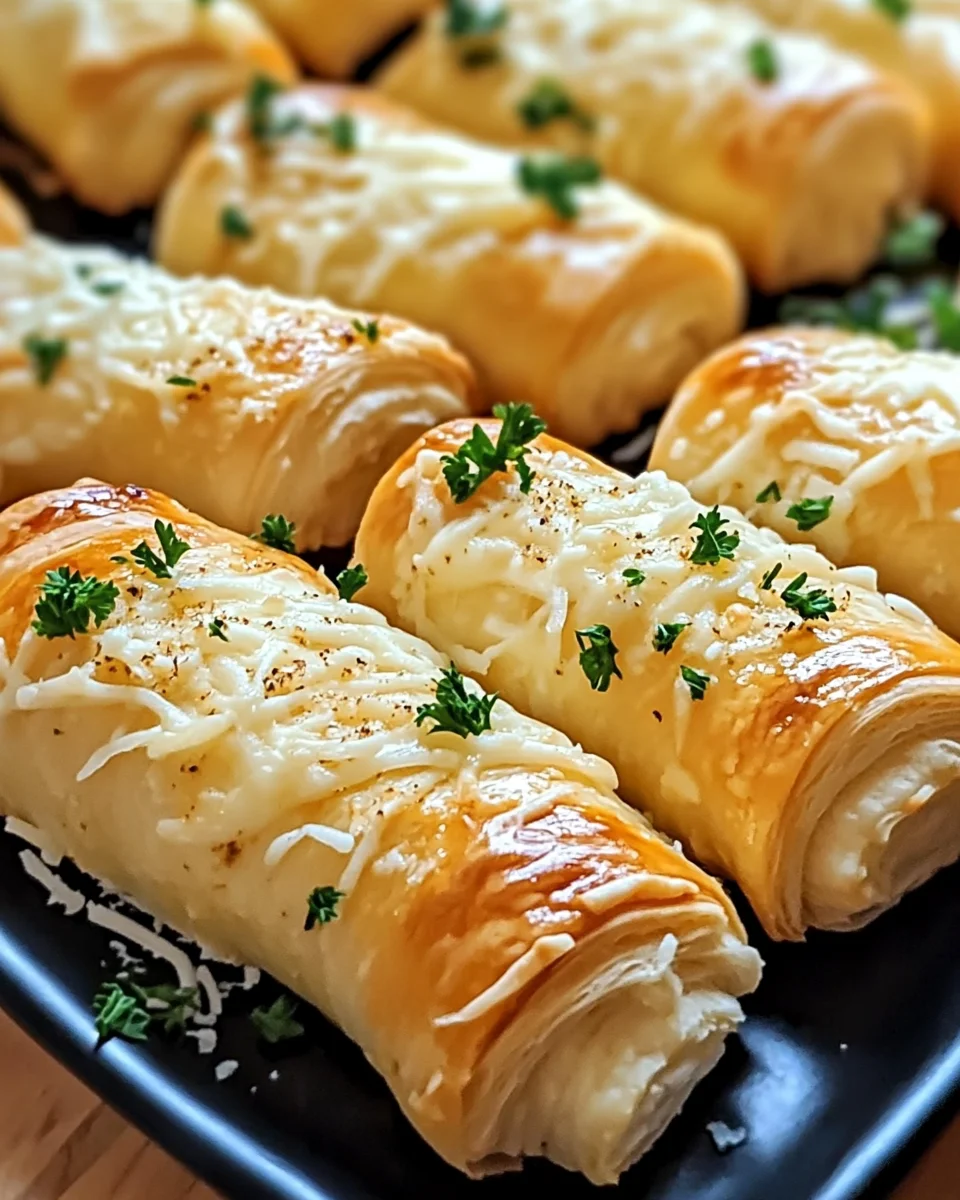
Once they’re out of the oven, brush the baked rollups with any remaining garlic butter. For a finishing touch, sprinkle with chopped parsley and extra Parmesan cheese if desired. Serve them warm, and watch them disappear!
Tips for Success
- Use fresh garlic for the best flavor; it makes a world of difference!
- Don’t overfill the rollups with cheese; a little goes a long way.
- Experiment with different cheeses like cheddar or pepper jack for a twist.
- For a crispy bottom, place the rollups directly on the baking sheet instead of parchment.
- Serve immediately for the best gooey texture; they’re best fresh out of the oven!
Equipment Needed
- Baking sheet: A standard baking sheet works well, but a cast iron skillet adds a nice touch.
- Parchment paper or silicone baking mat: These help prevent sticking; aluminum foil can be a quick alternative.
- Mixing bowl: Any bowl will do for mixing the garlic butter.
- Pastry brush: A brush is ideal for applying the garlic butter, but a spoon can work in a pinch.
Variations of Cheesy Garlic Butter Rollups
- Spicy Kick: Add red pepper flakes to the garlic butter for a zesty twist that will wake up your taste buds!
- Herb Infusion: Mix in fresh herbs like basil or oregano into the garlic butter for an aromatic flavor boost.
- Meat Lovers: Add cooked and crumbled bacon or diced ham inside the rollups for a savory, meaty addition.
- Veggie Delight: Incorporate sautéed spinach or roasted red peppers for a colorful and nutritious variation.
- Gluten-Free Option: Use gluten-free crescent roll dough to make these rollups suitable for gluten-sensitive friends.
Serving Suggestions for Cheesy Garlic Butter Rollups
- Pair with a fresh garden salad for a light and refreshing meal.
- Serve alongside marinara sauce for dipping; it adds a delightful twist!
- Complement with a glass of crisp white wine or sparkling water.
- For a fun presentation, arrange on a wooden board with fresh herbs.
FAQs about Cheesy Garlic Butter Rollups
Can I make Cheesy Garlic Butter Rollups ahead of time?
Absolutely! You can prepare the rollups and store them in the fridge before baking. Just cover them tightly with plastic wrap. When you’re ready to bake, simply pop them in the oven straight from the fridge, adding a couple of extra minutes to the baking time.
What can I serve with Cheesy Garlic Butter Rollups?
These rollups pair wonderfully with marinara sauce for dipping. You can also serve them alongside a fresh salad or a bowl of soup for a complete meal. They make a fantastic appetizer at parties too!
Can I freeze Cheesy Garlic Butter Rollups?
Yes, you can freeze them! Just prepare the rollups, place them on a baking sheet, and freeze until solid. Then transfer them to a freezer bag. When you’re ready to enjoy, bake them straight from the freezer, adding a few extra minutes to the cooking time.
What cheese can I use besides mozzarella?
Feel free to get creative! Cheddar, pepper jack, or even a blend of your favorite cheeses work beautifully. Just remember to choose cheeses that melt well for that gooey texture.
How do I store leftovers?
Store any leftover Cheesy Garlic Butter Rollups in an airtight container in the refrigerator. They’re best enjoyed within a couple of days, but you can reheat them in the oven for a few minutes to bring back that fresh-baked taste!
Final Thoughts
Making Cheesy Garlic Butter Rollups is more than just cooking; it’s about creating moments of joy in the kitchen. The aroma of garlic and melted cheese wafting through your home is enough to bring everyone together. These rollups are a delightful treat that can turn an ordinary meal into something special. Whether you’re sharing them with family or serving them at a gathering, they’re sure to be a hit. So, roll up your sleeves, embrace the mess, and enjoy the deliciousness that comes from your own kitchen. Trust me, every bite is worth it!
Print
Cheesy Garlic Butter Rollups
- Total Time: 22 minutes
- Yield: 8 rollups 1x
- Diet: Vegetarian
Description
As a busy mom, I know how precious time can be, especially when it comes to meal prep. That’s why I absolutely adore these Cheesy Garlic Butter Rollups! They’re not just a quick solution for a hectic day; they’re also a delightful treat that can impress your loved ones. Imagine buttery crescent rolls bursting with gooey cheese, all brushed with a savory garlic butter mixture. It’s comfort food at its finest! Whether you’re serving them as an appetizer or a side dish, these rollups are sure to bring smiles to the dinner table.
Ingredients
- 1 can (8 oz) refrigerated crescent roll dough
- 1 cup shredded mozzarella cheese (or your favorite melty cheese)
- 1/2 cup grated Parmesan cheese
- 1/4 cup unsalted butter, melted
- 2 cloves garlic, minced
- 1 teaspoon Italian seasoning
- 1/4 teaspoon salt
- Chopped fresh parsley (for garnish, optional)
- Extra Parmesan cheese (for garnish, optional)
Instructions
- Preheat your oven to 375°F (190°C). Line a baking sheet with parchment paper or a silicone baking mat.
- Unroll the crescent roll dough and separate it into 8 triangles.
- Sprinkle 1-2 tablespoons of shredded mozzarella and a light sprinkle of Parmesan onto each triangle.
- Roll each triangle up from the wide end to the tip, enclosing the cheese. Place the rollups on the prepared baking sheet with the seam side down.
- In a small bowl, mix the melted butter, minced garlic, Italian seasoning, and salt.
- Generously brush the garlic butter over each rollup. Reserve a bit of the butter for after baking if desired.
- Bake the rollups for 10-12 minutes, or until golden brown and the cheese is melted.
- Brush the baked rollups with any remaining garlic butter. Garnish with chopped parsley and extra Parmesan cheese if desired.
- Serve warm and enjoy!
Notes
- For a spicier kick, add red pepper flakes to the garlic butter.
- These rollups can be served as an appetizer or a side dish.
- Store any leftovers in an airtight container in the refrigerator.
- Prep Time: 10 minutes
- Cook Time: 12 minutes
- Category: Appetizer
- Method: Baking
- Cuisine: Italian
Nutrition
- Serving Size: 1 rollup
- Calories: 150
- Sugar: 1g
- Sodium: 300mg
- Fat: 10g
- Saturated Fat: 6g
- Unsaturated Fat: 3g
- Trans Fat: 0g
- Carbohydrates: 12g
- Fiber: 0g
- Protein: 4g
- Cholesterol: 30mg