

Introduction to Twix Thumbprint Cookies
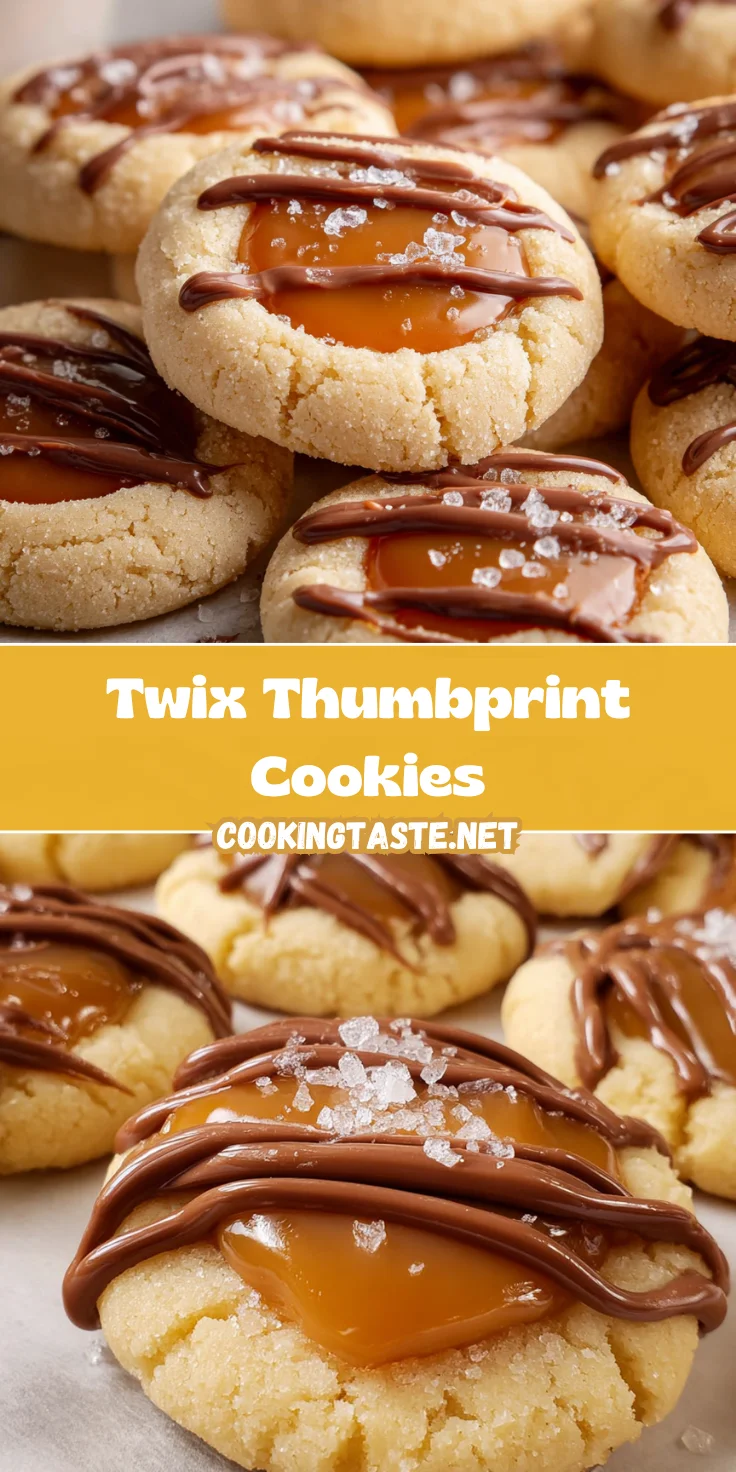
Hey there, fellow culinary adventurers! If you’re anything like me, finding the perfect sweet treat can feel like a scavenger hunt. Enter the delightful Twix Thumbprint Cookies! These cookies are a wonderful fusion of buttery dough, lusciously smooth caramel, and decadent chocolate that dances on your taste buds. They’re not just delicious; they’re super easy to whip up, making them the perfect dessert for those busy evenings or family gatherings. Whether you need something quick for a last-minute gathering or just want to indulge yourself, these cookies are a crowd-pleaser that won’t disappoint!
Why You’ll Love This Twix Thumbprint Cookies
Let me tell you, once you try these Twix Thumbprint Cookies, you’ll be hooked! They’re not only quick to prepare, but they also capture the irresistible flavors of caramel and chocolate in every bite. On a busy day, whipping up a batch takes minimal time, and trust me, the smiles from your loved ones will be worth it. Perfect for any occasion, they’ll keep your sweet tooth satisfied with ease!
Ingredients for Twix Thumbprint Cookies
Gathering the right ingredients is half the fun of baking! For these Twix Thumbprint Cookies, here’s what you’ll need:
- Unsalted butter: This is your cookie base, crucial for that rich, buttery flavor.
- Granulated sugar: Adds sweetness and helps create that lovely chewy texture.
- Egg yolks: These not only enrich the dough but also add moisture for the perfect consistency.
- Vanilla extract: A splash of vanilla elevates the flavor, making your cookies sing!
- All-purpose flour: The backbone of any cookie, providing structure and stability.
- Salt: Just a pinch to balance the sweetness and enhance all the flavors.
- Soft chewy caramel candies: The star of the show! These bring that signature Twix touch with their gooey goodness.
- Heavy cream: Helps melt your caramel to the perfect consistency for that sumptuous filling.
- Milk chocolate melting wafers: A delightful chocolate topping that finishes off each cookie beautifully.
- Flaky sea salt (optional): A sprinkle adds a burst of flavor and makes each bite irresistible!
For exact quantities, don’t hesitate to scroll down to the bottom of the article where you can find them all neatly listed and ready for printing. Happy baking!
How to Make Twix Thumbprint Cookies
Now that you’ve gathered your ingredients, let’s jump into making those delightful Twix Thumbprint Cookies! Follow these simple steps, and you’ll have a batch of sweet goodness ready in no time.
Prepare Your Baking Sheets
Start by lining two large rimmed baking sheets with parchment paper. This ensures that your cookies won’t stick, making cleanup a breeze. Trust me, nobody enjoys a wrestling match with their baked goods!
Cream the Butter and Sugar
In a big mixing bowl, add your softened unsalted butter and granulated sugar. Using either a handheld or stand mixer, beat these together on medium-high speed. Keep mixing for about 1-2 minutes until the mixture is light and fluffy. This step is essential in giving your cookies that melt-in-your-mouth texture.
Incorporate Egg Yolks and Vanilla
Next, crack in those room-temperature egg yolks along with the vanilla extract. Beat the mixture again for another 1-2 minutes. You’ll know it’s ready when everything is well incorporated, and that sweet vanilla aroma starts wafting through your kitchen!
Mix Flour and Salt
Now it’s time to add the all-purpose flour and salt. Mix on low speed for about 2-3 minutes. The dough will gradually come together, forming a rough ball. If you notice any lingering flour, give it a little more mixing. We want all that deliciousness combined!
Form the Cookie Dough Balls
Using a 1-inch small cookie scoop, scoop out a level amount of the cookie dough. Place it into your palm and roll it into a smooth ball. Don’t worry if they aren’t perfect; each cookie has its own character!
Create Thumbprints
Once you’ve rolled all the balls, place them onto your prepared baking sheets, spaced about 1-1½ inches apart. Now, use your thumb (or a small rounded measuring spoon if you prefer) to gently press an indent in the center of each ball. This is where the gooey caramel will go later—yum!
Chill the Dough
Here’s a little secret: the chilling process makes a big difference! Pop your baking sheet of formed thumbprint cookies into the freezer for about 30 minutes. Chilling helps prevent spreading while baking, so you’ll end up with cute little cookie shapes.
Preheat the Oven
While your cookies are chilling, preheat the oven to 350°F. This is a crucial step to ensure even baking. By the time those 30 minutes are up, your oven will be just right for baking these delectable treats!
Tips for Success
- Make sure your butter is softened to room temperature for easier mixing.
- Dust your thumb with flour before making the indents to prevent sticking.
- Don’t skip the chilling step; it helps keep your cookies from spreading too much.
- For a chocolate drizzle, melt extra chocolate wafers and drizzle over the cookies after they cool.
- Use high-quality caramel for the best flavor and texture.
Equipment Needed for Twix Thumbprint Cookies
- Mixing bowls: Any size will do, but a large one is best for mixing dough.
- Handheld or stand mixer: Helps cream the butter and sugar effortlessly; a wooden spoon works too!
- Cookie scoop: For uniform cookie dough balls; you can also use your hands.
- Measuring cups and spoons: Essential for accurate ingredient amounts.
- Baking sheets: You need two; a baking stone can be used as an alternative.
- Parchment paper: Keeps cookies from sticking; silicone baking mats are a great substitute.
Variations of Twix Thumbprint Cookies
- Nutty Delight: Add chopped nuts like pecans or almonds into the dough for a crunchy texture that complements the caramel.
- Chocolate Chip Twist: Mix in some chocolate chips for an extra chocolaty experience—because who can resist more chocolate?
- Gluten-Free Option: Substitute all-purpose flour with a gluten-free blend, making it enjoyable for everyone at your gathering!
- Peanut Butter Bliss: Replace half the butter with creamy peanut butter for a delightful twist on flavor.
- Minty Fresh: Stir in a few mint chocolate chips instead of milk chocolate for a refreshing taste that’s perfect for the holidays.
Serving Suggestions for Twix Thumbprint Cookies
- A Cup of Coffee: Serve these cookies with a rich cup of coffee or espresso for a delightful afternoon treat.
- Milk Pairing: A glass of cold milk is the classic companion for cookies, balancing sweetness beautifully.
- Decorative Platter: Arrange the cookies on a colorful platter, garnished with fresh fruits for a pop of color.
- Gift-Worthy: Package them in a decorative box tied with a ribbon; perfect for sharing with friends!
- Presentation Style: Dust with powdered sugar just before serving for a charming finish that looks as good as it tastes.
FAQs about Twix Thumbprint Cookies
If you’ve got questions about Twix Thumbprint Cookies, you’re not alone! Here’s a round-up of some common inquiries to help you on your baking journey!
How should I store Twix Thumbprint Cookies?
Store your cookies in an airtight container at room temperature for up to a week. For longer freshness, you can freeze them for up to three months. Just remember to let them thaw before diving in!
Can I use different caramel candies?
Absolutely! While I adore the classic chewy caramel, feel free to experiment with other brands or even homemade caramel. Just ensure they melt well for that lovely filling.
Why did my cookies spread too much?
This can happen if the dough was too warm when it went into the oven. Chilling is key! Ensure your dough is well-chilled before baking. Trust me, it makes a world of difference.
Can I make the dough ahead of time?
Yes! You can prepare the dough a day in advance. Just keep it tightly wrapped in plastic wrap or an airtight container in the refrigerator until you’re ready to bake.
What can I use instead of heavy cream for the caramel?
If you want a lighter option, half-and-half can work in a pinch, though it may not achieve that same lusciousness. Coconut cream is another tasty alternative for a dairy-free version!
Final Thoughts
Making Twix Thumbprint Cookies is more than just a baking activity; it’s a delightful journey of flavors that brings joy to your kitchen. Each bite offers that perfect blend of buttery cookie, gooey caramel, and silky chocolate, evoking smiles and warm memories. Whether you share them with family or tuck a few away for yourself, these cookies will be a hit every time! So grab your ingredients, unleash your inner baker, and let these scrumptious treats add a dash of sweetness to your day. Trust me; the experience is as rewarding as the delicious end result!
Print
Twix Thumbprint Cookies
- Total Time: 1 hour 7 minutes
- Yield: 24 cookies 1x
- Diet: Vegetarian
Description
Twix Thumbprint Cookies are delightful treats featuring a buttery cookie base filled with caramel and topped with chocolate, perfect for any occasion.
Ingredients
- 1 cup unsalted butter, softened to room temperature
- ¾ cup granulated sugar
- 2 large egg yolks, room temperature
- 1 teaspoon vanilla extract
- 2 ⅓ cups all-purpose flour
- ½ teaspoon salt
- 35 soft chewy caramel candies, unwrapped (Werther’s Original Chewy Caramels)
- 2 tablespoons heavy cream
- 4 ounces milk chocolate melting wafers (approximately ½ cup)
- Flaky sea salt, Maldon or Fleur de Sel (optional garnish)
Instructions
- Line two large rimmed baking sheets with parchment paper and set aside.
- To a large mixing bowl add the unsalted butter and granulated sugar. Beat on medium-high speed, using a handheld or stand mixer, for 1-2 minutes or until light and fluffy.
- Add the egg yolks and vanilla extract to the bowl and beat again for another 1-2 minutes or until the egg yolks are fully incorporated.
- Add the all-purpose flour and salt to the bowl and mix on low speed for 2-3 minutes or until the dough comes together to form a rough ball.
- Using a 1 inch (approximately 1 tablespoon) small cookie scoop, scoop out a level amount of cookie dough. Place the dough into your palm and roll to form a smooth ball.
- Place the rolled cookie dough ball onto the prepared baking sheets, spaced about 1-1 ½ inches apart.
- Using your thumb or a small rounded measuring spoon, press an indent into the center of each cookie dough ball.
- Place the baking sheet of formed thumbprint cookies into the freezer to chill for 30 minutes.
- Preheat the oven to 350°F.
- Remove the baking sheet from the freezer and place 12 chilled thumbprint cookies on the second prepared baking sheet, about 2 inches apart.
Notes
- Chilling the dough helps prevent the cookies from spreading too much while baking.
- Using flour on your thumb can help prevent sticking when pressing the indent.
- Optional garnish can enhance the flavor of the cookies.
- Prep Time: 20 minutes
- Cook Time: 12-15 minutes
- Category: Dessert
- Method: Baking
- Cuisine: American
Nutrition
- Serving Size: 1 cookie
- Calories: 150
- Sugar: 10g
- Sodium: 50mg
- Fat: 8g
- Saturated Fat: 4g
- Unsaturated Fat: 2g
- Trans Fat: 0g
- Carbohydrates: 20g
- Fiber: 1g
- Protein: 2g
- Cholesterol: 30mg


