

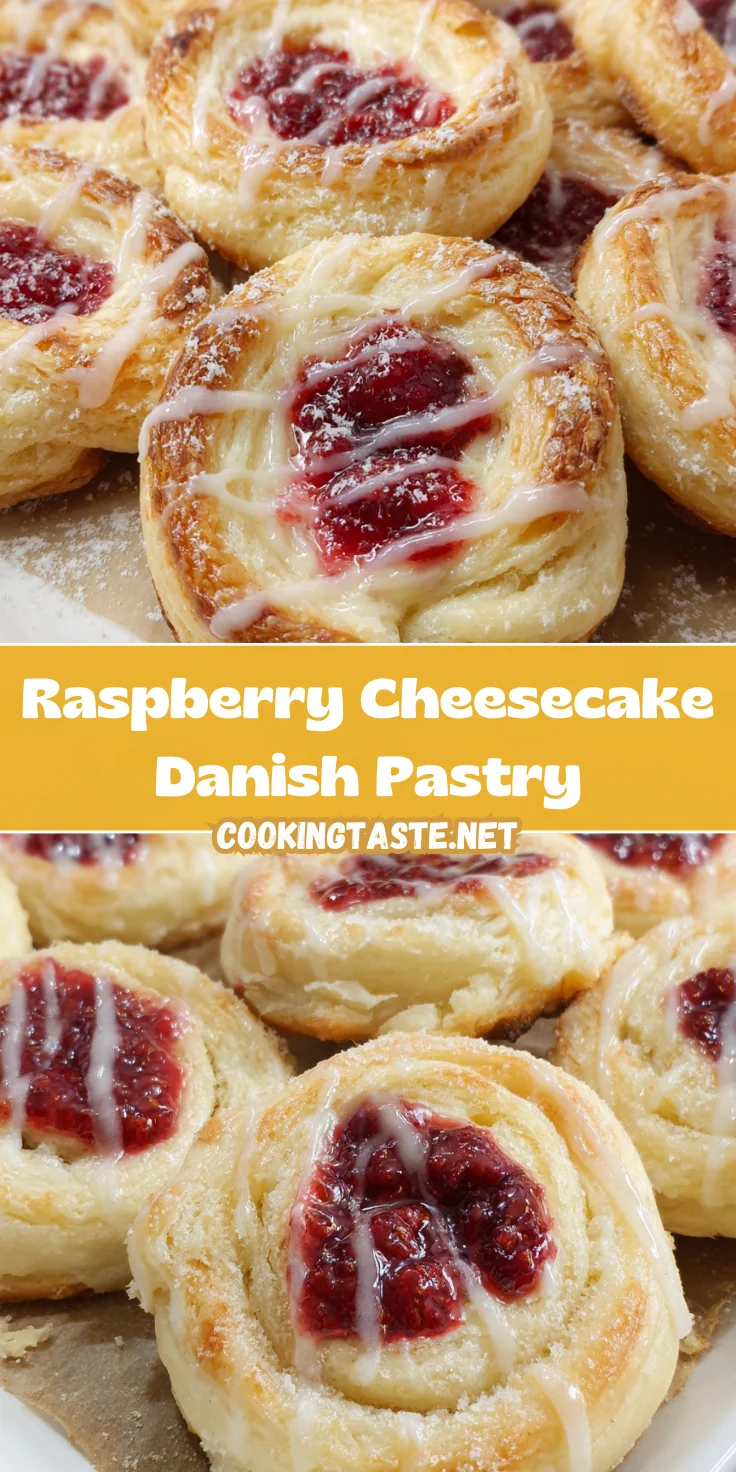
Introduction to Raspberry Cheesecake Danish Pastry
As a busy mom juggling the daily chaos, I know how precious each moment can be, especially when it comes to whipping up something delightful for my family. That’s why I adore this Raspberry Cheesecake Danish Pastry. It’s the perfect blend of flaky goodness and creamy cheesecake, bringing a touch of elegance to any breakfast or dessert table without the fuss. Imagine serving a piping hot Danish pastry that’s bursting with sweet raspberry flavor and a glossy glaze. Trust me, your loved ones will think you’ve spent hours in the kitchen, when really, it takes just 30 minutes!
Why You’ll Love This Raspberry Cheesecake Danish Pastry
This Raspberry Cheesecake Danish Pastry checks all the boxes for a busy lifestyle. It comes together in just 30 minutes, making it an easy solution for hectic mornings or last-minute gatherings. The delightful combination of creamy cheesecake and tart raspberry preserves will have everyone asking for seconds. Plus, the golden, flaky pastry is so impressive, it feels like a treat from a bakery. Your family will love it!
Ingredients for Raspberry Cheesecake Danish Pastry
Gathering your ingredients is half the fun! For this Raspberry Cheesecake Danish Pastry, you’ll need a delightful mix of basics and a few special touches. Here’s what you’ll need:
- Baking Mix: This is your base. It gives structure and flakiness to the pastry. If you’re in a pinch, you can make your own with flour, baking powder, and a pinch of salt.
- Granulated Sugar: Adding sweetness to the dough and cheesecake filling. Try brown sugar for a richer flavor!
- Unsalted Butter: Softened for easy mixing, it adds richness. Make sure it’s at room temperature for the best results.
- Whole Milk: This brings moisture to the dough. You can substitute with almond milk or any milk you have on hand.
- Cream Cheese: The star of the show in your filling! This provides that creamy texture. Use low-fat cream cheese for a lighter option.
- Raspberry Preserves: Adds that tangy sweetness. If you prefer a different fruit, feel free to substitute with blueberry or strawberry preserves.
- Powdered Sugar: Essential for the sweet glaze that covers the pastries. It dissolves easily, making your glaze smooth and shiny.
- Vanilla Extract: A dash for flavoring, enhancing all the sweetness. Pure vanilla extract is best, but imitation works too!
You’ll find the exact measurements for these ingredients at the bottom of the article, along with a handy printable recipe. Now, let’s get that kitchen ready to bring some sweet magic to life!
How to Make Raspberry Cheesecake Danish Pastry
Step 1: Preheat and Prepare
First things first, preheat your oven to 232°C (450°F). This ensures a perfect bake when it’s time to pop those delicious pastries in. While the oven heats up, grab a baking sheet and line it with parchment paper. This little step keeps your pastries from sticking and makes cleanup a breeze. Trust me; you’ll thank yourself later!
Step 2: Mix the Dry Ingredients
Next, let’s mix the dry ingredients! In a mixing bowl, combine your baking mix and granulated sugar. Add in the softened butter, and using a fork, cut the butter into the mix until you get a crumbly texture, almost like sand. This crumbling action is vital for that flaky pastry we all crave. I love this step; it’s like making little clouds of buttery goodness!
Step 3: Create the Dough
Now, it’s time to bring the magic together! Pour in the whole milk and stir the mixture until a soft and sticky dough forms. It should come together nicely and not be too dry. After that, divide the dough into 12 equal portions. I like to use a tablespoon for this. It’s a simple tool that works wonders for portioning!
Step 4: Shape the Pastries
Once you’ve portioned out the dough, take each mound and gently press down the center using the back of a spoon. You want a little well in each one so there’s room for our delicious filling. This step is super fun, and you’ll start to see those pastries come to life!
Step 5: Prepare the Cheesecake Filling
Now, let’s mix the cheesecake filling! In a separate bowl, take your softened cream cheese and granulated sugar. Blend them together until the mixture is smooth and creamy. Think of it as a luscious, fluffy cloud that will sit in your pastries. Don’t rush this part; the smoother it is, the better it’ll taste!
Step 6: Add Raspberry Preserves
It’s time for the cherry—or in this case, raspberry—on top! Take your raspberry preserves and spoon them evenly over the cheesecake mixture in the dough wells. Just a dollop will do per well! The tartness will contrast beautifully with the sweetness of the cream cheese. It’s a heavenly combination that whispers, “Eat me!”
Step 7: Bake the Pastries
With everything nestled in their doughy beds, it’s time to bake! Place the baking sheet in your preheated oven and let those pastries bake for about 10 minutes. Keep an eye on them until they turn golden brown. Once done, allow them to cool on the tray for a couple of minutes before moving them to a wire rack. Let the cooling begin!
Step 8: Make the Glaze
While the pastries cool, let’s whip up that glaze! In a bowl, combine powdered sugar, 15 milliliters of whole milk, and vanilla extract. Mix until you reach a smooth, pourable consistency. If it seems too thick, just add a splash more milk. It should flow like liquid sunshine over your pastries!
Step 9: Drizzle and Store
Finally, drizzle that sweet glaze over your cooled pastries like a beautiful, sweet blanket. Allow the glaze to set for a minute, then store any leftovers in a sealed container in the refrigerator. I guarantee they won’t last long, as your family will devour them in no time!
Tips for Success
- Always use softened butter for easier mixing; it’s a game changer!
- Don’t rush the cooling process; letting them sit enhances the flavor.
- Feel free to adjust the raspberry preserves with your favorite fruit jams.
- Make your glaze the right consistency; a thicker glaze sticks better!
- Store leftovers covered to keep them fresh, but don’t expect them to last long!
Equipment Needed
- Baking Sheet: A standard metal or silicone baking sheet will do perfectly.
- Parchment Paper: Prevents sticking; you can also use a silicone baking mat.
- Mixing Bowls: You’ll need at least two; any size works!
- Fork: Great for cutting in butter and mixing.
- Tablespoon: Handy for portioning dough and filling!
Variations for Raspberry Cheesecake Danish Pastry
- Fruit Variations: Swap raspberry preserves for your favorite fruit preserves like blueberry, strawberry, or even peach for a unique twist.
- Nutty Crunch: Add chopped nuts like walnuts or pecans to the cheesecake filling for a delightful crunch and extra flavor.
- Lemon Zest: Brighten up the filling by mixing in a teaspoon of lemon zest. It adds a refreshing citrusy kick that pairs beautifully with the berries.
- Gluten-Free Option: Use a gluten-free baking mix to make it suitable for those with gluten sensitivities. The taste remains just as delicious!
- Dairy-Free Delight: Substitute cream cheese with vegan cream cheese and use almond, oat, or coconut milk to create a dairy-free version.
- Chocolate Drizzle: For chocolate lovers, drizzle melted chocolate over the glaze for an indulgent touch!
Serving Suggestions for Raspberry Cheesecake Danish Pastry
- Morning Pairing: Serve with a cup of freshly brewed coffee or tea to kickstart your day.
- Brunch Delight: Add fresh fruit on the side, like strawberries or blueberries, for a colorful presentation.
- Elegant Touch: Dust with powdered sugar before serving for a beautiful finish.
- Ice Cream Indulgence: Pair with a scoop of vanilla ice cream for a decadent dessert.
- Party Platter: Arrange on a decorative serving tray with mint leaves for a stunning display.
FAQs about Raspberry Cheesecake Danish Pastry
Can I use frozen raspberries instead of preserves?
Absolutely! If you prefer fresh flavors, you can gently fold in thawed frozen raspberries. Just remember, they may add a bit more moisture, so don’t overdo it.
How do I store the Raspberry Cheesecake Danish Pastry?
These pastries are best stored in a sealed container in the refrigerator, where they’ll stay fresh for up to 3 days. Just make sure they’re cooled before sealing!
Can I freeze the Danish pastries?
Yes, you can freeze them! Just make sure to place them in an airtight container or freezer bag. They’ll keep well for about a month. Thaw them in the refrigerator before enjoying.
What can I use as a substitute for cream cheese?
If you’re looking for alternatives, mascarpone or ricotta cheese can be great substitutes. Just remember, they each have their unique taste and texture!
How long do these pastries take to bake?
These Raspberry Cheesecake Danish Pastry beauties bake for about 10 minutes. Keep an eye on them for that perfect golden color!
Final Thoughts
Creating these Raspberry Cheesecake Danish Pastry is more than just baking; it’s about weaving sweetness into your busy life. Every bite is a little piece of joy, transforming ordinary moments into something extraordinary. I love watching my family’s eyes light up as they devour these pastries, and the simple pleasure they bring makes all the effort worthwhile. This recipe is your ticket to impressing loved ones without the stress. So why not step into the kitchen and let these delightful pastries add a sprinkle of happiness to your day? Trust me; they’ll become a family favorite!
Print
Raspberry Cheesecake Danish Pastry
- Total Time: 30 minutes
- Yield: 12 pastries 1x
- Diet: Vegetarian
Description
Delicious and flaky Raspberry Cheesecake Danish Pastry filled with creamy cheesecake and topped with a sweet glaze.
Ingredients
- 250 grams baking mix
- 25 grams granulated sugar
- 57 grams unsalted butter, softened
- 160 millilitres whole milk
- 113 grams cream cheese, softened
- 25 grams granulated sugar
- 30 grams raspberry preserves
- 85 grams powdered sugar
- 15–30 millilitres whole milk
- 2.5 millilitres vanilla extract
Instructions
- Preheat the oven to 232°C and line a baking sheet with parchment paper.
- Combine baking mix, granulated sugar, and softened butter in a bowl. Use a fork to cut the butter into the dry ingredients until a crumbly texture is achieved.
- Add milk to the bowl and stir until a soft dough forms. Divide the dough into 12 equal portions using a tablespoon and place them onto the prepared baking sheet.
- Press the centre of each dough mound using the back of a spoon to create a well in each portion.
- Mix softened cream cheese and granulated sugar until smooth. Evenly distribute the cream cheese mixture into the wells of the dough.
- Stir the raspberry preserves to loosen, then spoon evenly over the cheesecake filling in each Danish.
- Place in the oven and bake for 10 minutes until golden. Remove from the oven and allow to cool on the tray for 2–3 minutes before transferring to a wire rack.
- Combine powdered sugar, 15 millilitres milk, and vanilla extract. If the glaze is too thick, gradually add more milk until a pourable consistency is reached.
- Drizzle the glaze over the cooled Danish pastries. Store in a sealed container in the refrigerator.
Notes
- Ensure the butter is softened for easy mixing.
- Adjust the glaze consistency according to your preference.
- Can be stored in the refrigerator for up to 3 days.
- Prep Time: 20 minutes
- Cook Time: 10 minutes
- Category: Dessert
- Method: Baking
- Cuisine: American
Nutrition
- Serving Size: 1 Danish
- Calories: 250
- Sugar: 15g
- Sodium: 180mg
- Fat: 10g
- Saturated Fat: 6g
- Unsaturated Fat: 3g
- Trans Fat: 0g
- Carbohydrates: 35g
- Fiber: 1g
- Protein: 3g
- Cholesterol: 30mg


