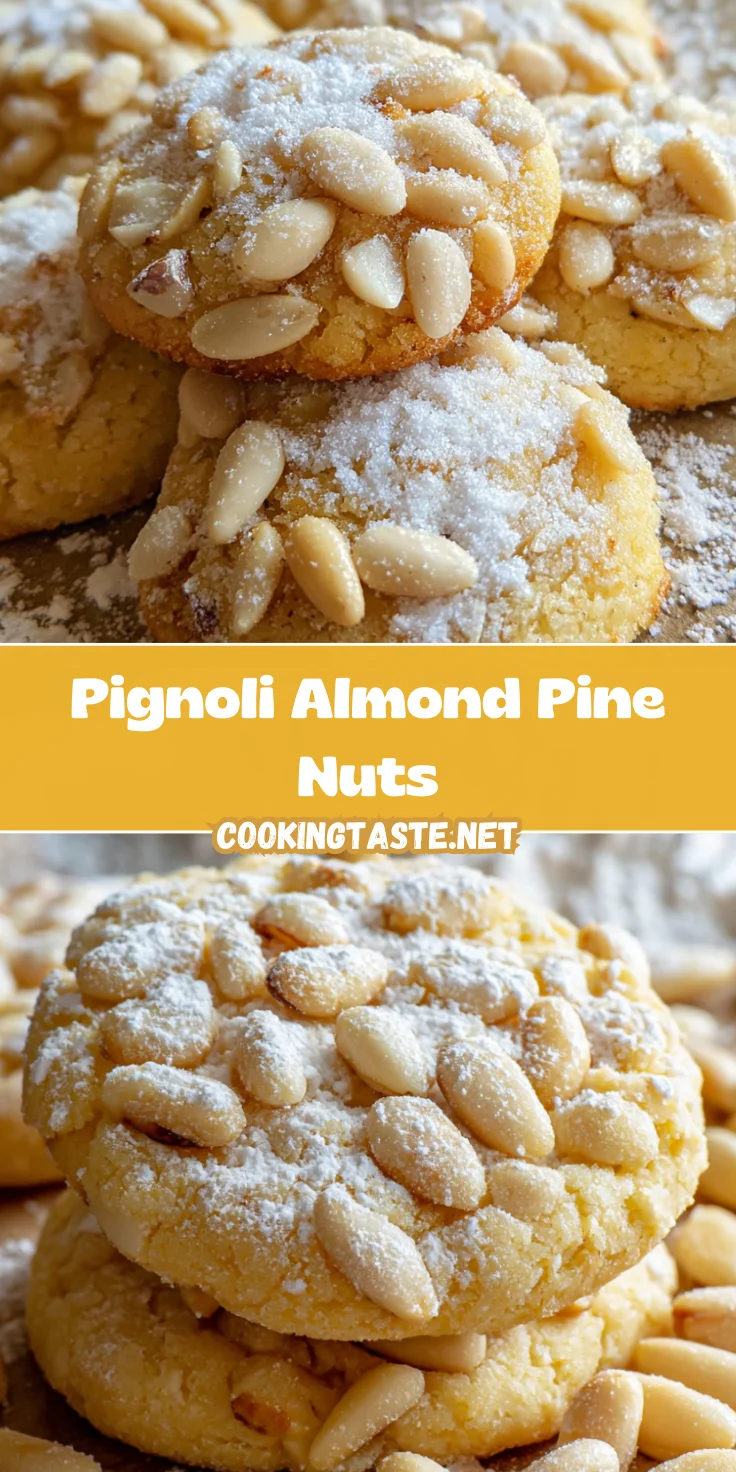
Introduction to Pignoli Almond Pine Nuts
Welcome, fellow kitchen adventurers! If you’re like me, you love a treat that not only tastes divine but is also simple to whip up. That’s where these Pignoli Almond Pine Nuts cookies come into play. Imagine soft, chewy cookies, gently kissed by the crunch of pine nuts, perfect for a cozy afternoon or to impress last-minute guests. Baking can often feel like a daunting task, but this recipe is a stress-free solution, bringing smiles without requiring hours in the kitchen. Trust me, your taste buds will thank you!
Why You’ll Love This Pignoli Almond Pine Nuts
If you’re in search of a delightful dessert without the fuss, these cookies are a game changer. They come together quickly, making them perfect for busy evenings or unexpected company. Plus, the unique blend of almond and pine nuts is a flavor experience that will leave your guests asking for the recipe. With such simple ingredients, you’ll marvel at how something so easy can taste so exquisite.
Ingredients for Pignoli Almond Pine Nuts
When it comes to making these delightful cookies, the ingredients used are key to achieving that signature flavor. Let’s take a closer look at what you’ll need:
- Almond Paste: The star of the show! This sweet, nutty base adds richness and a chewy texture.
- Granulated Sugar: Essential for sweetness! It helps balance the flavors and creates a lovely caramelization during baking.
- Vanilla Extract: A splash of vanilla enhances the overall taste, making everything feel a bit more luxurious.
- Salt: Just a pinch! It brightens the flavors and counteracts the sweetness, making each bite more complex.
- Egg: Binding agent! This contributes to the dough’s cohesiveness and ensures a delightful chewiness.
- Pine Nuts: The crunchy coating that provides a wonderful texture and nutty flavor, perfectly harmonizing with the almond paste.
- Powdered Sugar: This final touch adds sweetness and a pretty dusting, elevating your cookies’ presentation.
If you want to experiment, consider swapping the pine nuts for other nuts like walnuts or pecans. You can also find almond paste in specialty stores or online, ensuring you’ll never miss out on this incredible flavor combination. For exact measurements, check the bottom of this article where you can find the complete recipe, ready for printing!
How to Make Pignoli Almond Pine Nuts
Prepare the Dough
Let’s begin our delicious journey by preparing the dough. First, break the almond paste into smaller chunks for easier processing. Toss those pieces into your food processor, along with granulated sugar. Now, pulse the mixture for about 2 minutes. You’ll start to see a smooth paste forming, with the sugar blending in beautifully. The sugar not only sweetens the dough but also aids in creating that lovely texture we crave in cookies. You want a silky, smooth consistency without any lumps. This process is quick and satisfying, setting the foundation for our delightful cookies.
Mix Ingredients Together
Next up, it’s time to introduce the rest of our ingredients. To the processed mixture, add a splash of vanilla extract, a sprinkle of salt, and your large egg. Pulse everything together until it forms a cohesive dough. Mixing is crucial here; it combines all flavors and ensures a uniform texture. The vanilla adds depth, while the egg binds everything beautifully. If the dough feels sticky, don’t worry; that’s a good sign! It means your cookies will be chewy. Enjoy the aroma wafting through your kitchen—it’s a sneak peek into the deliciousness to come!
Chill the Dough
Now comes a step that’s essential for the best results: chilling the dough. Wrap your dough in plastic wrap and slide it into the fridge for a minimum of 4 hours. Yes, it might feel like a long wait, but this time is worth it. Chilling firms up the dough, making it easier to shape later. Plus, it allows the flavors to meld beautifully, ensuring that every bite of your Pignoli Almond Pine Nuts cookies is bursting with flavor. Patience is a virtue, especially in the kitchen!
Shape and Coat Cookies
Once your dough is chilled and ready to go, it’s shaping time! Scoop about one tablespoon of the dough and roll it gently in your hands. Next, take some pine nuts and coat your little dough ball, getting those nuts stuck all around. This not only adds flavor but also creates that delightful crunchy exterior. Place each cookie onto your lined baking sheet, making sure to keep them spaced about 2 inches apart. This spacing is important; it allows the cookies to spread beautifully while baking, giving each one proper room to shine!
Bake to Perfection
With our cookies formed and ready, let’s pop them in the oven! Preheat it to 350°F (177°C) and bake for about 16 to 18 minutes. Keep an eye on them! You want those edges to turn a light golden brown while the centers remain soft and shiny. They may look a bit underdone, but don’t fret; that’s exactly how they should be! When you pull them out, the delightful aromas will fill your kitchen, hinting at the delicious treat awaiting you. Remember, overbaking will change their wonderful texture!
Cool and Dust
Now it’s time for the final touches! Once your cookies are out of the oven, let them cool completely on the baking sheet. This step is vital for maintaining their soft centers. After they’ve cooled, grab a fine mesh sieve and dust the cookies lightly with powdered sugar. Not only does this add a sprinkle of sweetness, but it visually elevates your cookies, making them look extra inviting. Serve them up, and watch your loved ones marvel at these beautiful little treasures!
Tips for Success
- Always use fresh almond paste for the best flavor.
- When pulsing the dough, stop occasionally to scrape down the sides of the food processor.
- Let the cookies cool on the baking sheet for great texture.
- You can add a pinch of cinnamon for a warm spice note.
- Keep an eye on baking time to prevent overbaking.
Equipment Needed
- Food Processor: Essential for mixing the dough. A hand mixer can also work in a pinch.
- Baking Sheet: A must-have for baking! If you don’t have one, any flat oven-safe dish will do.
- Parchment Paper: Helps prevent sticking. If unavailable, greasing the baking sheet is fine.
- Measuring Cups: For precise measurements. A simple kitchen scale can be used as an alternative.
- Plastic Wrap: Useful for chilling the dough. A resealable bag works just as well.
Variations
- Nut Substitutes: Swap out pine nuts for slivered almonds or chopped hazelnuts for a different flavor twist.
- Chocolate Chips: For a sweeter touch, fold in mini chocolate chips into the dough before shaping.
- Gluten-Free Option: Ensure all ingredients, particularly any granulated sugars or baking essentials, are certified gluten-free.
- Citrus Zest: Add a teaspoon of lemon or orange zest to the dough for a refreshing citrus note.
- Dairy-Free Variation: Replace the egg with a chia seed or flaxseed egg for a vegan option.
Serving Suggestions
- Pair your Pignoli Almond Pine Nuts cookies with a steaming cup of espresso for a delightful afternoon treat.
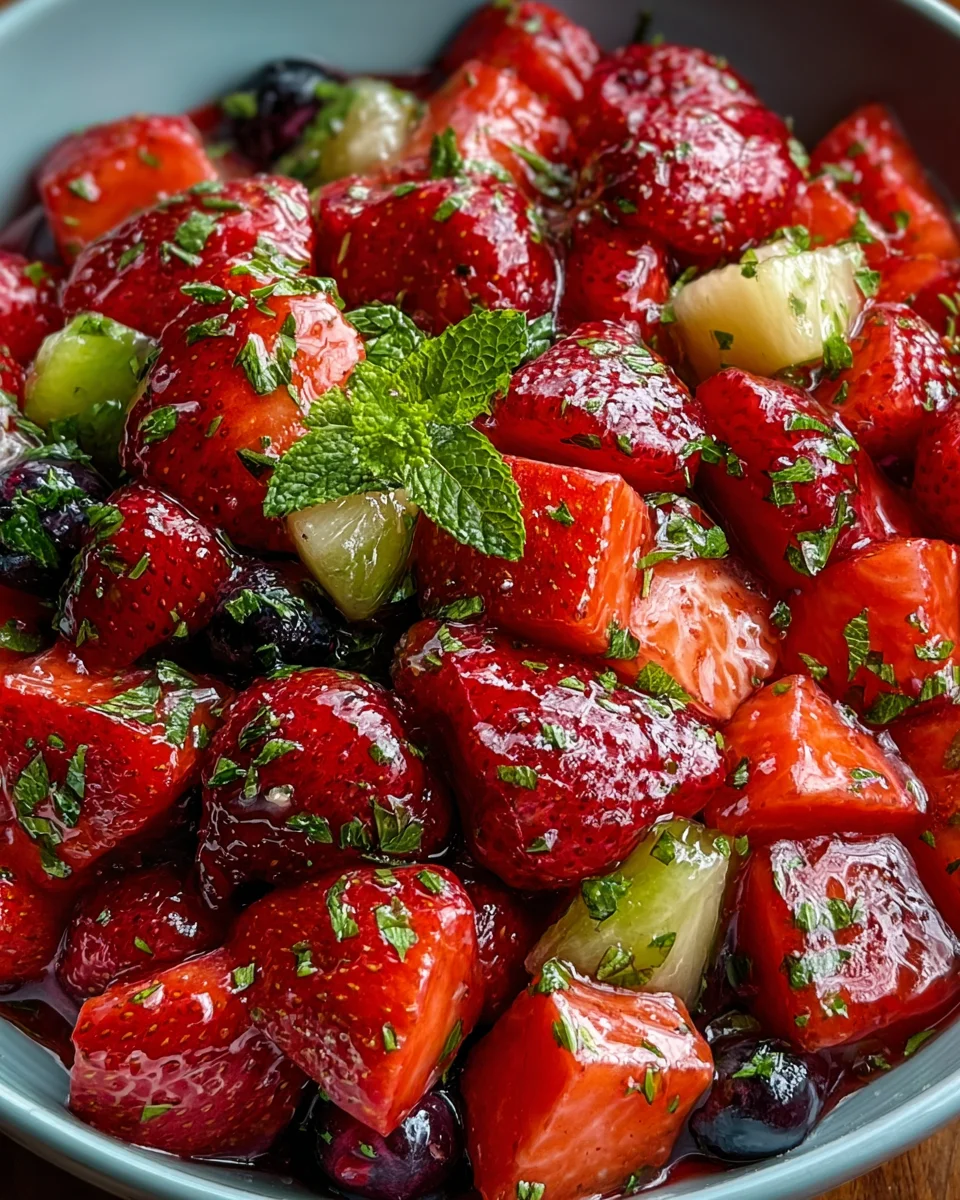
- Serve alongside fresh berries for a splash of color and a burst of flavor.
- For a festive touch, arrange cookies on a decorative platter dusted with powdered sugar.
- Enjoy with a scoop of vanilla ice cream for a delicious dessert duo.
FAQs about Pignoli Almond Pine Nuts
Can I use store-bought almond paste for these cookies?
Absolutely! Store-bought almond paste works wonderfully for making Pignoli Almond Pine Nuts cookies. Just ensure it’s fresh to achieve the best flavor and texture.
How should I store the cookies?
Store your cookies in an airtight container at room temperature. They’ll keep nicely for several days, though I doubt they’ll last that long once everyone tastes them!
Can I freeze the dough?
Yes! You can freeze the dough before chilling it. Just wrap it tightly in plastic wrap and place it in a freezer-safe bag. When you’re ready, let it thaw in the fridge overnight, follow the chilling step, and you’re good to go!
Are these cookies gluten-free?
You bet! With almond paste and no flour involved, these delightful treats are naturally gluten-free. Perfect for anyone with gluten sensitivities!
What can I substitute if I don’t have pine nuts?
If pine nuts are a no-go, feel free to replace them with slivered almonds or crushed pistachios. They’ll provide a similar crunch and add their own unique flavors!
Final Thoughts
There’s something truly magical about baking, especially with these Pignoli Almond Pine Nuts cookies. Each bite is a symphony of flavors, combining the sweetness of almond with the earthy crunch of pine nuts, making every moment feel special. Baking has a way of bringing people together, creating cherished memories that last a lifetime. Whether you’re indulging solo with a cup of coffee or sharing with loved ones, these cookies are guaranteed to bring joy. So roll up your sleeves, embrace the delightful process, and let these scrumptious cookies fill your home with warmth and happiness!
Print
Pignoli Almond Pine Nuts
- Total Time: 4 hours 38 minutes
- Yield: Approximately 24 cookies 1x
- Diet: Gluten Free
Description
A delightful cookie made with almond paste and coated with pine nuts, creating a unique and flavorful treat.
Ingredients
- 8 ounces almond paste
- 1/2 cup granulated sugar
- 1/2 teaspoon vanilla extract
- 1/4 teaspoon salt
- 1 large whole egg
- 2/3 cup pine nuts
- 2 tablespoons powdered sugar
Instructions
- Break almond paste into smaller chunks and place into a large food processor. Add granulated sugar and pulse for approximately 2 minutes until a paste forms and sugar begins to dissolve.
- Add vanilla extract, salt, and the whole egg to the food processor. Pulse until the mixture forms a cohesive dough.
- Transfer dough onto plastic wrap and shape into a loose roll or ball. Cover and chill in the refrigerator for a minimum of 4 hours to firm up.
- Preheat oven to 350°F (177°C). Line a baking sheet with parchment paper and pour pine nuts into a bowl.
- Scoop 1 tablespoon of dough and roll it lightly in pine nuts until partially coated. Arrange formed pieces on the baking sheet spaced approximately 2 inches apart.
- Bake for 16 to 18 minutes until edges turn light golden brown. Centers may remain soft and shiny, which is expected.
- Allow cookies to cool completely, then dust lightly with powdered sugar before serving.
Notes
- For best results, chill the dough for at least 4 hours.
- The cookies will remain soft in the center after baking.
- These cookies can be stored in an airtight container for several days.
- Prep Time: 20 minutes
- Cook Time: 18 minutes
- Category: Dessert
- Method: Baking
- Cuisine: Italian
Nutrition
- Serving Size: 1 cookie
- Calories: 120
- Sugar: 8g
- Sodium: 50mg
- Fat: 7g
- Saturated Fat: 1g
- Unsaturated Fat: 5g
- Trans Fat: 0g
- Carbohydrates: 12g
- Fiber: 1g
- Protein: 3g
- Cholesterol: 20mg