

Introduction to Halloween Cinnamon Rolls
As the leaves turn and the days get shorter, there’s something magical about the arrival of Halloween. Each October, I find myself yearning for cozy, comforting treats that warm not just my kitchen, but my heart too. These Halloween Cinnamon Rolls are the perfect blend of festivity and flavor, making them an easy choice for busy moms like us. They’re not just a quick solution for a hectic day but also a fun way to impress the kiddos and guests alike. Trust me, nothing beats the joy of pulling warm, gooey rolls from the oven, ready to be devoured!
Why You’ll Love This Halloween Cinnamon Rolls
Let’s be real; life gets busy, especially when juggling kids, work, and a million other responsibilities. But these Halloween Cinnamon Rolls make everything easier! They’re simple to whip up with minimal prep time, so you can enjoy family moments rather than stress in the kitchen. Plus, the delicious, warm aroma wafting through your home is nothing short of enchanting. Your taste buds and your loved ones will thank you for this festive treat!
Ingredients for Halloween Cinnamon Rolls
Creating these delightful Halloween Cinnamon Rolls is as easy as pie—well, maybe easier! Here’s what you’ll need:
- Refrigerated Grands cinnamon rolls: These are the stars of the show, providing the soft, fluffy base for your rolls.
- Heavy whipping cream: This secret ingredient transforms your rolls into a gooey, moist treat that’s hard to resist.
- Butter: You’ll need both melted and softened varieties. The melted butter adds richness, while the softened butter helps in frosting.
- Brown sugar: This brings a lovely sweetness and deep flavor to your rolls, enhancing that classic cinnamon goodness.
- Cinnamon: A must-have spice, it infuses your rolls with that warm, inviting aroma we all love.
- Pre-made icing: No one has time to make icing from scratch, right? These jars work perfectly!
- Cream cheese: Used for the frosting, it gives a creamy, luscious texture that complements the sweetness perfectly.
- Powdered sugar: This sweetener will help to thicken the frosting while making it aesthetically appealing.
- Orange food coloring: A splash of this will bring your frosting to life, creating that festive Halloween vibe.
- Candy eyes and sprinkles: These fun toppings will add a playful touch, making your rolls not just delicious but visually delightful.
For exact measurements, please check the bottom of the article; I promise it’s handy for printing! Feel free to get creative—whether it’s swapping the cream cheese for a dairy-free option or using other toppings, this recipe is yours to enjoy!
How to Make Halloween Cinnamon Rolls
Preparing the Oven and Dish
Before we dive into this delicious adventure, let’s prepare our oven and baking dish. Preheating your oven to 350°F (175°C) is crucial. It makes sure our Halloween cinnamon rolls bake evenly and rise beautifully. While that’s warming up, grab a 9×13 inch baking dish and grease it well. A light coat of butter or cooking spray will do the trick, ensuring our gooey treats don’t cling like a bear to honey!
Arranging the Cinnamon Rolls
Now comes the fun part—placing the refrigerated Grands cinnamon rolls in the prepared dish! Open those cans and pop those fluffy rolls into the dish, spacing them evenly apart. This helps them bake uniformly and gives each roll room to expand. Think of them as little witches preparing for a sumptuous cauldron, each needing their space to bubble up into deliciousness!
Adding the Creamy Layer
Grab that heavy whipping cream—it’s about to do some magic! Pour 1 cup evenly over the cinnamon rolls. This creamy layer isn’t just for show; it adds moisture, keeping our rolls delightfully gooey in the center. Imagine each roll soaking it up like a sponge, transforming them from ordinary to extraordinary!
Creating the Cinnamon-Sugar Mixture
Let’s whip up a delightful topping! In a small bowl, combine 4 tablespoons of melted butter with ⅓ cup of brown sugar and ½ teaspoon of cinnamon. Mix until it’s all blended, creating a buttery cinnamon-sugar potion. Drizzle this over the rolls, allowing the sweetness to seep into every nook and cranny. Think rich, indulgent flavors swirling through your rolls, adding that wow factor!
Baking to Perfection
Cover the dish with foil and let your Halloween cinnamon rolls bake for 30 minutes. While they’re in the oven, the magical scents will fill your home. After baking, check that they’re cooked through and bubbly. The rolls should look golden on the edges, and the cream should create a delightful puddle at the bottom. Use a toothpick—if it comes out clean, they’re ready to wow your taste buds!
Frosting the Rolls
Let those beautiful rolls cool completely before we frost them. This is key! If they’re warm, the frosting will melt faster than a snowman in July. Mix the softened cream cheese and remaining butter until smooth. Add in the pre-made icing and powdered sugar, stirring until creamy. Finally, mix in a few drops of orange food coloring for that festive flair. Spread this luscious frosting over the cooled rolls, ensuring a thick, delectable layer.
Final Touches with Decorations
Now for the grand finale! It’s time to get creative with toppings. Place the candy eyes and Halloween sprinkles atop your rolls for a playful, spooky touch. Watch as they transform into whimsical treats that are almost too cute to eat! These final details make your Halloween cinnamon rolls truly festive and fun—perfect for family gatherings or any Halloween party!
Tips for Success
- Always let the rolls cool down completely before frosting to maintain that fluffy texture!
- Use a light hand when drizzling the cinnamon-sugar mixture—too much can lead to sticky rolls.
- Feel free to adjust the cinnamon and sugar to your taste—everyone’s palate is different!
- When adding food coloring, start with a few drops and gradually increase for the perfect shade.
- For easy cleanup, line your baking dish with parchment paper!
Equipment Needed for Halloween Cinnamon Rolls
- 9×13 inch baking dish: A glass or ceramic dish works wonders.
- Mixing bowls: Having a few of varying sizes will make mixing easy.
- Whisk: Perfect for blending frosting ingredients smoothly.
- Measuring cups and spoons: Essential for precision in ingredients.
- Spatula: Great for spreading frosting evenly on your rolls.
Variations of Halloween Cinnamon Rolls
- Pumpkin Spice Twist: Add pumpkin puree and a dash of nutmeg to the cinnamon-sugar mixture to give your rolls a fall-inspired flavor.
- Dairy-Free Delight: Substitute coconut cream and dairy-free butter for a delicious, lactose-free version that everyone can enjoy.
- Chocolate Drizzle: Top your frosted rolls with a chocolate drizzle for a rich, decadent treat that chocolate lovers will adore.
- Nutty Addition: Sprinkle chopped pecans or walnuts into the rolls before baking for a delightful crunch.
- Berry Burst: Add a layer of fresh or frozen berries, like blueberries or raspberries, in between the rolls for a fruity twist.
Serving Suggestions for Halloween Cinnamon Rolls
- Serve with a side of warm apple cider for a cozy fall treat.
- Pair with a pumpkin spice latte for a delightful breakfast combo.
- Present on a festive platter with Halloween-themed decorations for an eye-catching display.
- Add a scoop of vanilla ice cream on warm rolls for a decadent dessert.
FAQs about Halloween Cinnamon Rolls
Are you curious about these delightful Halloween Cinnamon Rolls? Here are some common questions I often receive, along with their answers to help you out!
Can I make these Halloween Cinnamon Rolls ahead of time?
Absolutely! You can prepare the rolls the night before and then cover them tightly in the fridge. When it’s time to bake, let them sit at room temperature for about 30 minutes before baking to get that warm, fluffy texture.
What if I don’t have heavy whipping cream?
No worries! You can substitute it with milk or half-and-half. Just keep in mind that the rolls may not be as rich, but they’ll still be delicious!
Can I freeze the Halloween Cinnamon Rolls?
Yes, you can! Once cooled, wrap individual rolls tightly in plastic wrap and store them in an airtight container in the freezer. When ready to eat, thaw them in the fridge overnight and warm them up in the oven.
How long do leftovers last?
These treats are best enjoyed fresh, but if you have any left, store them in an airtight container for up to three days. They may lose a bit of their fluffiness, but they’ll still be tasty!
Can I customize the toppings for my Halloween Cinnamon Rolls?
Definitely! You can swap out the candy eyes and sprinkles for your favorite toppings or even use themed decorations that fit your Halloween party. The options are endless!
Final Thoughts on Halloween Cinnamon Rolls
Creating these Halloween Cinnamon Rolls is more than just baking; it’s about sharing joy and making memories with loved ones. The whimsical decorations and delightful flavors bring smiles all around, turning an ordinary day into a festive celebration. I love how these rolls serve as a spark for conversations and laughter while we enjoy them together. Whether you’re hosting a spooky gathering or simply treating the family, these cinnamon rolls are sure to create warm moments you’ll cherish. So, roll up your sleeves and indulge in this culinary adventure; your taste buds and family will thank you!
Print
Halloween Cinnamon Rolls
- Total Time: 45 minutes
- Yield: 10 servings 1x
- Diet: Vegetarian
Description
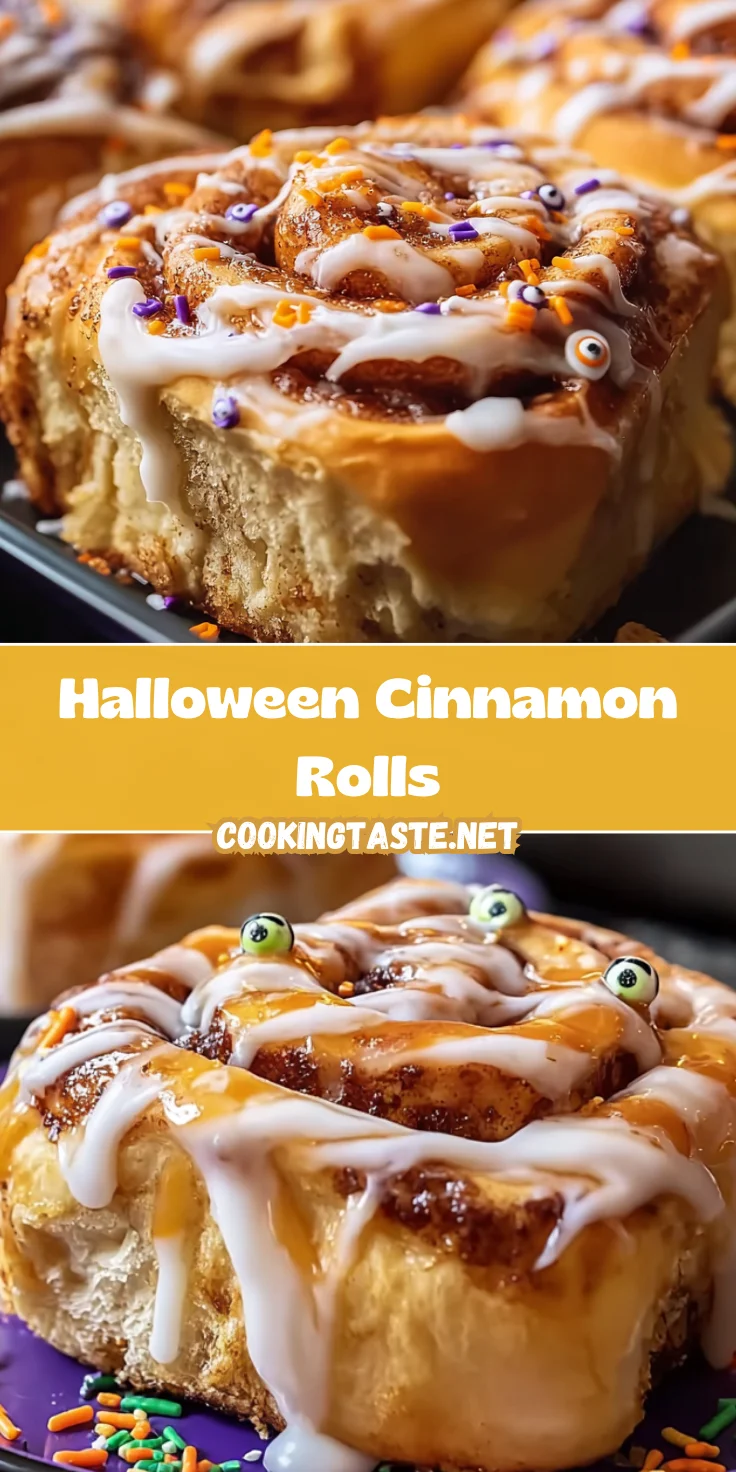
Delicious and festive Halloween-themed cinnamon rolls, topped with cream cheese frosting and decorated with candy eyes and sprinkles.
Ingredients
- 2 (5 count) cans refrigerated grands cinnamon rolls
- 1 cup heavy whipping cream
- 4 Tbsp butter, melted
- ⅓ cup brown sugar
- ½ tsp cinnamon
- 2 icings from pre-made cinnamon rolls
- 4 oz cream cheese, room temperature
- 1 cup powdered sugar
- 4 Tbsp butter, softened
- Orange food coloring, as needed
- Candy eyes
- Halloween sprinkles
Instructions
- Preheat your oven to 350°F (175°C) and grease a 9×13 inch baking dish to prevent sticking.
- Place the refrigerated Grands cinnamon rolls into the prepared baking dish, spacing them evenly.
- Pour 1 cup of heavy whipping cream evenly over the cinnamon rolls, making sure to pour some cream between each roll to keep them moist.
- In a small bowl, melt 4 tablespoons of butter, then mix in ⅓ cup brown sugar and ½ teaspoon cinnamon until well combined.
- Drizzle the cinnamon-sugar butter mixture evenly over the cinnamon rolls in the baking dish.
- Cover the dish with foil and bake in the preheated oven for 30 minutes until the rolls are cooked through and bubbly.
- Remove the rolls from the oven and let them cool completely before frosting to prevent melting.
- In a medium bowl, combine 4 tablespoons softened butter and 4 ounces room temperature cream cheese. Whisk until smooth and creamy.
- Stir in the two containers of pre-made cinnamon roll icing followed by 1 cup powdered sugar. Whisk until creamy and well incorporated.
- Add a few drops of orange food coloring to the frosting, mixing until the color is evenly distributed. Add more drops until you achieve your desired Halloween orange shade.
- Spread the orange cream cheese frosting over the completely cooled cinnamon rolls evenly.
- Top the frosted rolls with candy eyes and Halloween sprinkles for a fun and spooky finish.
- Serve immediately and enjoy your festive Halloween cinnamon rolls!
Notes
- Ensure rolls are completely cooled before frosting to avoid melting the frosting.
- Feel free to adjust the amount of orange food coloring based on your preference.
- These cinnamon rolls are best enjoyed fresh, but can be stored in an airtight container for a few days.
- Prep Time: 15 minutes
- Cook Time: 30 minutes
- Category: Dessert
- Method: Baking
- Cuisine: American
Nutrition
- Serving Size: 1 roll
- Calories: 350
- Sugar: 15g
- Sodium: 300mg
- Fat: 18g
- Saturated Fat: 9g
- Unsaturated Fat: 5g
- Trans Fat: 0g
- Carbohydrates: 45g
- Fiber: 1g
- Protein: 4g
- Cholesterol: 30mg


