

Introduction to Chocolate Peanut Butter Poke
Hey there, fellow dessert lovers! If you’re anything like me, you know the struggle of balancing a busy life while still wanting to whip up something special for your family. That’s where my Chocolate Peanut Butter Poke comes in. This delightful dessert is not only ridiculously easy to make, but it also strikes the perfect balance between rich chocolate and creamy peanut butter. Imagine being able to impress your loved ones with this irresistible treat, all while juggling your daily chaos. Let’s dive into this dessert adventure that promises to create sweet memories in every bite!
Why You’ll Love This Chocolate Peanut Butter Poke
Let’s face it, life can get hectic, and dessert shouldn’t add to the stress. This Chocolate Peanut Butter Poke is a lifesaver! It’s quick to prepare and effortlessly decadent, making it a go-to sweet for busy evenings. Plus, the combination of rich chocolate and creamy peanut butter creates a mouthwatering flavor explosion that delights everyone around the table. It’s the dessert that says, “I care,” without demanding too much of your time.
Ingredients for Chocolate Peanut Butter Poke
Gathering the right ingredients is half the fun of baking! For this Chocolate Peanut Butter Poke, you’ll need a mix of pantry staples to create a divine dessert that sings with flavor. Here’s what you’ll need:
- Devil’s Food chocolate cake mix: This forms the base of our dessert, giving it that rich chocolatey goodness.
- Creamy peanut butter: Melting this down delivers that fantastic nutty flavor that ties everything together. Remember, it should be smooth for easy mixing!
- Sweetened condensed milk: This sweet, creamy component is a dream! It adds both moisture and sweetness to the filling.
- Instant vanilla pudding mix: This is the secret to achieving a velvety, luscious texture in the filling.
- Whole milk: Room temperature milk ensures a smooth blend with the pudding and peanut butter mix.
- Cream cheese: Softened cream cheese will make our whipped topping taste indulgent and smooth.
- Powdered sugar: A touch of sweetness helps balance out the cream cheese in our topping.
- Heavy whipping cream: This creates a light, fluffy whipped topping that makes the dessert feel like a special treat.
- Vanilla extract: A splash adds depth to the flavor profile.
- Reese’s Cups: Chopped up, these iconic chocolates become the perfect garnish that adds texture and that unmistakable peanut butter chocolate combo.
- Reese’s Pieces: Optional but highly recommended for that added crunch and colorful flair on top!
Now, for detailed quantities, check out the bottom of the article where you’ll find everything ready for printing. Don’t worry; with this lineup, you’ll be a chocolate peanut butter hero in no time!
How to Make Chocolate Peanut Butter Poke
Now that we’ve gathered our ingredients, let’s dive into how to create this dazzling dessert! Follow these simple steps, and soon you’ll be enjoying a slice of Chocolate Peanut Butter Poke that will have everyone raving.
Step 1: Prepare the Cake Batter
First, preheat your oven to 350°F (175°C).
I like to set a timer so I don’t forget!
Next, prepare your Devil’s Food chocolate cake mix according to the package instructions.
Don’t skip the eggs, oil, and water; they’re key to your cake’s moistness!
Pour the batter into a 9×13-inch baking dish and pop it into the oven.
Keep an eye on the clock—it should bake for about 30 minutes.
Trust me, the sweet aroma wafting through your kitchen will have everyone wondering what’s cooking!
Step 2: Poke Holes in the Cake
Once your cake is out of the oven, let it cool for about 10 minutes.
Now comes the fun part!
Using the handle of a wooden spoon, poke holes about 1 inch apart all over the top of the warm cake.
This step is crucial because it allows the yummy peanut butter filling to seep in and supercharge the flavor!
Take your time; you want a lot of holes for maximum deliciousness.
Step 3: Make the Peanut Butter Filling
In a microwave-safe bowl, melt your creamy peanut butter in 15-second intervals.
Make sure to stir it in between until it’s silky smooth.
Then, mix in the sweetened condensed milk until it’s well combined.
If you’re patient, it will be oh-so-worth-it!
This creamy goodness will bring that rich flavor that pairs perfectly with chocolate.
Step 4: Prepare the Pudding Mixture
In a separate large bowl, whisk the instant vanilla pudding mix with whole milk until it’s just smooth, but don’t overdo it!
Then, quickly fold in your melted peanut butter mixture until everything is blended beautifully.
This will give you that lovely, luxurious filling texture we crave in a poke cake.
Step 5: Fill the Cake
Now, it’s time to fill those holes!
Transfer half of the peanut butter filling to a piping bag or a ziplock bag with a snipped corner.
Pipe the filling generously into each hole.
Then, spread the remaining filling evenly across the cake’s surface.
Chill the cake in the refrigerator for at least 2 hours so everything can set properly.
Step 6: Make the Whipped Topping
While your cake is chilling, let’s whip up the cream cheese topping.
Using a hand mixer, beat softened cream cheese and vanilla extract for about a minute.
Add in the powdered sugar and about one-third of your heavy cream.
Blend on low until combined; then gradually add the rest of the cream.
Increase the speed to medium-high and whip until stiff peaks form!
Your topping will be light, fluffy, and ready to dazzle.
Step 7: Frost the Cake and Add Garnish
Once the cake is fully chilled, spread the cream cheese whipped topping evenly over the surface.
Make sure to smooth it out—it should look as good as it tastes!
To finish, melt a bit more peanut butter and drizzle it over the frosted cake.
Use a skewer to swirl it together for that beautiful marbled effect.
Top with chopped Reese’s Cups and sprinkle on some Reese’s Pieces for an eye-catching garnish.
Now, all that’s left to do is dive in!
Tips for Success
- Make sure to let your cake cool completely before poking holes to avoid crumbling.
- Use room temperature ingredients for the best mixing results!
- Don’t rush the chilling process; it helps the flavors meld beautifully.
- Feel free to taste the peanut butter filling as you go—deliciousness is key!
- For an even richer flavor, try adding a splash of coffee to the cake batter.
Equipment Needed
- 9×13-inch baking dish: A standard size for the perfect cake. Alternatively, use any similar-sized baking dish.
- Mixing bowls: Having a variety of sizes helps with different ingredients.
- Hand mixer: Makes whipping the topping easier. You can also use a whisk if you’re feeling adventurous!
- Measuring cups and spoons: Essential for precision in baking.
- Piping bag or ziplock bag: For easy filling without mess.
Variations for Chocolate Peanut Butter Poke
- Nut-Free Option: Substitute creamy peanut butter with sunflower seed butter for a delicious nut-free variation.
- Gluten-Free Twist: Use a gluten-free chocolate cake mix to cater to gluten sensitivities while keeping the cake moist and flavorful.
- Healthier Alternative: Swap out regular cream cheese for a reduced-fat version, and use a low-sugar peanut butter to lighten the dessert.
- Flavor Infusions: Add a splash of espresso to the chocolate cake batter for a delightful mocha flavor that pairs beautifully with peanut butter.
- Fruit Addition: Layer in some banana slices between the cake and filling for a fun twist and extra flavor!
Serving Suggestions
- Pair with a scoop of vanilla ice cream for a delightful contrast in temperatures.
- Serve alongside fresh berries to add a pop of color and tartness to balance the sweetness.
- For drinks, opt for a rich coffee or a chilled glass of milk to enhance those chocolate flavors.
- Presentation matters! Dust with powdered sugar before serving for a classy touch.
FAQs about Chocolate Peanut Butter Poke
Got questions about this delicious dessert? I’ve got your answers! Here are some common queries I’ve encountered about Chocolate Peanut Butter Poke. Hopefully, they’ll help you on your dessert-making adventure!
Can I make Chocolate Peanut Butter Poke ahead of time?
Absolutely! This dessert is perfect for making ahead. Just prepare it the day before and store it in the refrigerator until you’re ready to serve.
What if I don’t have a piping bag?
No problem at all! A ziplock bag with a snipped corner works just as well. It’s a handy trick I use all the time!
Can I substitute almond milk for the whole milk?
Yes, almond milk can be a great substitute, although it might slightly alter the flavor. Just make sure it’s at room temperature for the best results when mixing.
How long does Chocolate Peanut Butter Poke last in the fridge?
If stored properly, this dessert will keep for up to three days in the refrigerator. Just remember to cover it well to maintain all that delightful moisture!
Can I freeze Chocolate Peanut Butter Poke?
Freezing isn’t recommended due to the whipped topping’s texture. It’s best enjoyed fresh, but you can freeze the cake alone if you like!
Final Thoughts
Creating my Chocolate Peanut Butter Poke has been an absolute delight! It’s more than just a dessert; it’s a ticket to heartwarming smiles around your table. Each slice captures the essence of homemade goodness, making any day feel special. Whether it’s a busy weeknight or a family gathering, this decadent treat is bound to impress. So, grab those ingredients and let the sweet aromas fill your kitchen! You’re not just baking; you’re creating cherished moments, one tasty layer at a time. Let this dessert be your go-to for spreading love and joy in every bite!
Print
Chocolate Peanut Butter Poke
- Total Time: 3 hours
- Yield: 12 servings 1x
- Diet: Vegetarian
Description
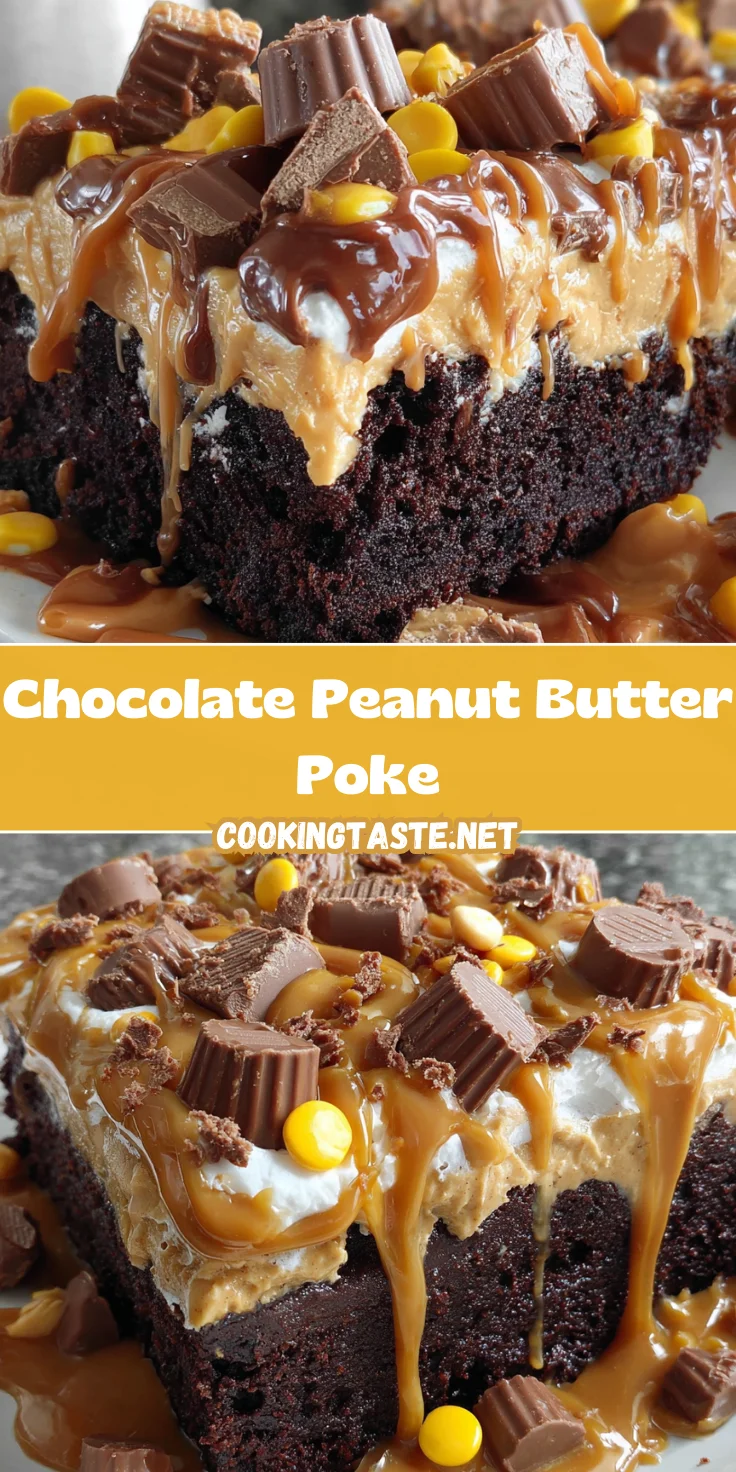
Chocolate Peanut Butter Poke is a rich, indulgent dessert featuring a moist chocolate cake filled with a creamy peanut butter filling, topped with a luscious cream cheese whipped topping and garnished with Reese’s Cups.
Ingredients
- 432 g box Devil’s Food chocolate cake mix, plus ingredients as listed on package (eggs, oil, water as specified)
- 360 ml creamy peanut butter, melted
- 1 x 397 g can sweetened condensed milk
- 96 g box instant vanilla pudding mix
- 415 ml whole milk, room temperature
- 170 g cream cheese, softened
- 60 g powdered sugar, plus more to taste
- 360 ml heavy whipping cream
- 5 ml vanilla extract
- 60 ml creamy peanut butter, melted (for garnish)
- 4–5 Reese’s Cups, chopped (for garnish)
- Reese’s Pieces, as desired (for garnish)
Instructions
- Preheat oven to 175°C. Prepare chocolate cake batter according to package instructions. Pour into a 23×33 cm baking dish and bake as directed. Remove from oven and cool for 10 minutes.
- Using the handle of a wooden spoon, poke holes approximately 2 cm apart across the surface of the warm cake. Allow the cake to cool further while preparing the filling.
- Microwave peanut butter in a microwave-safe bowl in 15-second intervals, stirring between, until completely melted and smooth. Stir in sweetened condensed milk until fully combined.
- In a separate large bowl, whisk together vanilla pudding mix and milk until just smooth but not thickened. Quickly whisk in the melted peanut butter mixture until fully blended.
- Transfer half of the peanut butter filling into a piping bag or ziplock bag with a snipped corner. Generously pipe filling into each hole. Spread remaining mixture evenly over the cake surface. Refrigerate cake for 2 hours until filling is set.
- Beat softened cream cheese and vanilla extract for 1 minute. Add powdered sugar and one third of heavy cream; beat on low until combined. Gradually add remaining cream, increase speed to medium-high, and whip until stiff peaks form.
- Spread cream cheese whipped topping evenly over the chilled cake. Ensure the surface is smooth.
- Melt peanut butter and drizzle over the frosted cake, swirling with a skewer for a marbled effect. Garnish with chopped Reese’s Cups and Reese’s Pieces. Store covered in the refrigerator.
Notes
- Make sure the cake is completely cool before poking holes.
- For best results, use room temperature ingredients.
- Store any leftovers in the refrigerator for up to three days.
- Prep Time: 30 minutes
- Cook Time: 30 minutes
- Category: Dessert
- Method: Baking
- Cuisine: American
Nutrition
- Serving Size: 1 piece
- Calories: 450
- Sugar: 32 g
- Sodium: 350 mg
- Fat: 28 g
- Saturated Fat: 12 g
- Unsaturated Fat: 8 g
- Trans Fat: 0 g
- Carbohydrates: 45 g
- Fiber: 2 g
- Protein: 8 g
- Cholesterol: 60 mg


