

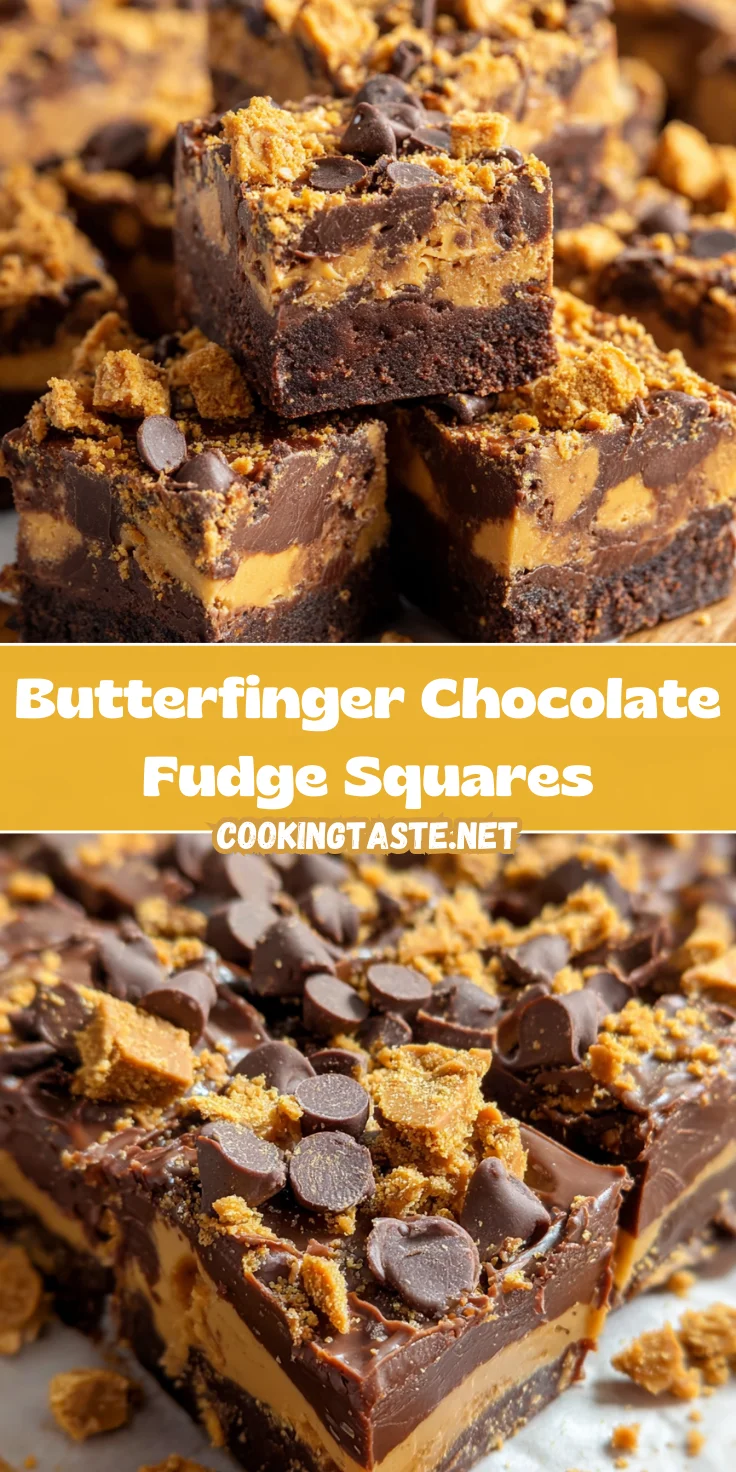
Introduction to Butterfinger Chocolate Fudge Squares
Hey there, fellow food enthusiasts! If you’re anything like me, you know that life gets busy, and sometimes you just need a quick treat that’s sure to please. That’s where these delightful Butterfinger chocolate fudge squares come in! With their rich chocolate base and crunchy Butterfinger bits, they’re not only a sweet indulgence but also a crowd-pleaser. Imagine serving these at your next gathering or enjoying them after a long day—pure bliss! Trust me, this easy-to-make recipe will soon become your go-to dessert for any occasion.
Why You’ll Love This Butterfinger Chocolate Fudge Squares
Let me tell you, these Butterfinger chocolate fudge squares are a game changer! They’re incredibly easy to whip up, taking just a few short minutes. The combination of smooth chocolate and crunchy candy will make every bite a delightful experience. Plus, they’re perfect for busy moms like us—I mean, who doesn’t need a quick and impressive dessert after a long day? These treats are sure to satisfy any craving!
Ingredients for Butterfinger Chocolate Fudge Squares
Now, let’s dive into the delightful components that make these Butterfinger chocolate fudge squares so irresistible! Each ingredient plays a crucial role in creating the perfect balance of flavor and texture.
- Semi-sweet chocolate chips: I recommend Ghirardelli for a rich taste. These chips are the heart of the fudge.
- Sweetened condensed milk: This creamy ingredient adds sweetness and a velvety texture to the fudge, keeping it moist.
- Heavy cream: It lends richness to the chocolate mixture, helping it become wonderfully smooth.
- Butterfinger candy bars: The star of the show! These candy bars add that delightful crunch and buttery flavor that pairs perfectly with fudge.
- Optional toppings: Feel free to sprinkle more finely chopped Butterfinger on top for an extra crunch and beauty!
For exact measurements, head down to the bottom of the article where you can find everything laid out clearly for you to print. Happy cooking!
How to Make Butterfinger Chocolate Fudge Squares
Now let’s get to the fun part! Making Butterfinger chocolate fudge squares is a breeze. Follow these simple steps, and soon you’ll be enjoying these irresistible treats, fresh from your kitchen.
Prepare Your Baking Pan
Start by grabbing a 9×9 inch baking pan. This will be your trusty mold for the fudge.
Line the pan with aluminum foil, allowing some overhang on the sides. This little trick makes it super easy to lift the fudge out later.
Don’t forget to lightly spray the foil with nonstick cooking spray. This will help ensure that your fudge doesn’t stick and comes out beautifully.
Create the Chocolate Mixture
In a 3-quart saucepan over medium heat, gather your semi-sweet chocolate chips, sweetened condensed milk, and heavy cream.
Stir the mixture constantly for about 5 to 6 minutes. Keep an eye on it to prevent burning. You want a smooth and glossy chocolate sauce, not a scorched mess!
Incorporate Butterfinger Candy
Once your chocolate mixture is ready and nicely melted, it’s time for the Butterfinger magic!
Gently fold in the 2 cups of roughly chopped Butterfinger pieces. The goal here is to mix them in without breaking them up too much. The crunch is what makes these squares special!
Transfer to Pan and Top
Now, pour that decadent fudge mixture into your prepared baking pan. Use a spatula to spread it evenly.
Next, sprinkle your 1 cup of finely chopped Butterfinger over the top. Gently press the pieces into the fudge, so they stick well. Trust me; this extra layer of crunch will be worth it!
Chill Until Firm
Off to the fridge it goes! Chill your fudge for 1 to 2 hours, or until it’s firm and set. This part is crucial; patience pays off!
Cut into Squares
Once your fudge is nicely chilled, take a large sharp knife and cut it into 36 squares, each about 1½ by 1½ inches.
Now you’re ready to share or indulge on your own! Pair with a warm cup of coffee or a glass of milk for a complete treat.
Tips for Success
- Always stir the chocolate mixture constantly to prevent burning. A non-stick saucepan works wonders!
- For easy clean-up, line your pan with foil and use baking spray.
- Let the fudge chill completely. It ensures a perfect cut and a firm texture.
- Use a sharp knife for clean slices; wipe it with a damp cloth between cuts for neat squares.
Equipment Needed
- 9×9 inch baking pan: A square baking dish works too if you don’t have this size.
- 3-quart saucepan: A bigger pot will also do the trick for melting the chocolate.
- Spatula: A wooden or silicone spatula is great for mixing and smoothing.
- Sharp knife: Any sharp knife will work well for cutting the fudge into squares.
- Aluminum foil: Parchment paper can be used as a substitute for lining the pan.
Variations
- Peanut Butter Twist: Add a layer of creamy peanut butter to the chocolate mixture for a delicious peanut butter-chocolate combo.
- Nutty Delight: Fold in chopped nuts like walnuts or pecans along with the Butterfinger for an extra crunch and richness.
- Dark Chocolate: Swap semi-sweet chocolate for dark chocolate chips to create a richer, more intense fudge flavor.
- Salted Caramel: Drizzle a bit of salted caramel on top before chilling for a sweet and salty flavor explosion.
- Gluten-Free Option: Ensure all ingredients are gluten-free, and use certified gluten-free candy bars to cater to dietary needs.
Serving Suggestions
- Pair these Butterfinger chocolate fudge squares with a warm cup of coffee or a glass of cold milk for a delightful treat.
- Serve alongside a scoop of vanilla ice cream to elevate the dessert even further.
- For a beautiful presentation, arrange squares on a decorative platter topped with mint leaves.
- Drizzle melted chocolate or caramel over the fudge squares for a different flavor twist.
FAQs about Butterfinger Chocolate Fudge Squares
Wondering about the ins and outs of making these Butterfinger chocolate fudge squares? You’re not alone! Here are some common questions I often hear, along with my helpful answers.
Can I use other chocolate chips for this recipe?
Absolutely! While I recommend semi-sweet chocolate chips for the best flavor balance, you can experiment with milk chocolate or dark chocolate if you prefer a different taste.
How long do these fudge squares last?
These Butterfinger chocolate fudge squares can last up to two weeks when stored in an airtight container in the fridge. However, I doubt they’ll stick around that long—they’re just too delicious!
Can I freeze the fudge squares?
Yes, you sure can! Just wrap them in plastic wrap and then place them in an airtight container. They’ll be good for up to three months in the freezer. Just thaw in the fridge before enjoying again!
What can I use instead of Butterfinger candy bars?
If you’re looking for a change, feel free to use any crunchy candy bars, like Reese’s or Snickers. Just keep in mind to chop them up roughly as you would with Butterfinger.
Is there a dairy-free option for the fudge?
Yes! Use dairy-free chocolate chips and substitute coconut cream for the heavy cream. This way, you can enjoy these rich chocolate fudge squares without dairy!
Final Thoughts
Making these Butterfinger chocolate fudge squares is more than just baking; it’s about creating sweet moments in our busy lives. As I mix, fold, and chill, I imagine smiles on the faces of my family when they take that first bite. There’s something magical about the combination of chocolate and crunchy candy, each square delivering a delightful burst of flavor. So whether it’s a cozy dessert night at home or a special gathering, these fudge squares are bound to bring joy and connection. Get ready to savor the happiness they bring with every delicious bite!
Print
Butterfinger chocolate fudge squares
- Total Time: 2 hours 25 minutes
- Yield: 36 squares 1x
- Diet: Vegetarian
Description
Delicious Butterfinger chocolate fudge squares featuring a rich chocolate base and crunchy Butterfinger candy.
Ingredients
- 3 cups semi-sweet chocolate chips (Ghirardelli brand)
- 14 ounces sweetened condensed milk
- ¼ cup heavy cream
- 2 cups roughly chopped Butterfinger candy bar
- 1 cup finely chopped Butterfinger candy bar for topping
Instructions
- Line a 9×9 inch straight-sided baking pan with aluminum foil, leaving an overhang for easy removal. Lightly spray the foil with nonstick cooking spray and set aside.
- In a 3-quart saucepan over medium heat, combine the semi-sweet chocolate chips, sweetened condensed milk, and heavy cream. Stir constantly for 5 to 6 minutes until the chocolate chips are fully melted and the mixture is smooth. Remove from heat promptly to prevent burning.
- Fold 2 cups of roughly chopped Butterfinger pieces gently into the melted chocolate mixture until evenly incorporated.
- Pour the fudge mixture into the prepared baking pan and smooth the surface evenly with a spatula.
- Evenly distribute the 1 cup of finely chopped Butterfinger candy over the top of the fudge and gently press them into the surface to adhere.
- Refrigerate the fudge for 1 to 2 hours until firm and set.
- Using a large sharp knife, cut the fudge into 36 squares measuring approximately 1½ by 1½ inches each.
Notes
- Ensure the chocolate mixture does not burn by stirring constantly.
- For best results, refrigerate the fudge until fully set before cutting.
- Prep Time: 15 minutes
- Cook Time: 10 minutes
- Category: Dessert
- Method: Stovetop and refrigeration
- Cuisine: American
Nutrition
- Serving Size: 1 square
- Calories: 120
- Sugar: 10g
- Sodium: 30mg
- Fat: 7g
- Saturated Fat: 4g
- Unsaturated Fat: 2g
- Trans Fat: 0g
- Carbohydrates: 14g
- Fiber: 1g
- Protein: 1g
- Cholesterol: 5mg


